Panda Crochet Baby Blanket (Free Pattern)
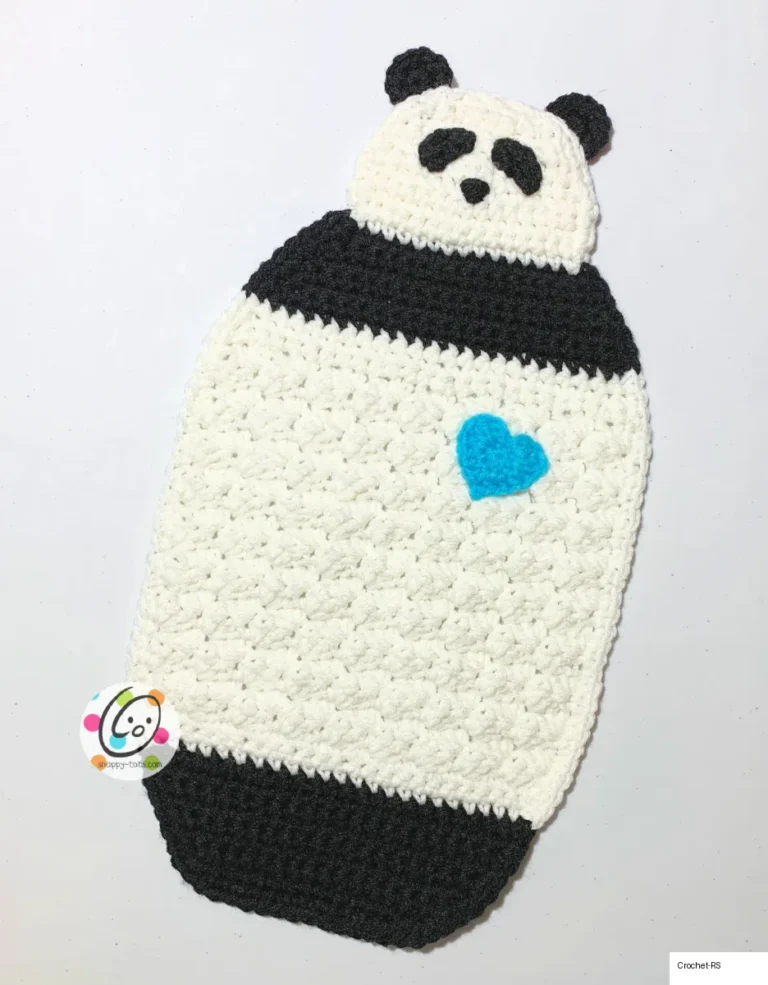
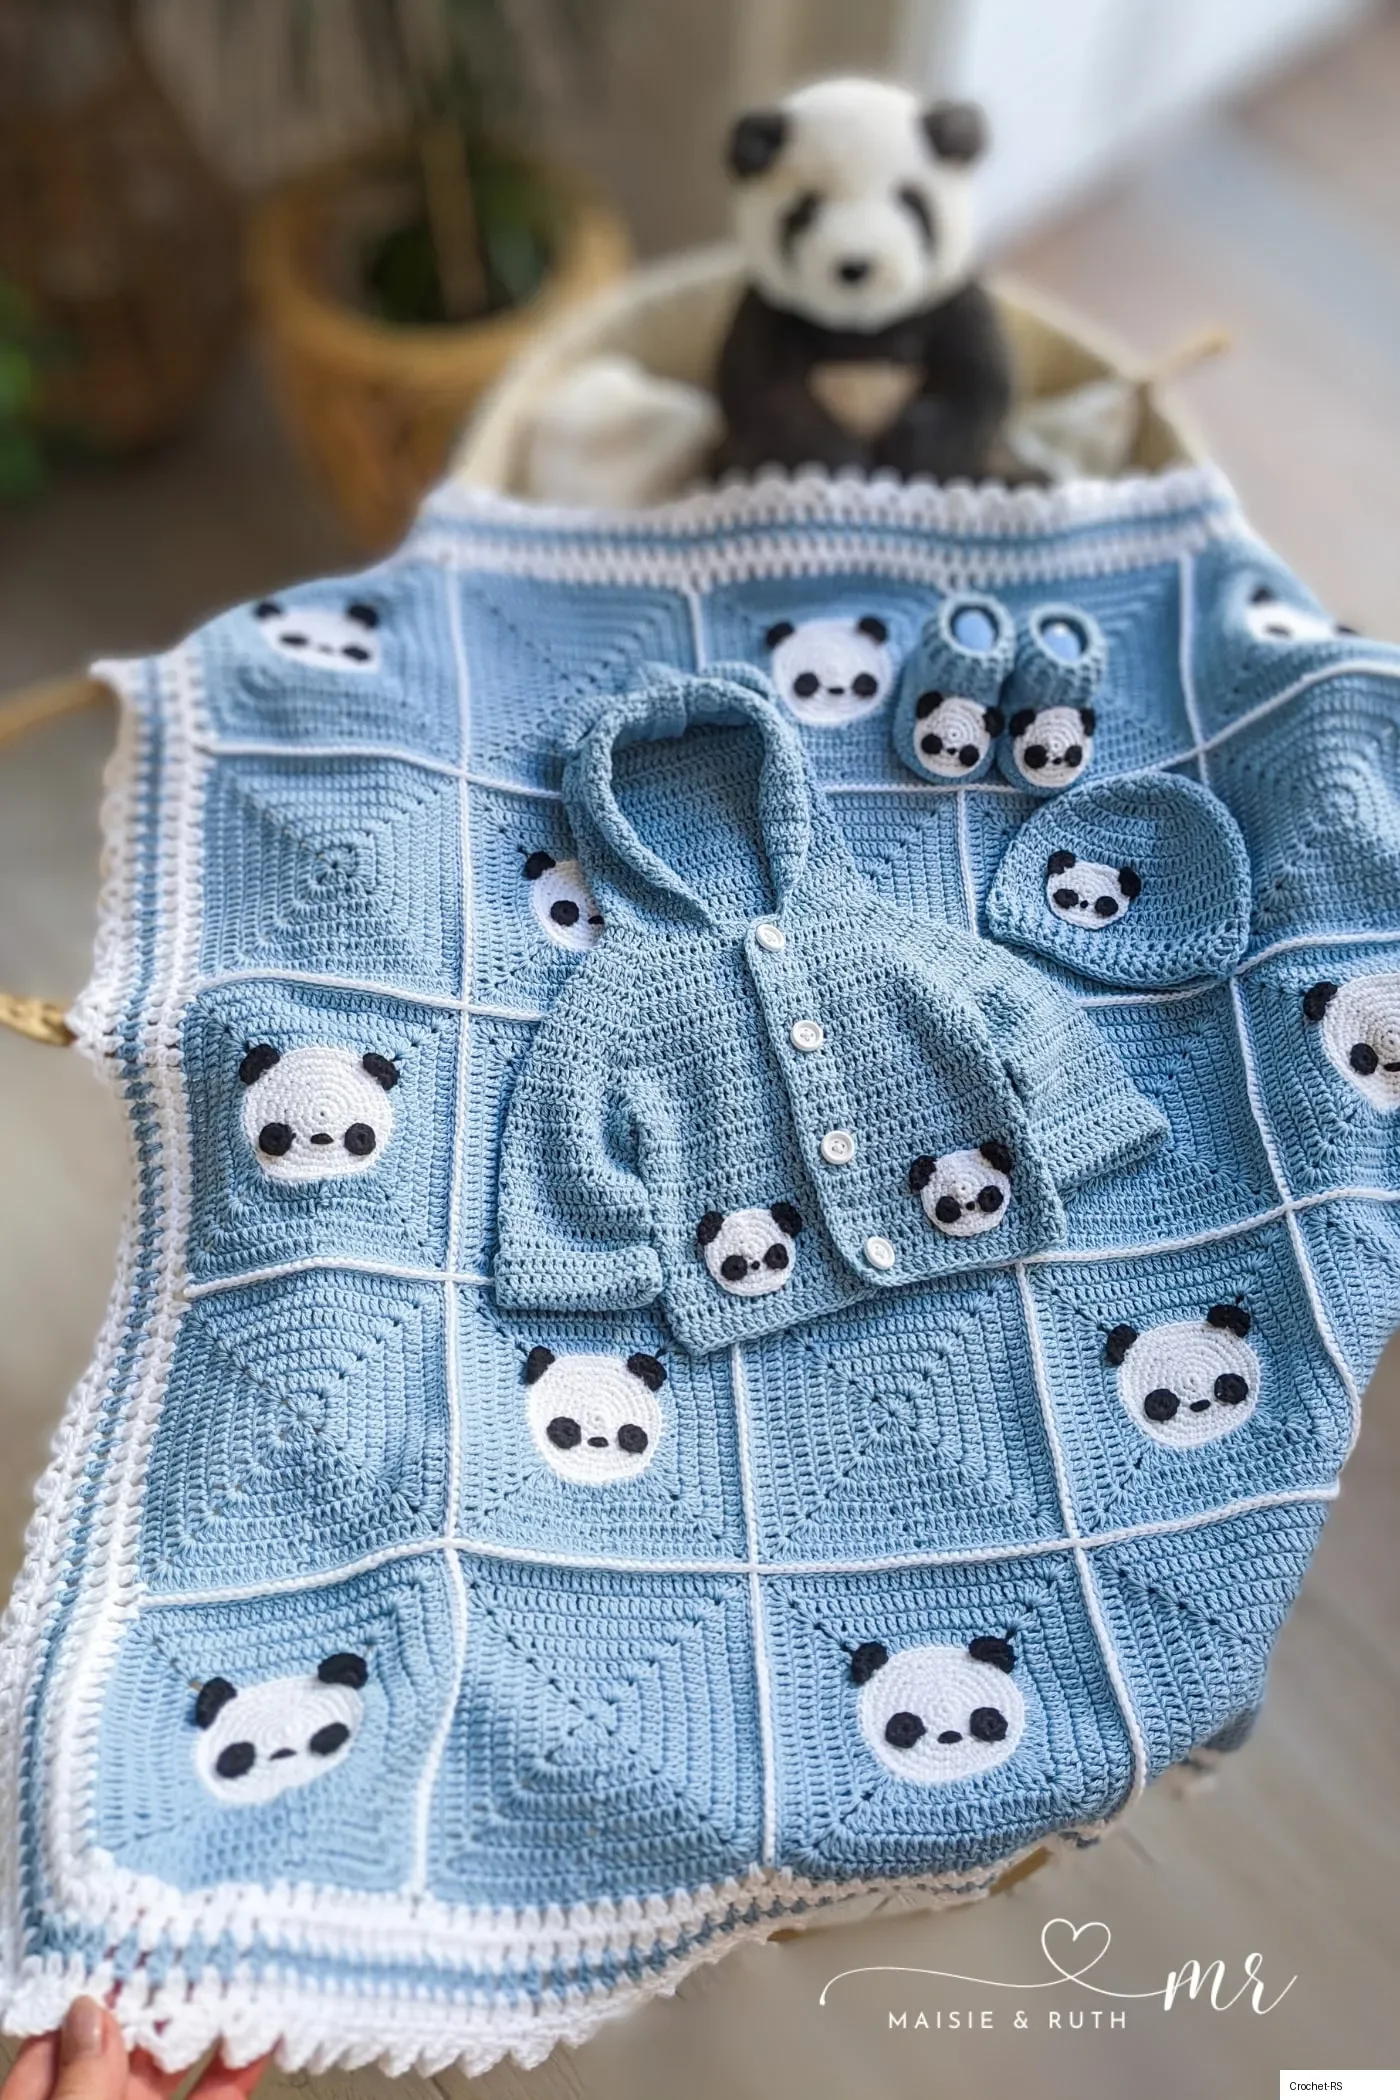
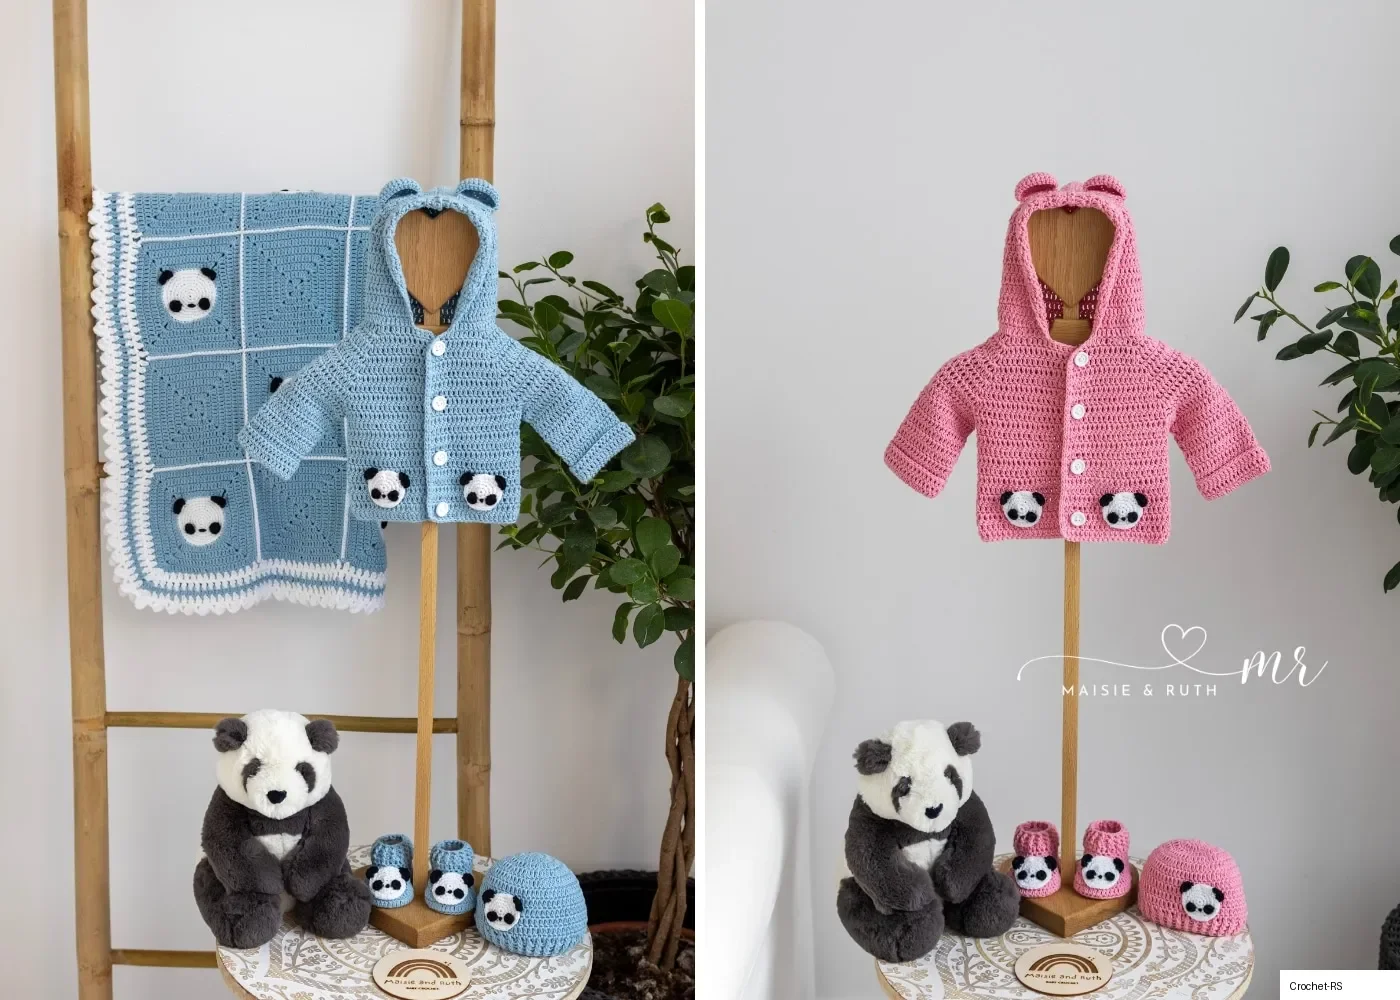
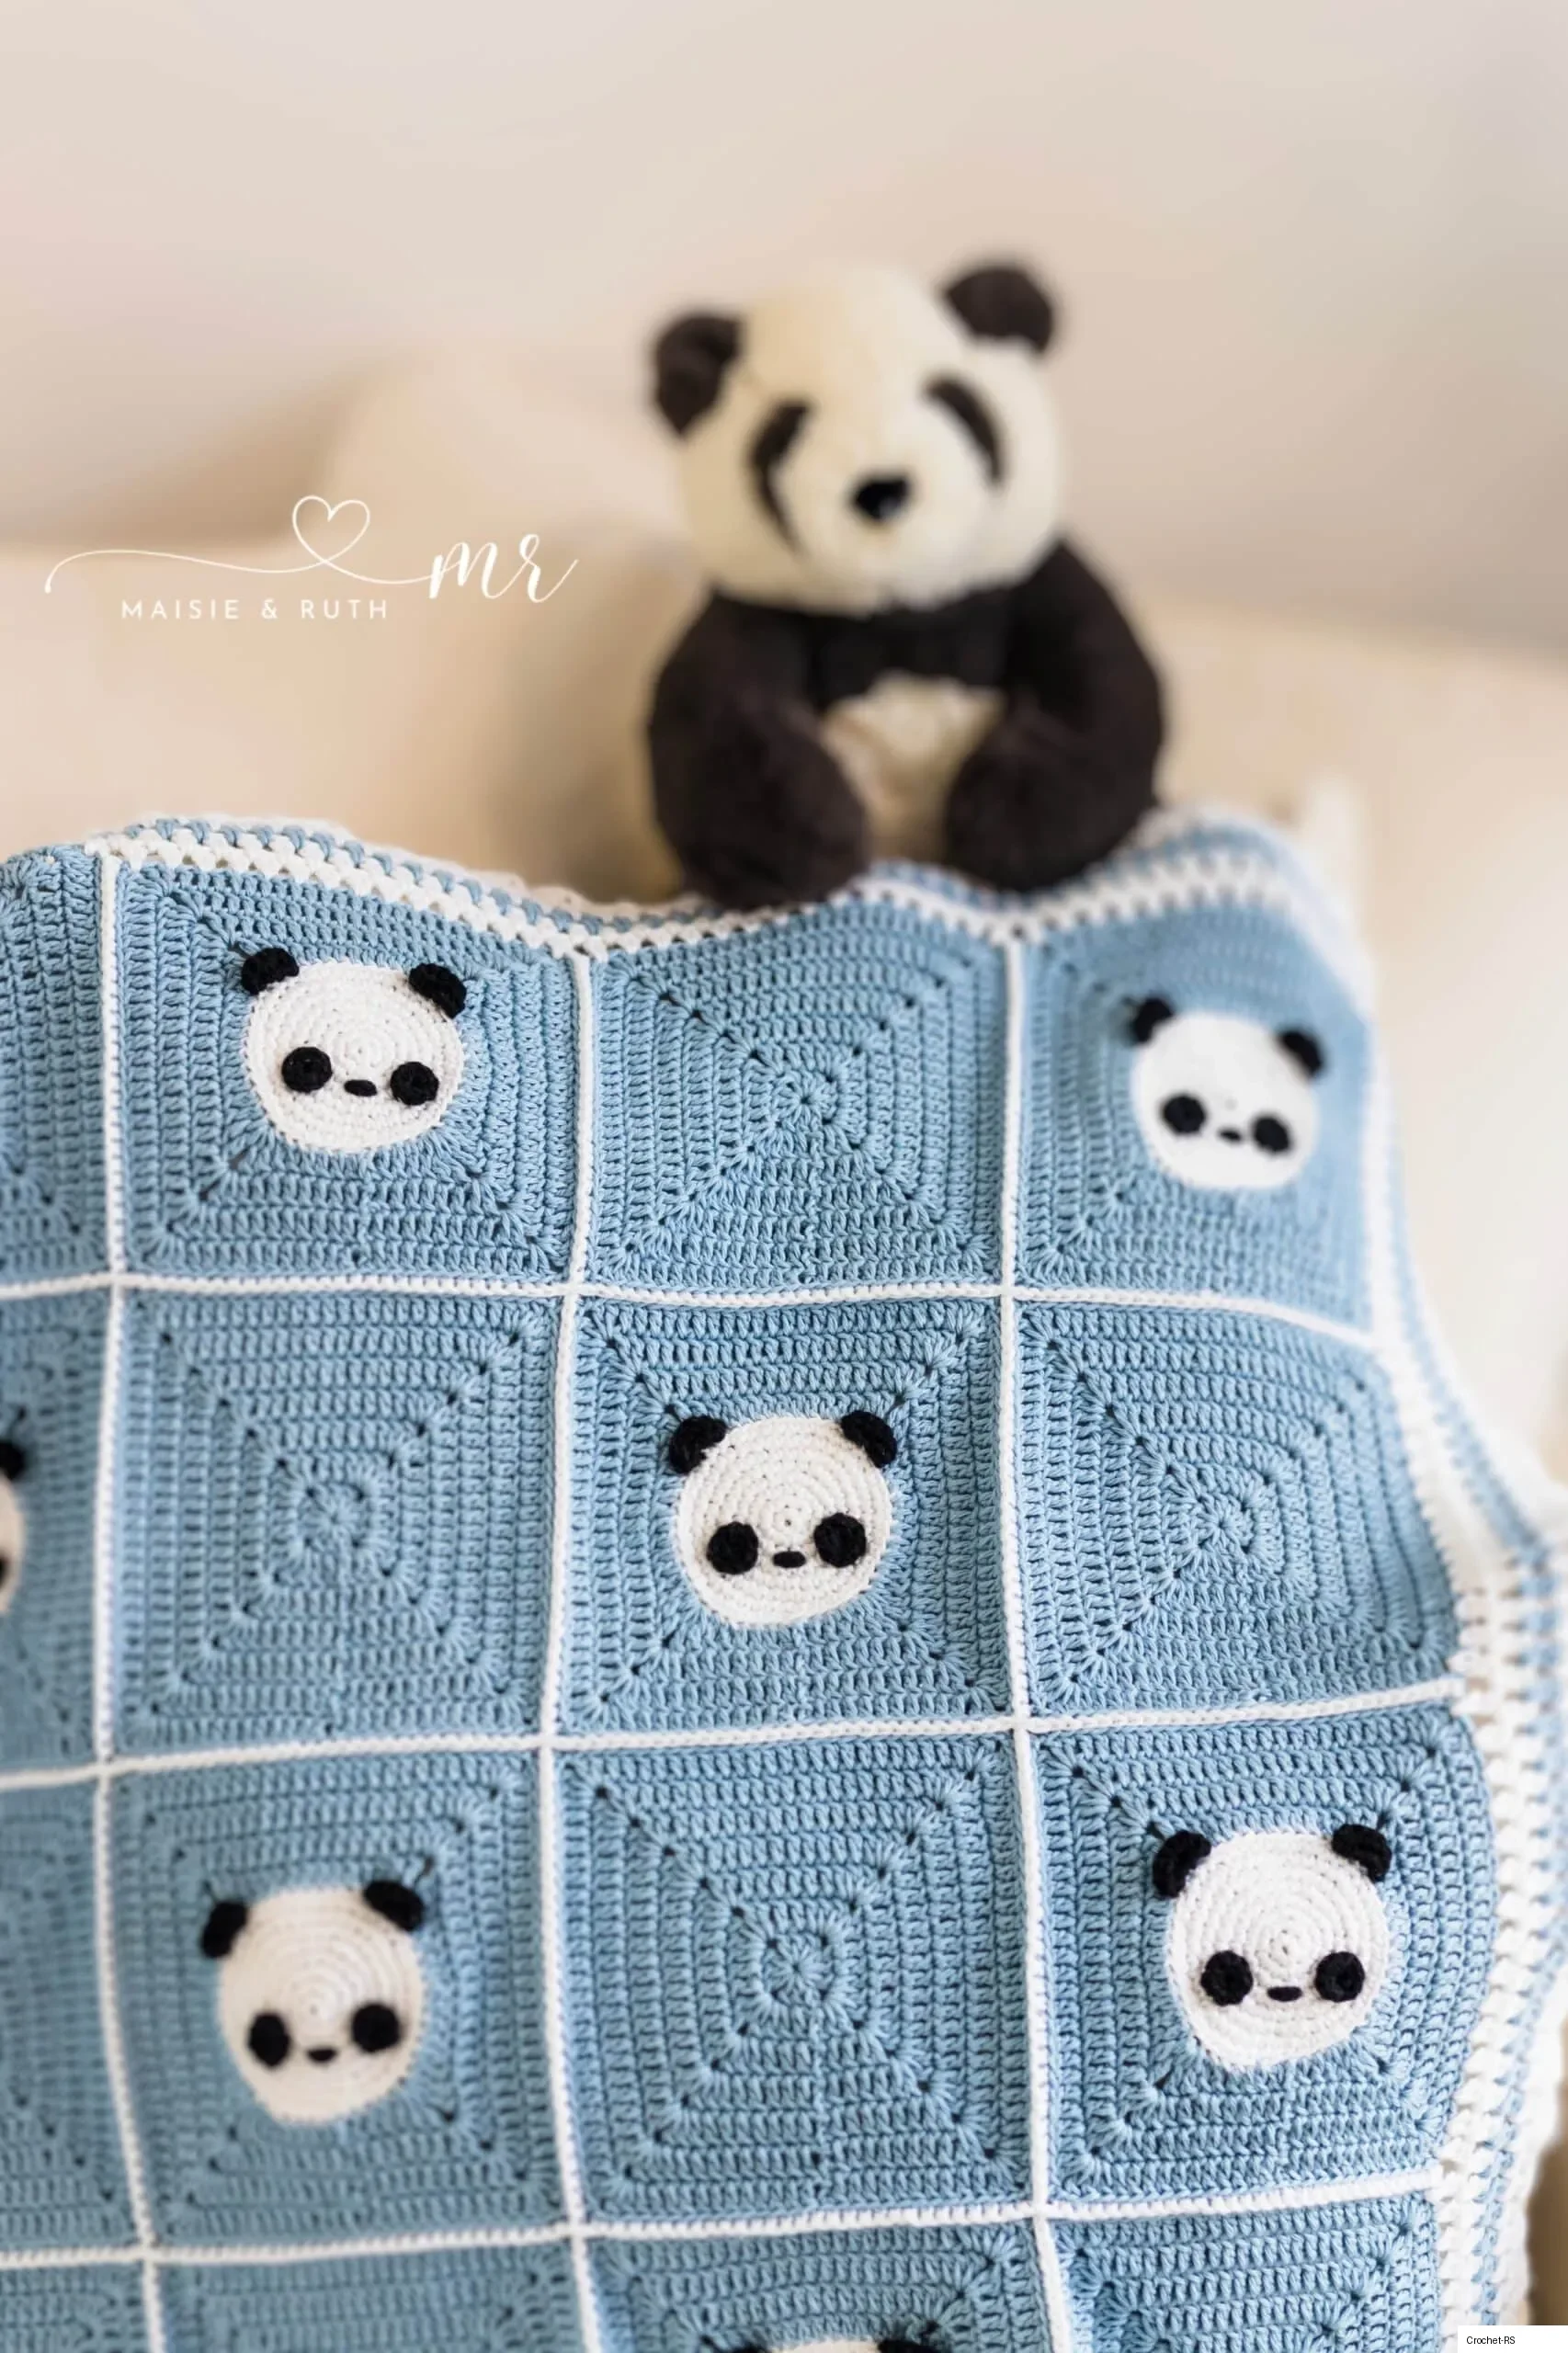
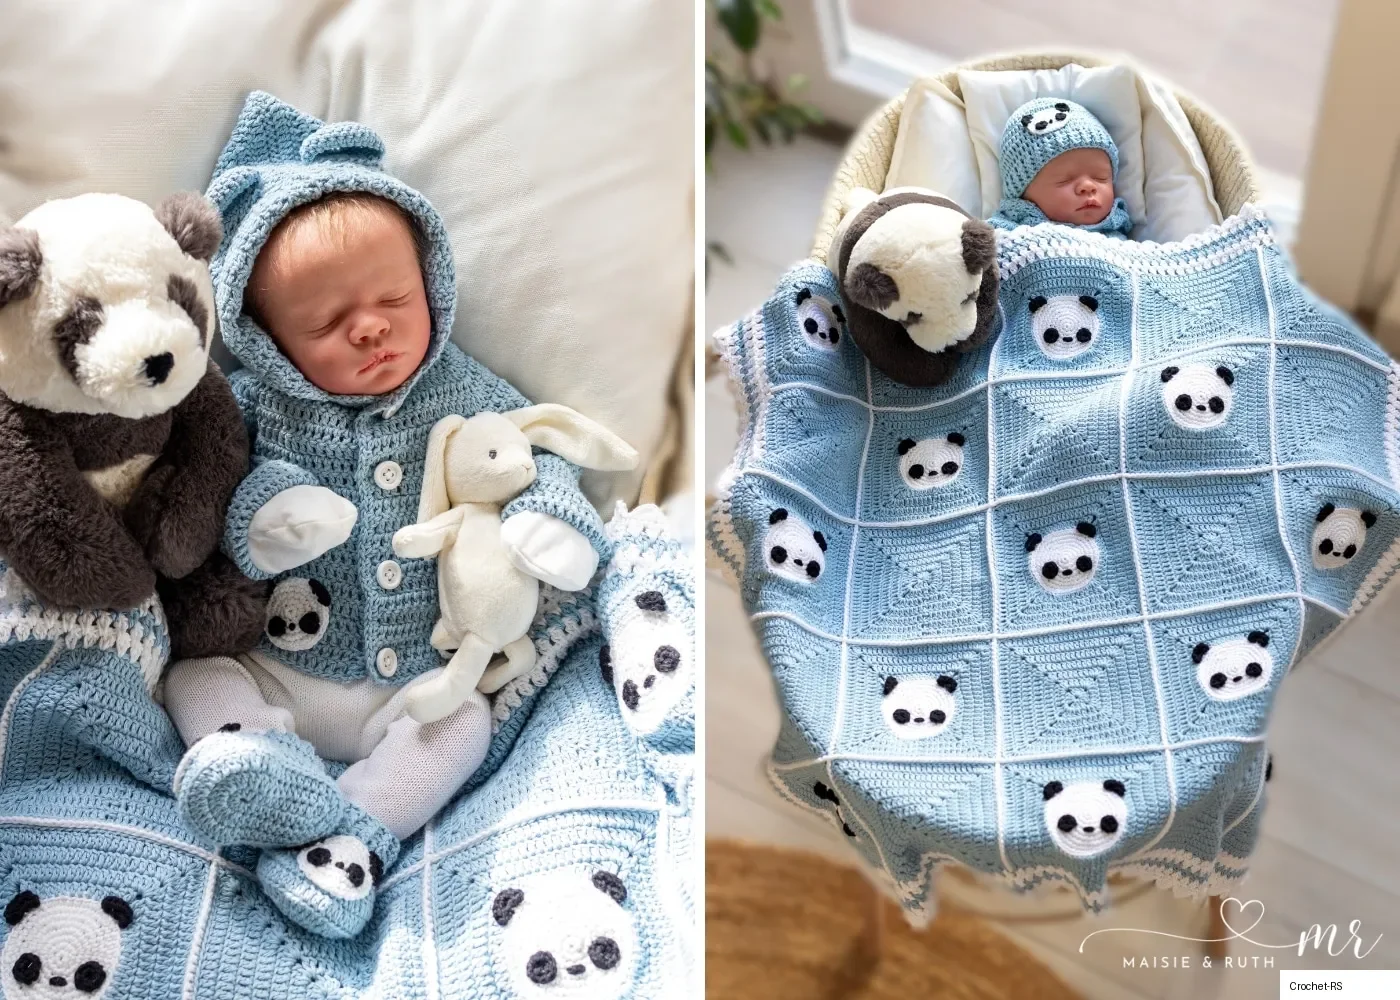
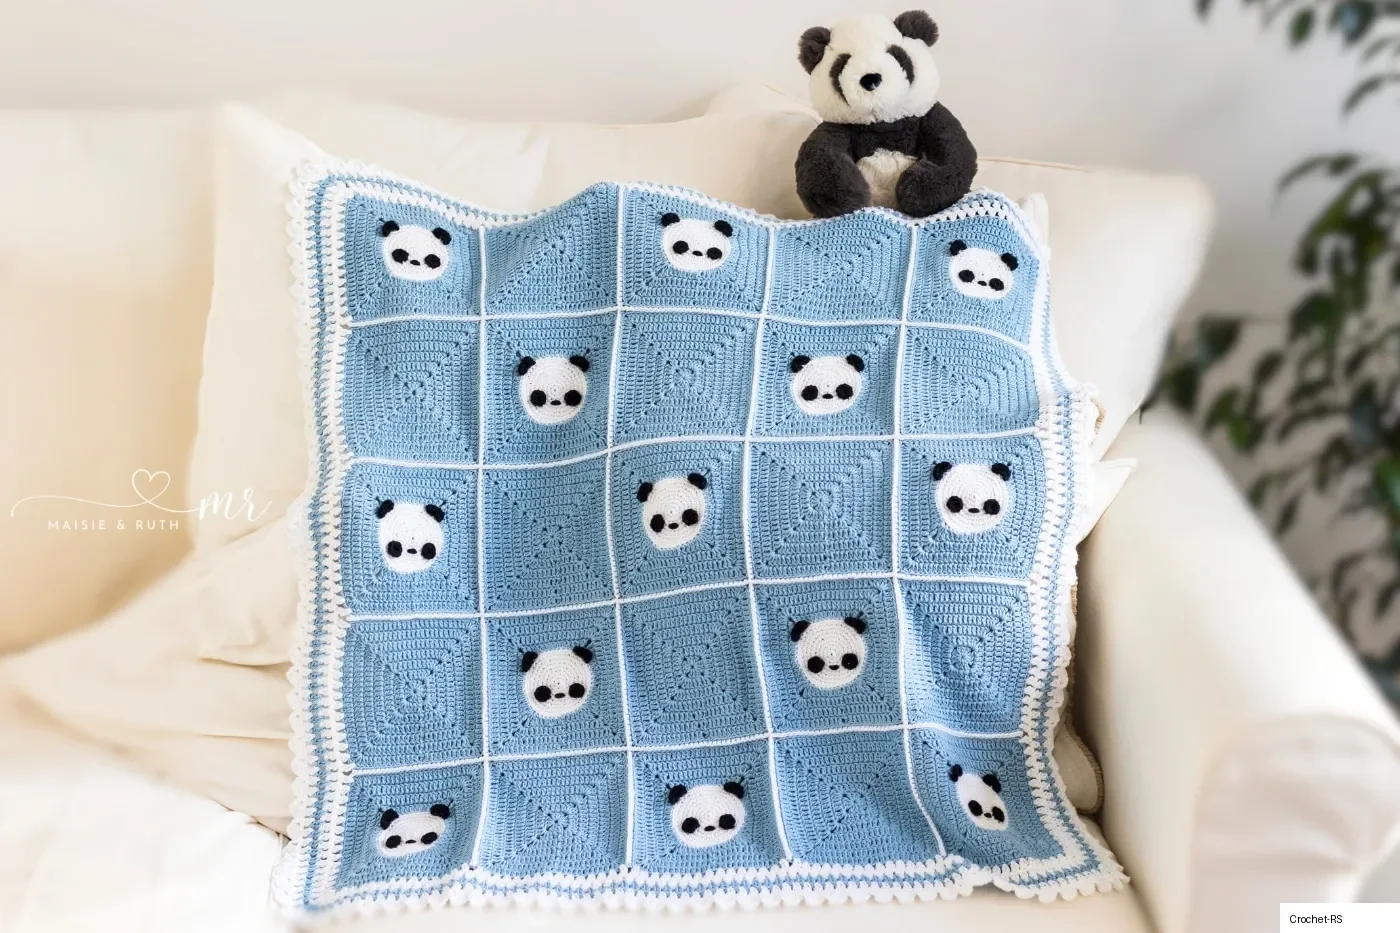
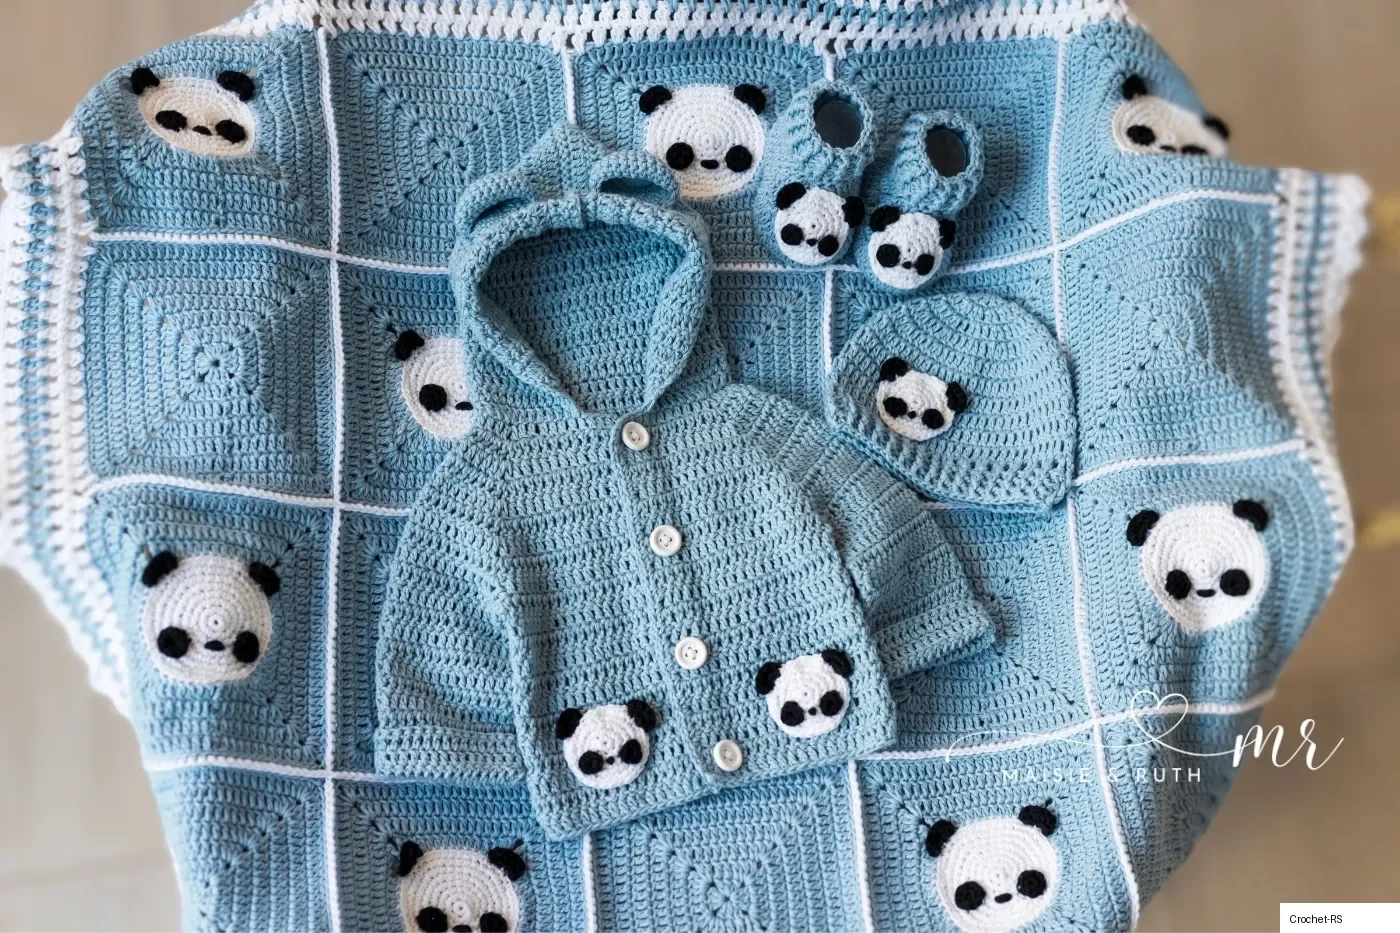
Welcome back to another delightful crochet project! Today, we have an absolutely adorable, wonderfully cozy, and perfectly charming home decor pattern for you to try: the cutest little Crochet Panda Baby Blanket! If you love crafting beautiful handmade accessories that perfectly capture classic kawaii charm while offering a beautifully detailed, lovable design to keep your little ones engaged and warm, this gorgeous bamboo-munching blanket is going to be your next favorite make.
This fantastic baby blanket pattern is wonderfully adaptable and perfect for unforgettable handmade gifts, allowing you to whip up beautiful, lovable nursery additions in no time that will be cherished as family keepsakes for years! While the instructions highlight a classic black-and-white look, you can easily adjust the color variations depending on the worsted weight yarn used—swap out classic panda colors for magical brights, soft pastels, or vibrant bold hues to create a whimsical, personalized masterpiece! Grab your hooks, settle into your favorite crafting spot, and let’s dive into making this wonderfully warm, completely adorable Crochet Panda Blanket!
SUPPLIES
- Yarn: Any category #3 / DK / 8 ply yarn. I usedPaintbox Yarns Cotton DK, 137yds / 1.8oz (125m / 50g) in the following colours: 5 balls ofColour A: Paper White (401);9 balls ofColour B: Dolphin Blue (437); 1 ball ofColour C: Pure Black (402)
- Alternative yarn suggestions areStylecraft Naturals Bamboo & Cotton,Premier Yarns Cotton Sprout DK,Cascade Pandamonium Yarn,Premier Bamboo Fair Yarn,Universal Yarns Bamboo Pop Yarn.
- Crochet hook: 3mm(OPTIONAL: to seam the squares I sized up to anE / 3.5mmhook)
- Scissors
- Tapestry needle(for weaving in ends)
- Stitch marker
GAUGE / TENSION
Each square measures 5.5″ (14cm)
Gauge is not crucial here, but I would recommend that you keep a consistent tension so that all your squares end up the same size.
FINISHED SIZE
Width – 33 inches / 84cm
Length – 33 inches / 84cm
STITCHES & ABBREVIATIONS (US CROCHET TERMS)
beg– beginning
BLO– back loop only
ch(s)– chain(s)
dc– double crochet
FLO– front loop only
sc– single crochet
sk– skip: Do not crochet into this stitch / space.
sl st– slip stitch
sp(s)– space(es)
st(s)– stitch(es)
tr– treble crochet
SPECIAL STITCHES
EXdc– Extended double crochet: Yarn over (yo), insert hook into st or sp, pull up a loop, 3 loops on hook, yo, pull through 1 loop (3 loops remain on hook), yo, pull through 2 loops (2 loops remain on hook), yo, pull through both loops. I EXdc made.
2dcCL– Yarn over (yo), insert hook into stitch (st) or space, yo, pull up a loop (3 loops on hook), yo, pull through 2 loops (2 loops remain on hook). Yo, insert hook into same stitch (st) or space, yo, pull up a loop (4 loops on hook). Yo, pull through 2 loops (3 loops on hook), yo, pull through all 3 loops. One 2dcCL made
3dcCL– Yarn over (yo), insert hook into stitch (st) or space, yo, pull up a loop (3 loops on hook), yo, pull through 2 loops (2 loops remain on hook). Yo, insert hook into same stitch (st) or space, yo, pull up a loop (4 loops on hook). Yo, pull through 2 loops (3 loops remain on hook). Yo, insert hook into same stitch (st) or space, yo pull up a loop (5 loops on hook), yo, pull through 2 loops (4 loops on hook). Yo, pull through all 4 loops. One 3dcCL made.
PATTERN INSTRUCTIONS
MINUTE MARK OF VIDEO: 03:00
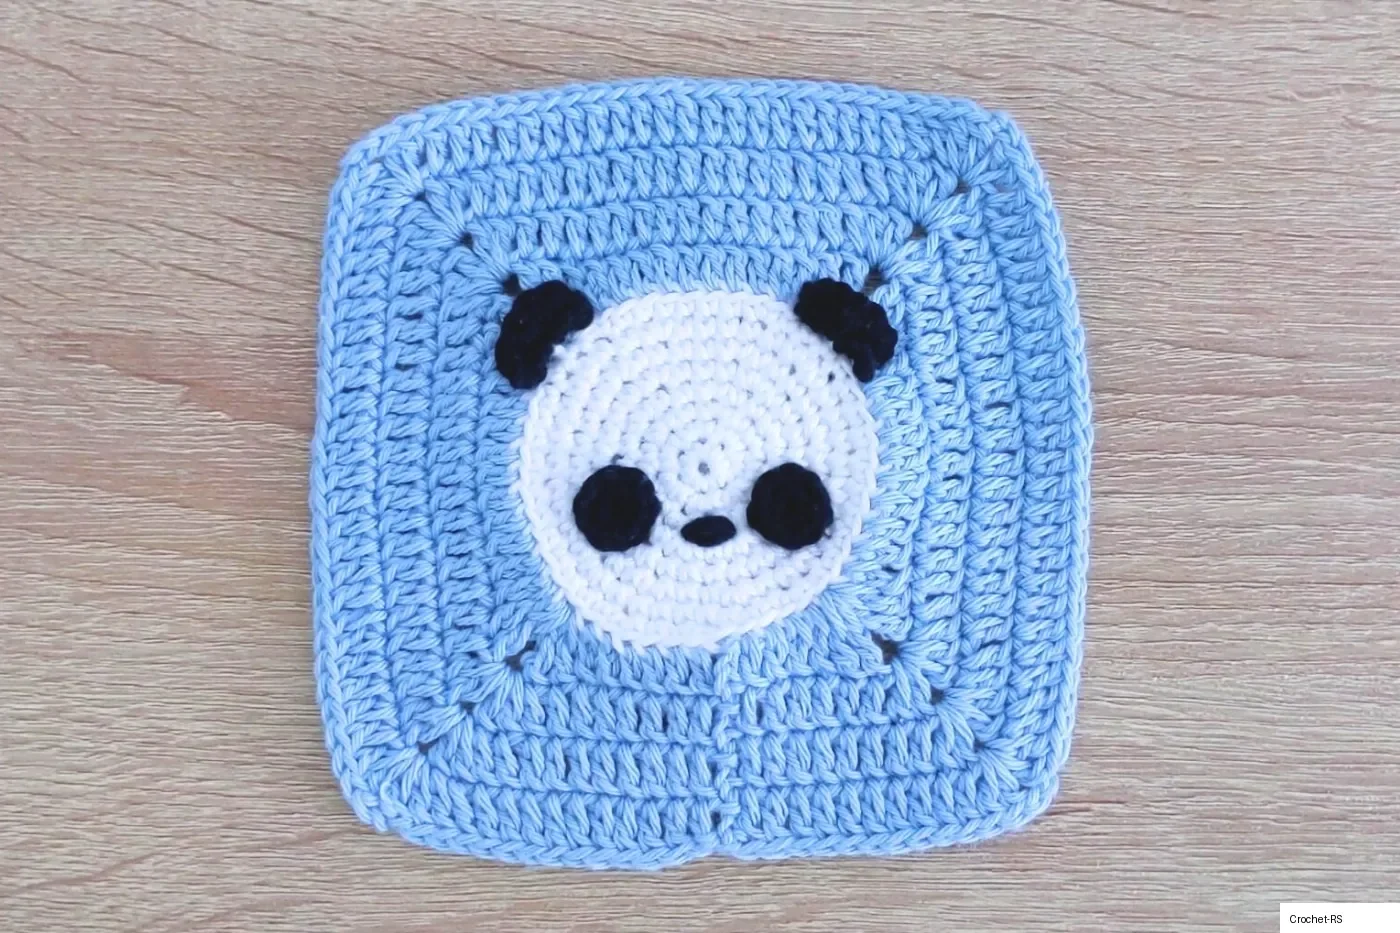
UsingColour A:
Make a magic circle. (if you do not like the magic circle method, see the Alternative Round 1 below).
Round 1. 6sc in the magic circle, do not join round, instead place a st marker in the first sc of the round [6 sts].
Alternative Round 1. Ch2, 6sc in 2nd ch from hook (work over yarn tail), do not join round, instead place a st marker in the first sc of the round [6 sts].
Round 2. Round 2. 2sc in next 6 sts [12 sts].
Round 3. *2sc in next st, 1sc in next st*, repeat from * to * 6 times [18 sts].
Round 4. 1sc in next st, 2sc in next st, *1sc in next 2 sts, 2sc in next st*, repeat from * to * 5 times, ending with 1sc in last st [24 sts].
Round 5.*2sc in next st, 1sc in next 3 sts*, repeat from * to * 6 times [30 sts].
Round 6. 1sc in next 2 sts, 2sc in next st, *1sc in next 4 sts, 2sc in next st*, repeat from * to * 5 times, ending with 1sc in last 2 sts [36 sts].
Round 7. *2sc in next st, 1sc in next 5 sts*, repeat from * to * 6 times [42 sts].
Round 8. 1sc in next 3 sts, 2sc in next st, *1sc in next 6 sts, 2sc in next st*, repeat from * to * 5 times, ending with 1sc in last 3 sts, to join sl st to 1st sc or make aninvisible join[48 sts].
Cut yarn, fasten off and weave in ends.
Change toColour B:
Attach yarn to BLO of last stitch worked.
Round 9. Ch3 (counts as your 1st st here and throughout), 1dc in BLO of next 2 sts, 1EXdc in BLO of next 2sts, (2tr, ch2, 2tr) in BLO of next st, *1EXdc in BLO of next 2 sts, 1dc in BLO of next 7 sts, 1EXdc in BLO of next 2 sts, (2tr, ch2, 2tr) in the BLO of the next st*, repeat from * to * twice, 1EXdc in BLO of next 2 sts, 1dc in BLO of next 7 sts, 1EXdc in BLO of next 2 sts, (2tr, ch2, 2tr) in BLO of next st, 1EXdc in BLO of next 2sts, 1dc in BLO of last 4 sts, sl st to top of beg ch3 to join, [15 sts on each side of square, 4 x ch2 sps].
Round 10.Ch3, 1dc in next 6 sts, *(2dc, ch2, 2dc) in ch2 corner sp, 1dc in next 15 sts*, repeat from * to * for a total of 3 times, (2dc, ch2, 2dc) in last ch2 corner sp, 1dc in last 8 sts, to join sl st to top of beg ch3 or make an invisible join (for easier seaming later), [19 sts on each side of square, 4x ch2 sps].
Round 11.Ch3, 1dc in next 8 sts, *(2dc, ch2, 2dc) in ch2 corner sp, 1dc in next 19 sts*, repeat from * to * for a total of 3 times, (2dc, ch2, 2dc) in last ch2 corner sp, 1dc in last 10 sts, to join sl st to top of beg ch3 or make an invisible join (for easier seaming later), [23 sts on each side of square, 4x ch2 sps].
Round 12. Ch3, 1dc in next 10 sts, *(2dc, ch2, 2dc) in ch2 corner sp, 1dc in next 23 sts*, repeat from * to * for a total of 3 times, (2dc, ch2, 2dc) in last ch2 corner sp, 1dc in last 12 sts, make aninvisible join, [27 sts on each side of square, 4x ch2 sps].
IMPORTANT: If you used the magic circle method in round 1, make sure that you weave in the yarn tail securely so that the middle of your square does not unravel.
Cut yarn, fasten off and weave in ends.
MINUTE MARK: 01:19:18
WithColour C:
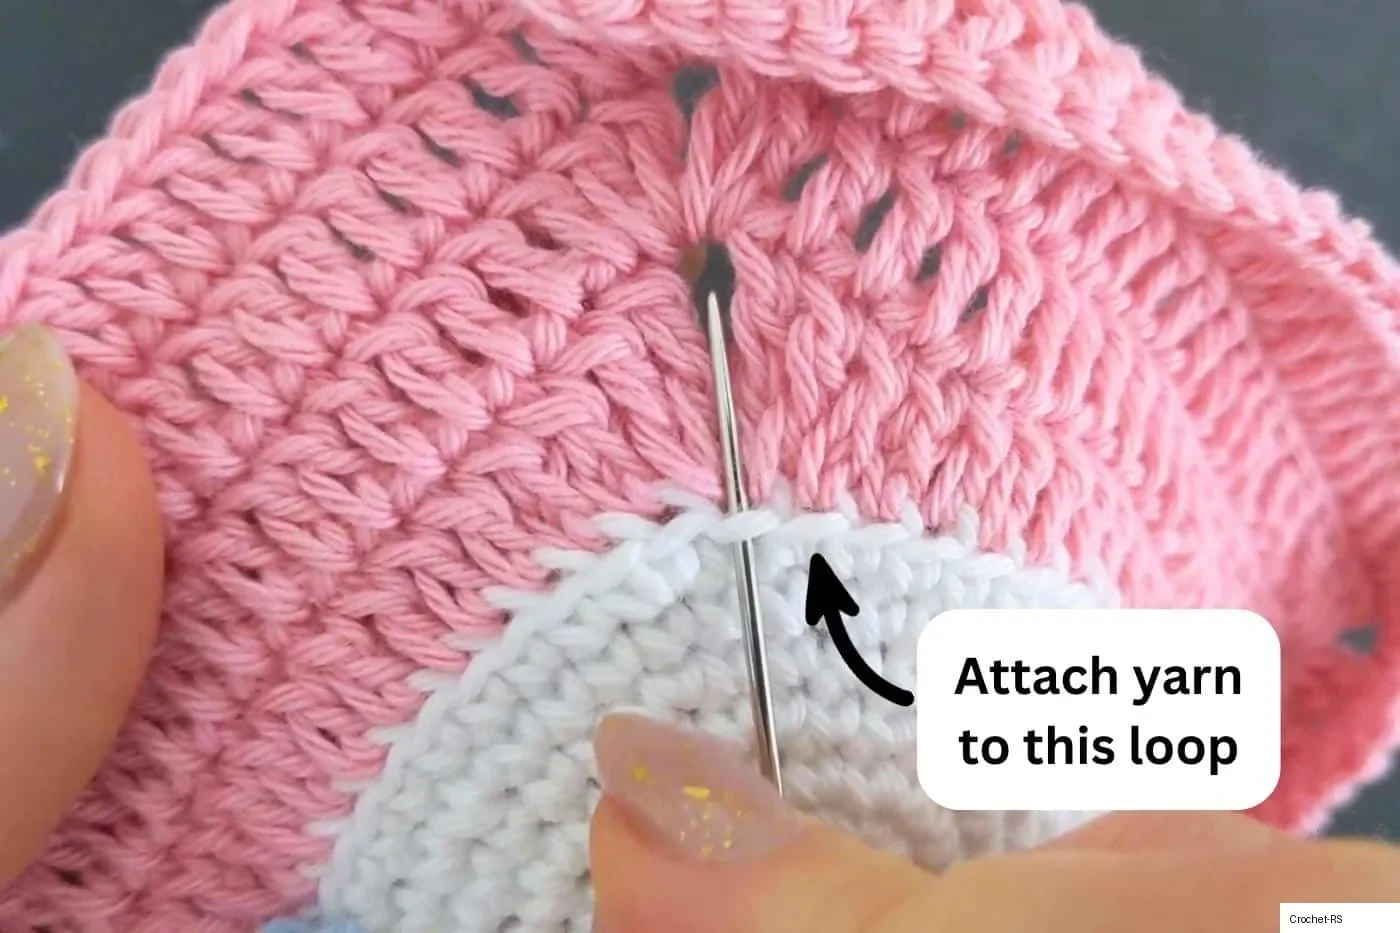
Attach yarn to front loop in round 9, directly in line with the left hand ch2 corner space:
Row 1. Ch1, 3sc in same st (at base of ch1), (3sc, sl st) in next st, TURN.
Row 2. Ch1 (does not count as your 1st st), 1sc in 3rd ch from hook, 1sc in next 5 sts, sl st at base of ch1 made in row 1.
Cut yarn, leaving a long tail about 8 inches / 20 cm long.
Thread the yarn tails through your needle and pass them through a couple of stitches to the back of your work (see video tutorial for further guidance)
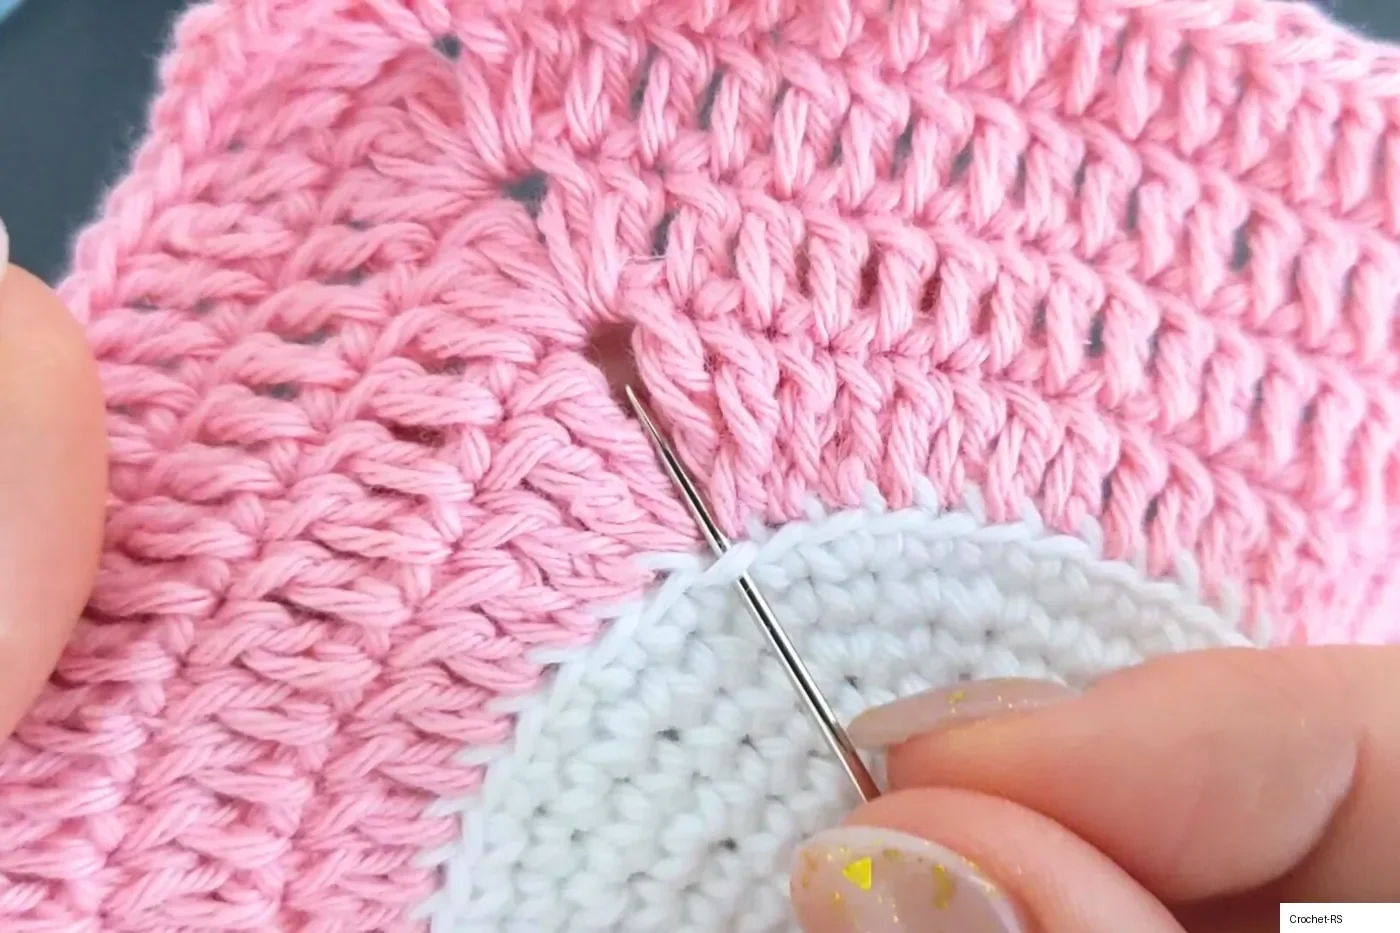
Go to the right hand corner and attach yarn to the front loop made in round 9. It will be in the loop that is to the right of the loop that is in direct line with the ch2 corner space:
Work as left ear above.
MINUTE MARK: 01:34:15
Make a magic circle (if you do not like the magic circle method, see the Alternative Round 1 below).
Round 1. 10sc in the magic circle, sl st to 1st sc to join the round [10 sts].
Alternative Round 1 (work over yarn tail). Ch2, 10sc in 2nd ch from hook, sl st to 1st sc to join round [10 sts].
Cut yarn (leave a long tail of 8 inches /20 cm for sewing) & fasten off.
MINUTE MARK:01:37:05
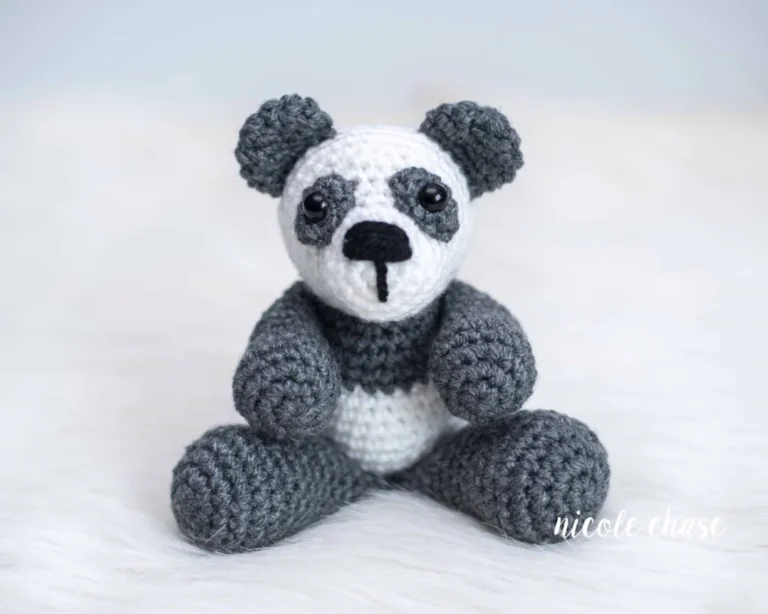
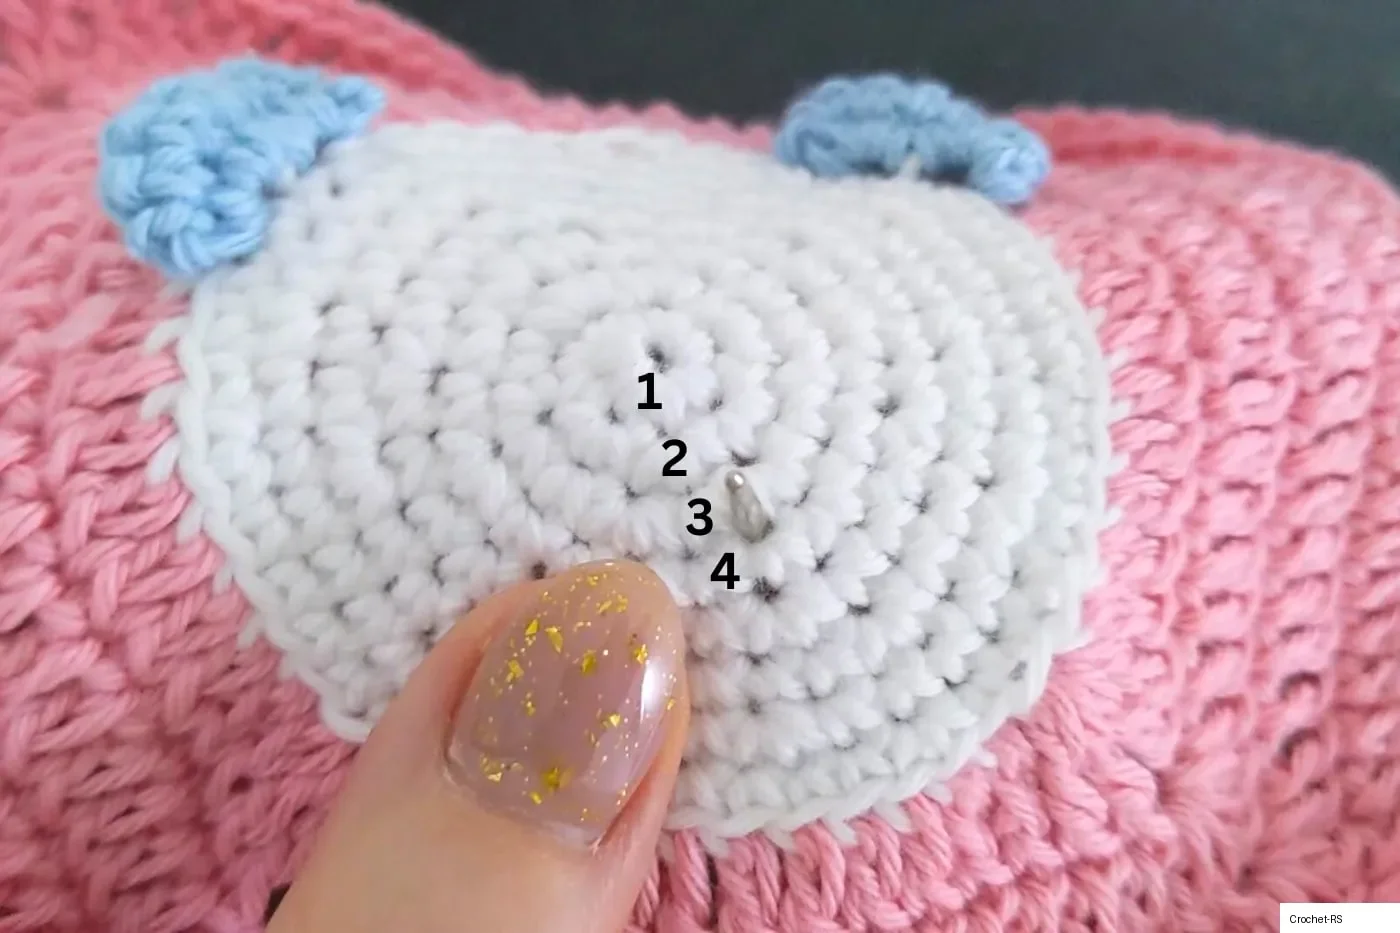
Before you sew on the eyes, embroider the nose first.
Cut a piece of yarn about 8 inches / 20cm long.
Embroider the nose to your liking (or watch the video tutorial) over 2 stitches between the 3rd and 4th rounds from the centre of the circle.
Pass the yarn tails through to back of your work. Tie a couple of knots securely.
MINUTE MARK: 01:40:35
Sew one eye on either side of the nose.
MINUTE MARK: 01:45:47
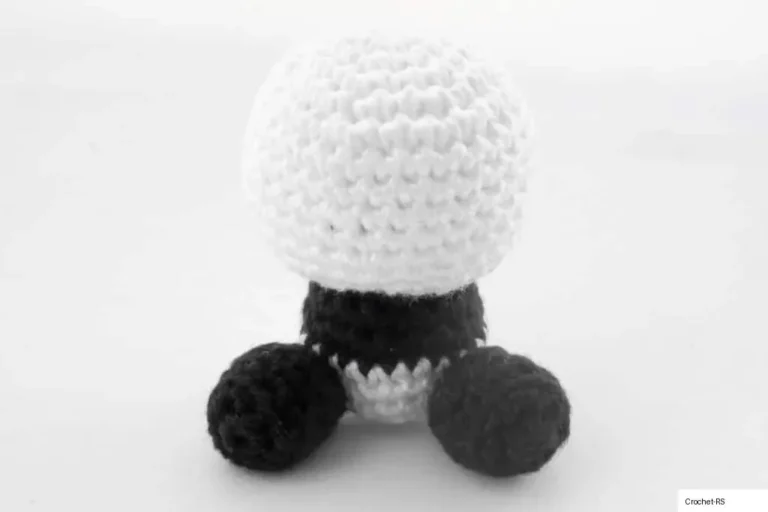
I like to make backings for my panda squares. This is an easy and effective way to hide all the yarn tails.
To make each backing, just follow rounds 1-8 of the panda square pattern above.
Cut a long yarn tail (about 20 inches / 50 cm) and sew the circle (with the wrong side facing you) onto the back of your panda square. I like to use the whip stitch.
MINUTE MARK: 01:51:14
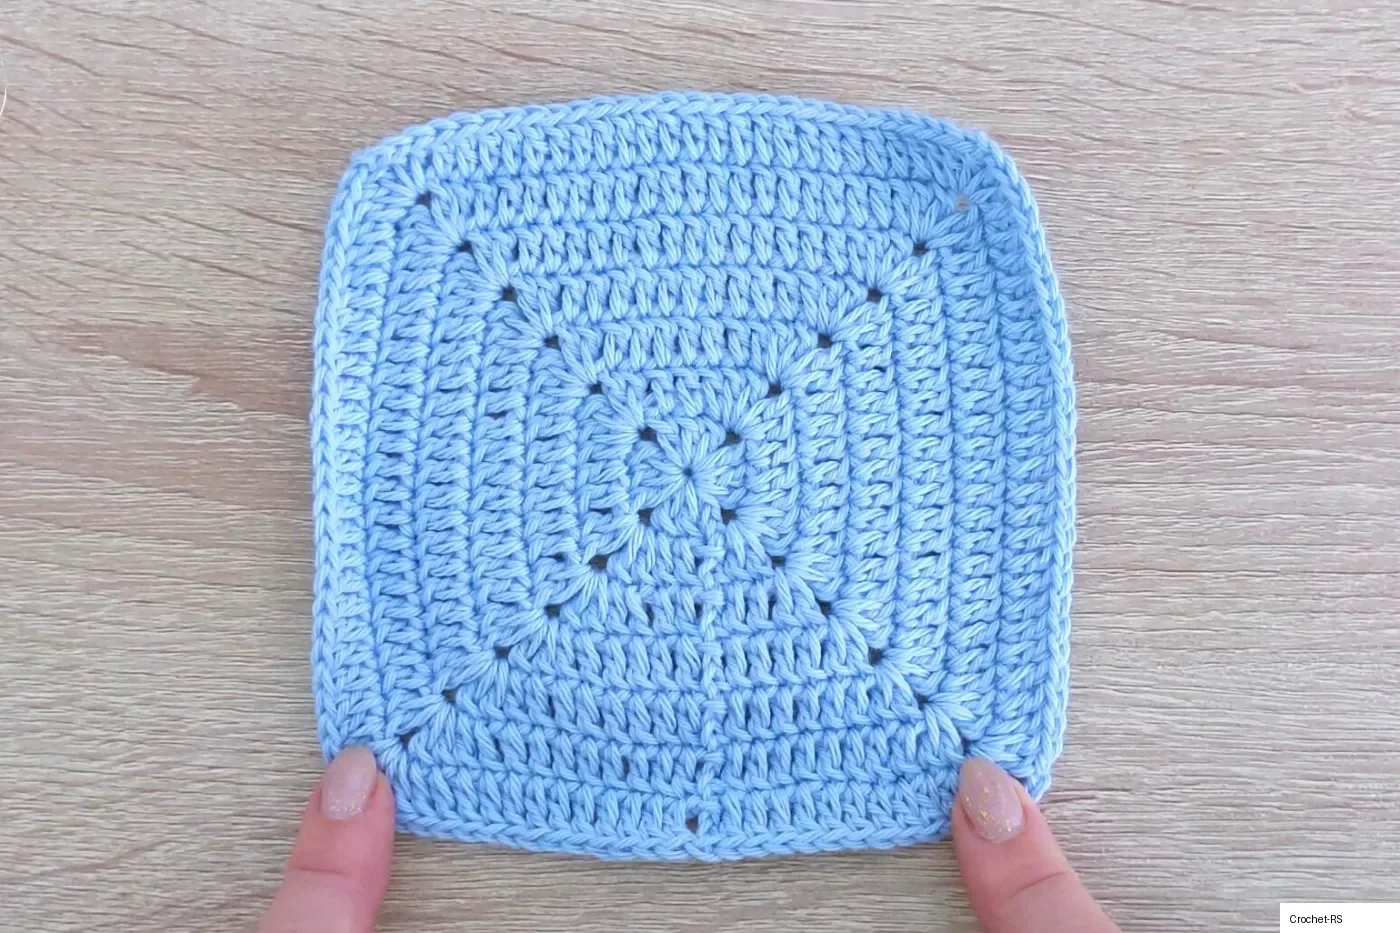
UsingColour B:
Make a magic circle. (if you do not like the magic circle method, see the Alternative Round 1 below).
Round 1. Ch5 (counts as your 1st dc and a ch2), (3dc, ch2 into the magic circle) 3 times, 2dc, sl st to 3rd ch of beg ch5 to join [3dc on each side of square].
Alternative Round 1. Ch4, sl st to 1st ch to form a ring, ch5 (counts as your 1st dc and a ch2), (3dc, ch2) into the ring 3 times, 2dc, sl st to 3rd ch of beg ch5 to join [3dc on each side of square].
Round 2. Ch3 (counts as your 1st dc here and throughout), *(2dc, ch2, 2dc) in next ch2 corner sp, 1dc in next 3 sts*, repeat from * to * for a total of 3 times, (2dc, ch2, 2dc) in last ch2 corner sp, 1dc in last 2 sts, sl st to top of beg ch3 to join, [7 dc on each side of square].
Round 3. Ch3, 1dc in next 2 sts, *(2dc, ch2, 2dc) in next ch2 corner sp, 1dc in next 7 sts*, repeat from * to * for a total of 3 times, (2dc, ch2, 2dc) in last ch2 corner sp, 1dc in last 4 sts, sl st to top of beg ch3 to join, [11 dc on each side of square].
Round 4. Ch3, 1dc in next 4 sts, *(2dc, ch2, 2dc) in next ch2 corner sp, 1dc in next 11 sts*, repeat from * to * for a total of 3 times, (2dc, ch2, 2dc) in last ch2 corner sp, 1dc in last 6 sts, sl st to top of beg ch3 to join, [15 dc on each side of square].
Round 5. Ch3, 1dc in next 6 sts, *(2dc, ch2, 2dc) in next ch2 corner sp, 1dc in next 15 sts*, repeat from * to * for a total of 3 times, (2dc, ch2, 2dc) in last ch2 corner sp, 1dc in last 8 sts, sl st to top of beg ch3 to join, [19 dc on each side of square].
Round 6. Ch3, 1dc in next 8 sts, *(2dc, ch2, 2dc) in next ch2 corner sp, 1dc in next 19 sts*, repeat from * to * for a total of 3 times, (2dc, ch2, 2dc) in last ch2 corner sp, 1dc in last 10 sts, sl st to top of beg ch3 to join, [23 dc on each side of square].
Round 7. Ch3, 1EXdc in next 10 sts, *(2EXdc, ch2, 2EXdc) in next ch2 corner sp, 1EXdc in next 23 sts*, repeat from * to * for a total of 3 times, (2EXdc, ch2, 2EXdc) in last ch2 corner sp, 1EXdc in last 12 sts, sl st to top of beg ch3 to join or make aninvisible join(easier when seaming later), [27 EXdc on each side of square].
Weave in ends.
IMPORTANT: If you used the magic circle method in round 1, make sure that you weave in the yarn tail securely so that the middle of your square does not unravel.
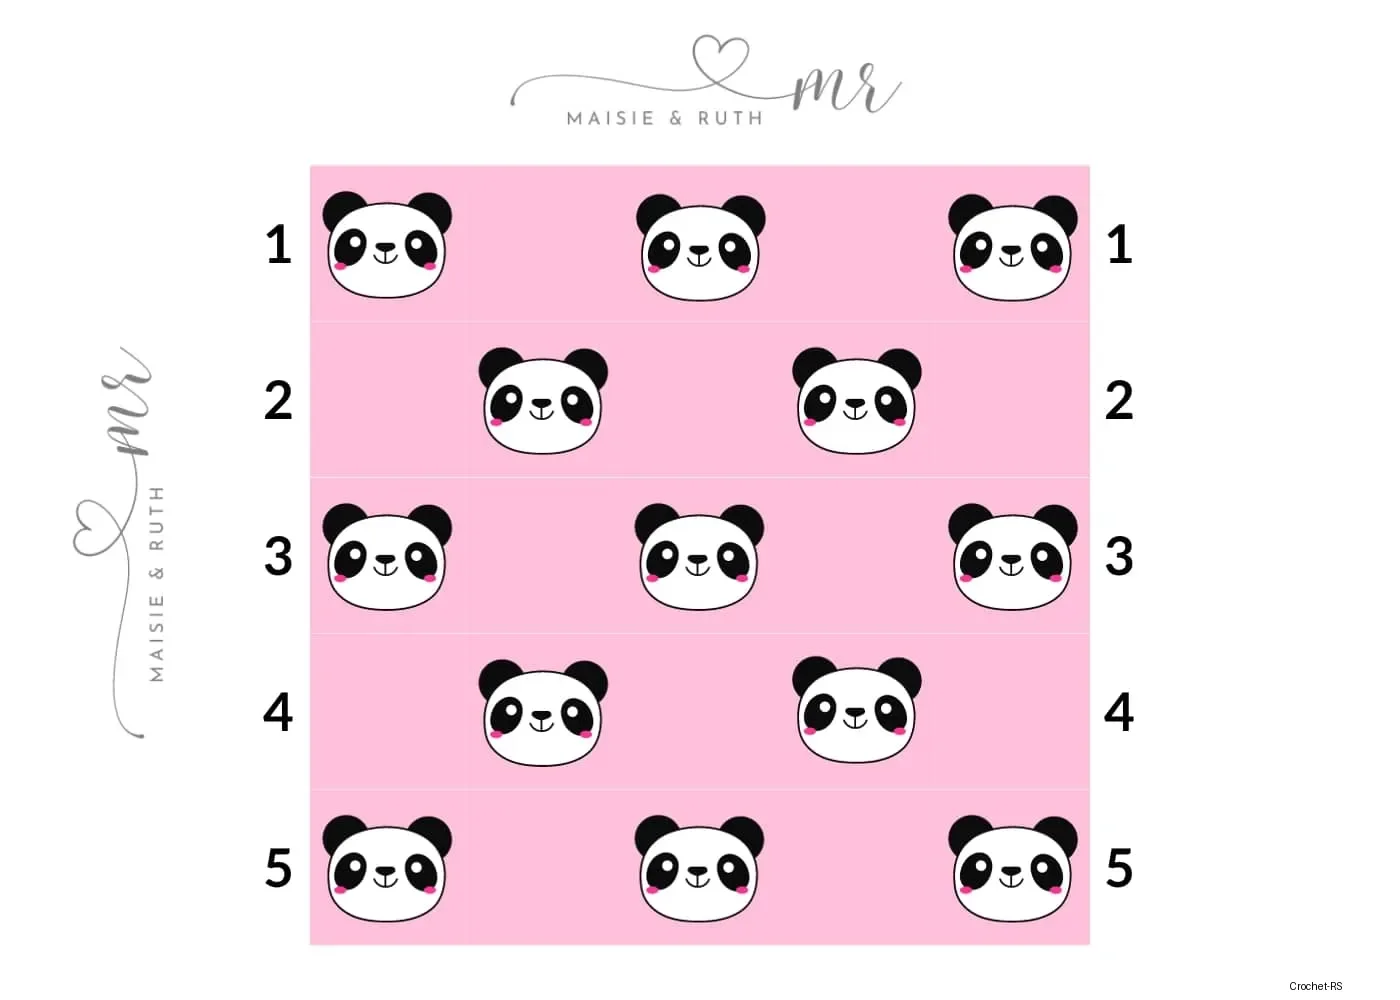
Once you’ve made all your squares, you will arrange them before joining.
Please see thephotobelow, demonstrating how to arrange your squares:
MINUTE MARK: 02:33:09
UsingColour Aand anE (3.5mm)crochet hook:
Seam your squares together. I used the single crochet seam to join my squares.
You can use any method you like to join your squares (e.g. the flat slip stitch seam).
MINUTE MARK: 02:33:09
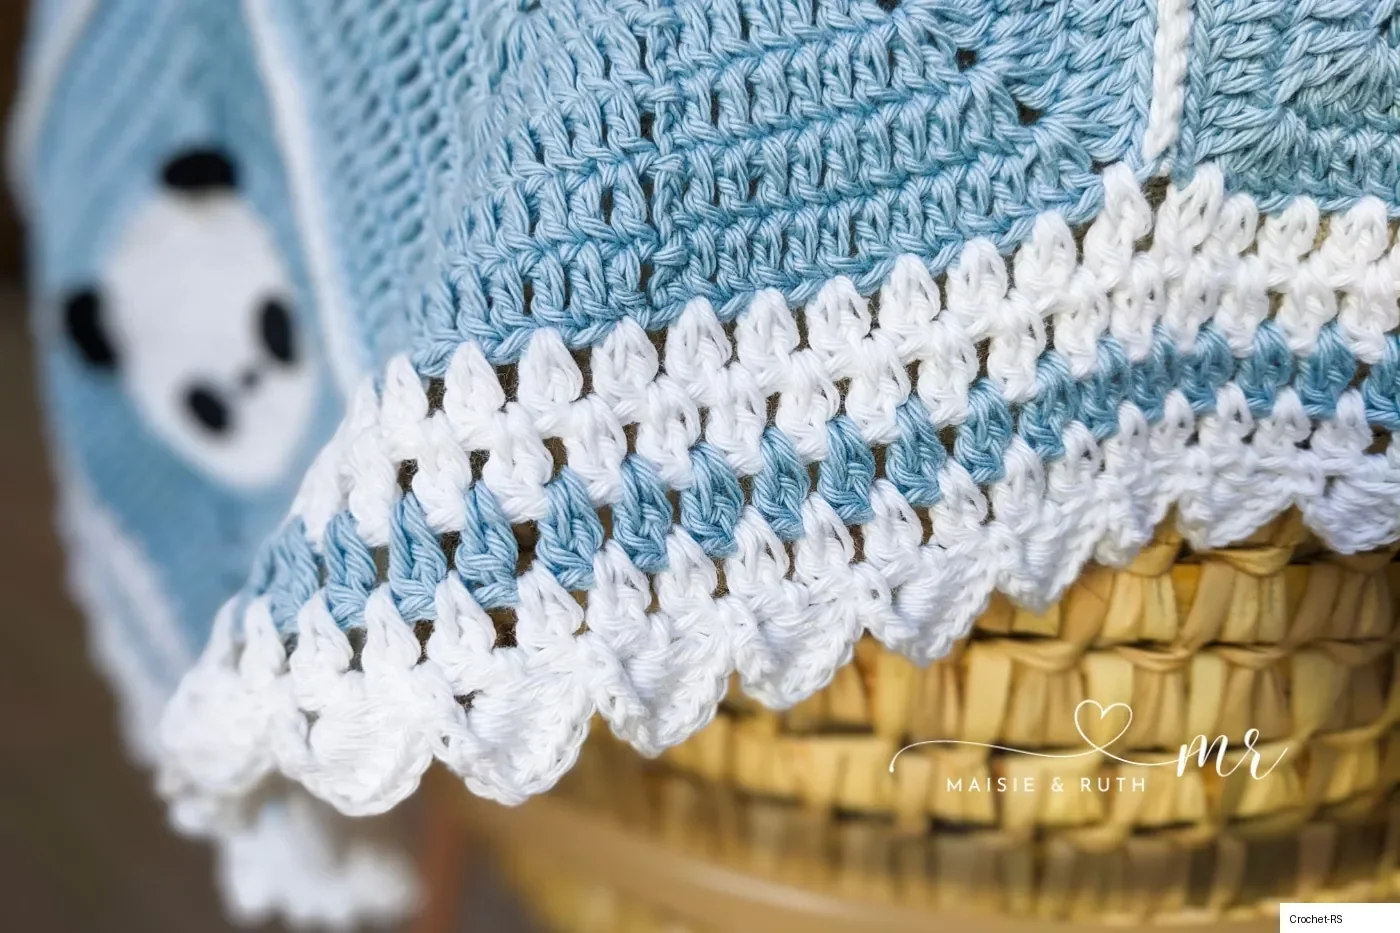
Once you have joined your squares, you will then finish your blanket off with a border consisting of 5 rounds.
UsingColour A:
Attach yarn to the ch2 corner sp in the top right hand corner of the blanket.{photo 7}
Round 1.(Ch2, 2dcCL, ch2, 3dcCL) in ch2 corner sp, ch1, sk next st, *(2dcCL in next st, ch1, sk next st) until next corner of blanket (at each seam work 2dcCL in next ch2 sp, ch1, 2dcCL in next ch2 sp), (3dcCL, ch2, 3dcCL) in ch2 sp in corner of blanket, ch1, sk next st* repeat from * to * around blanket, sl st to 1st 2dcCL at beg of round to join, DO NOT TURN.{photo 9}
Round 2.Sl st in next ch2-sp, (ch2, 2dcCL, ch2, 3dcCL) in ch2 corner sp, ch1, *(2dcCL in next ch-1 sp, ch1) until next corner of blanket, (3dcCL, ch2, 3dcCL) in ch2-sp in corner of blanket, ch1*, repeat from * to * around blanket, sl st to 1st 2dcCL at beg of round to join, DO NOT TURN.
Cut yarn, fasten off and weave in ends.
Change toColour B:
Attach yarn to ch2-sp in corner of blanket.
Round 3. (Ch2, 2dcCL, ch2, 3dcCL) in ch2 corner sp, ch1, *(2dcCL in next ch-1 sp, ch1) until next corner of blanket, (3dcCL, ch2, 3dcCL) in ch2-sp in corner of blanket, ch1*, repeat from * to * around blanket, sl st to 1st 2dcCL at beg of round to join, DO NOT TURN.
Cut yarn, fasten off and weave in ends.
Change toColour A:
Attach yarn to ch2-sp in corner of blanket.
Round 4.Repeat round 3.
Round 5. Sl st in next ch2-sp, *(1sc, ch2, 1dc, 5dc around post of dc just made) in ch2 corner sp, 1sc in next ch1-sp, (ch2, 1dc in next ch1-sp, 5dc around post of dc just made, 1sc in next ch1-sp) 38 times to next corner of blanket, work in same ch1-sp (immediately before corner) as follows: ch2, 1dc, 5dc around post of dc just made*, repeat from * to * around blanket, ending with a sl st to 1st sc at beg of round to join.
Cut yarn, fasten off and weave in ends.