New Crochet Pattern
Cute Amigurumi Panda Pattern
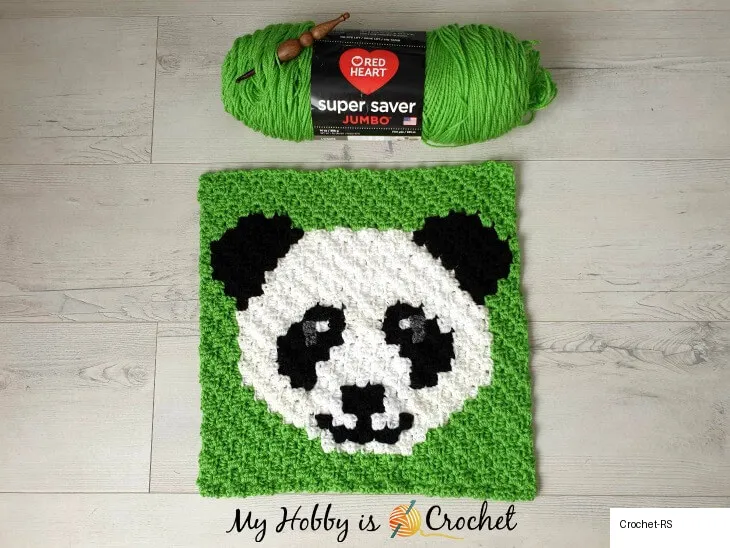
Are you looking for an adorable new amigurumi project? We are absolutely thrilled to share this delightful Amigurumi Panda pattern with you! Perfect for crocheters of all levels, this sweet little bear makes a wonderful handmade gift or a cute companion for your own collection.
You can customize the size of your panda by experimenting with different yarn weights and hook sizes. Grab your favorite yarn and let’s start crocheting this charming little panda together!
INSTRUCTIONS
ARMS (make 2)
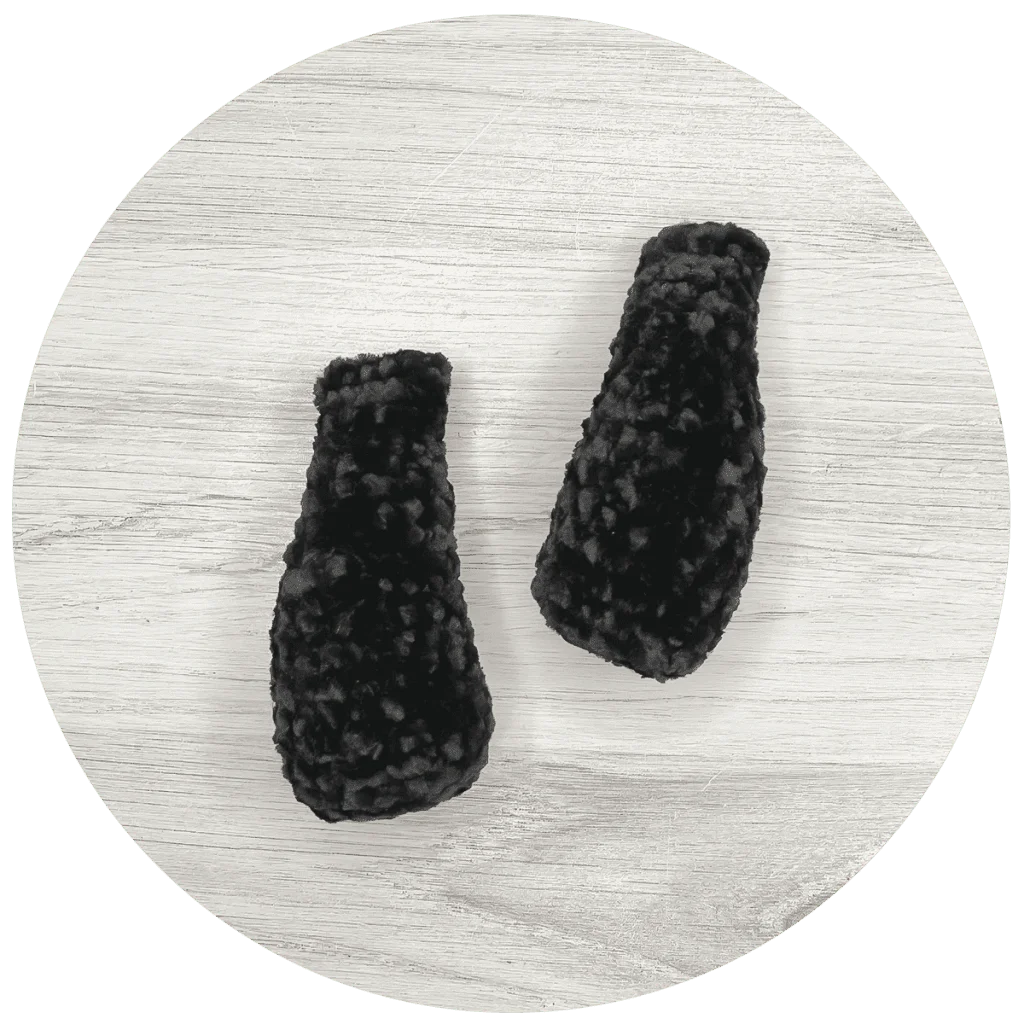
To begin: With COLOR A, CH6.
Round 1: Starting in 2nd CH from hook, and working into only the back loop of each chain stitch, INC, 3 CSC, INC. Working around the chain* to the other side: INC, 3 CSC, INC. (14)

Round 2: INC, 5 CSC, INC, INC, 5CSC, INC. (18)
Rounds 3-8: CSC in each ST around. (18)
Round 9: DEC, 16 CSC. (17)
Round 10: DEC, 15 CSC. (16)
Round 11: DEC, 14 CSC. (15)
Round 12: DEC, 13 CSC. (14)
Round 13: DEC, 12 CSC. (13)
Round 14: DEC, 11 CSC. (12)
Round 15: DEC, 10 CSC. (11)
Round 16: DEC, 9 CSC. (10)
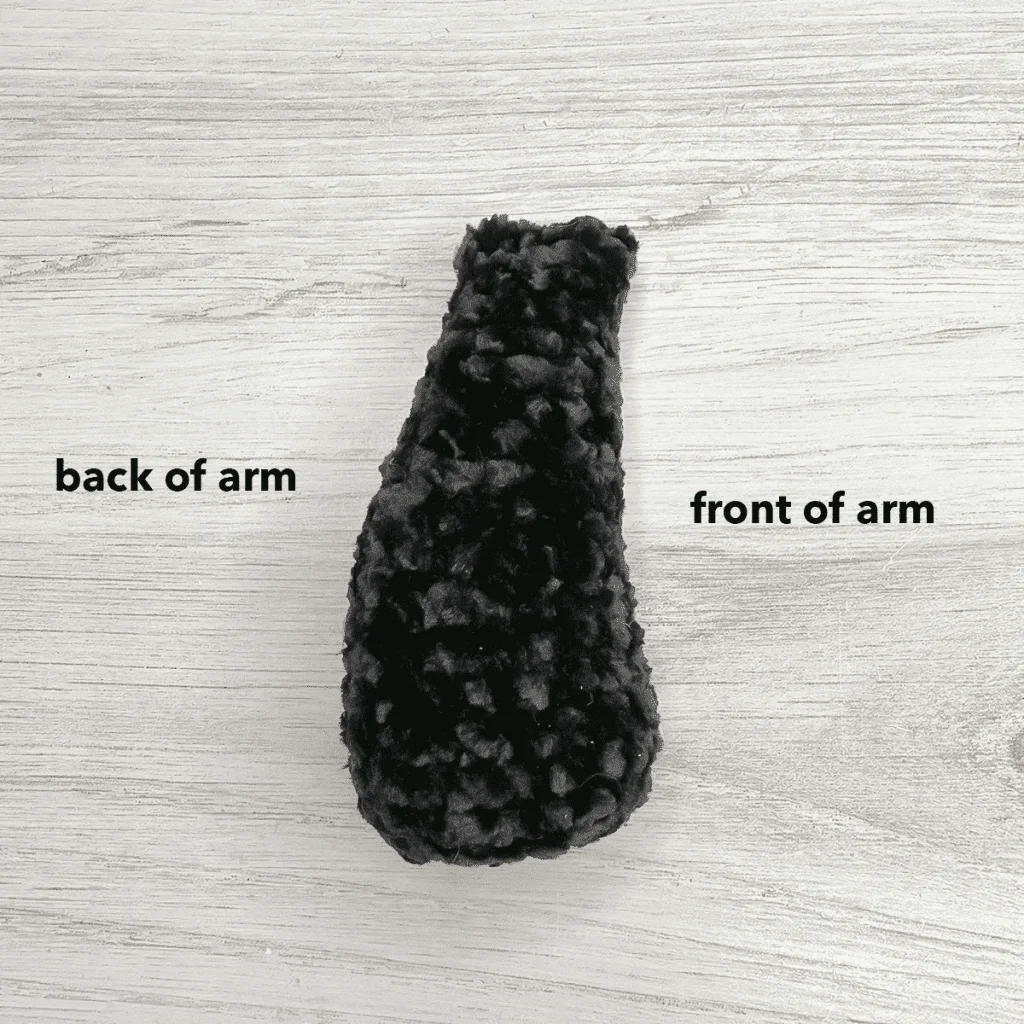
To finish: Stuff lightly, then CSC closed by holding sides of opening together and working through both sets of corresponding loops across. (4 or 5 CSC, depending on the number you decide fits best; just be consistent with both arms.)

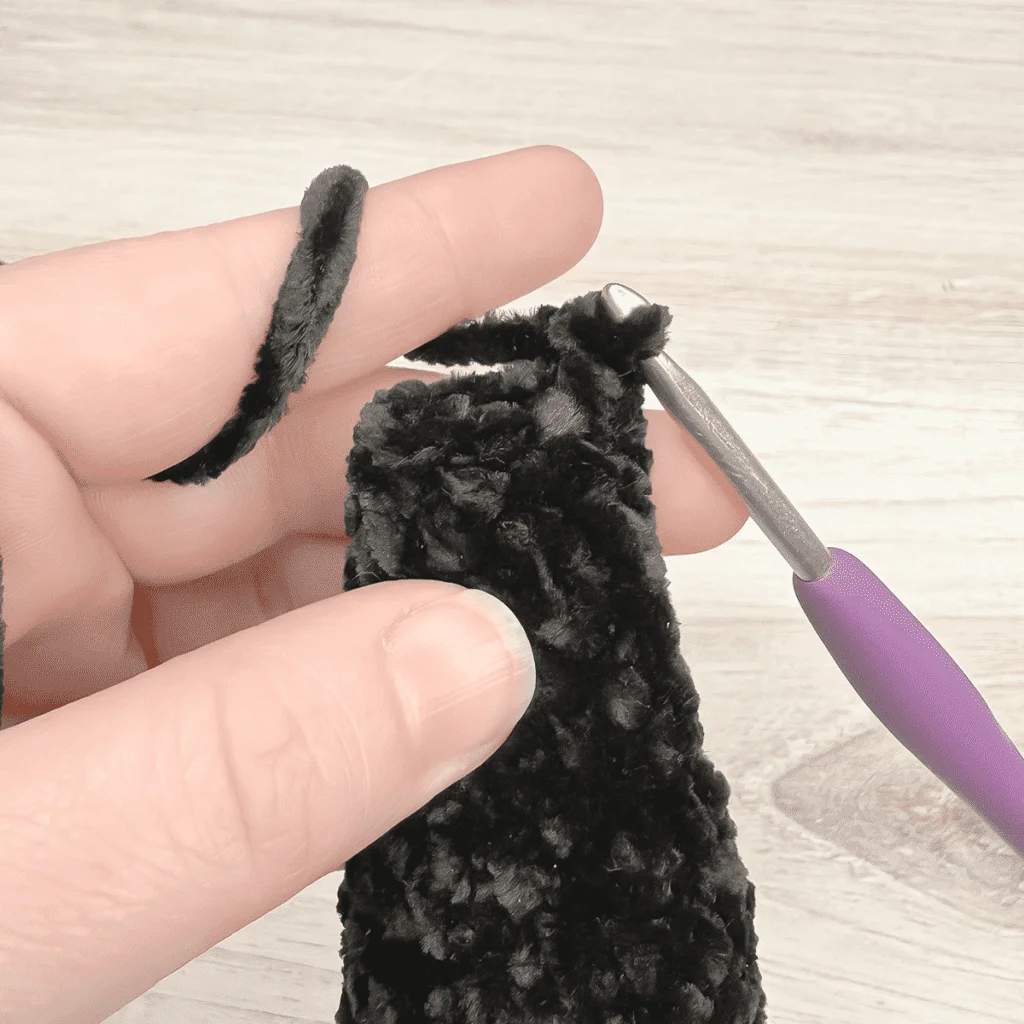
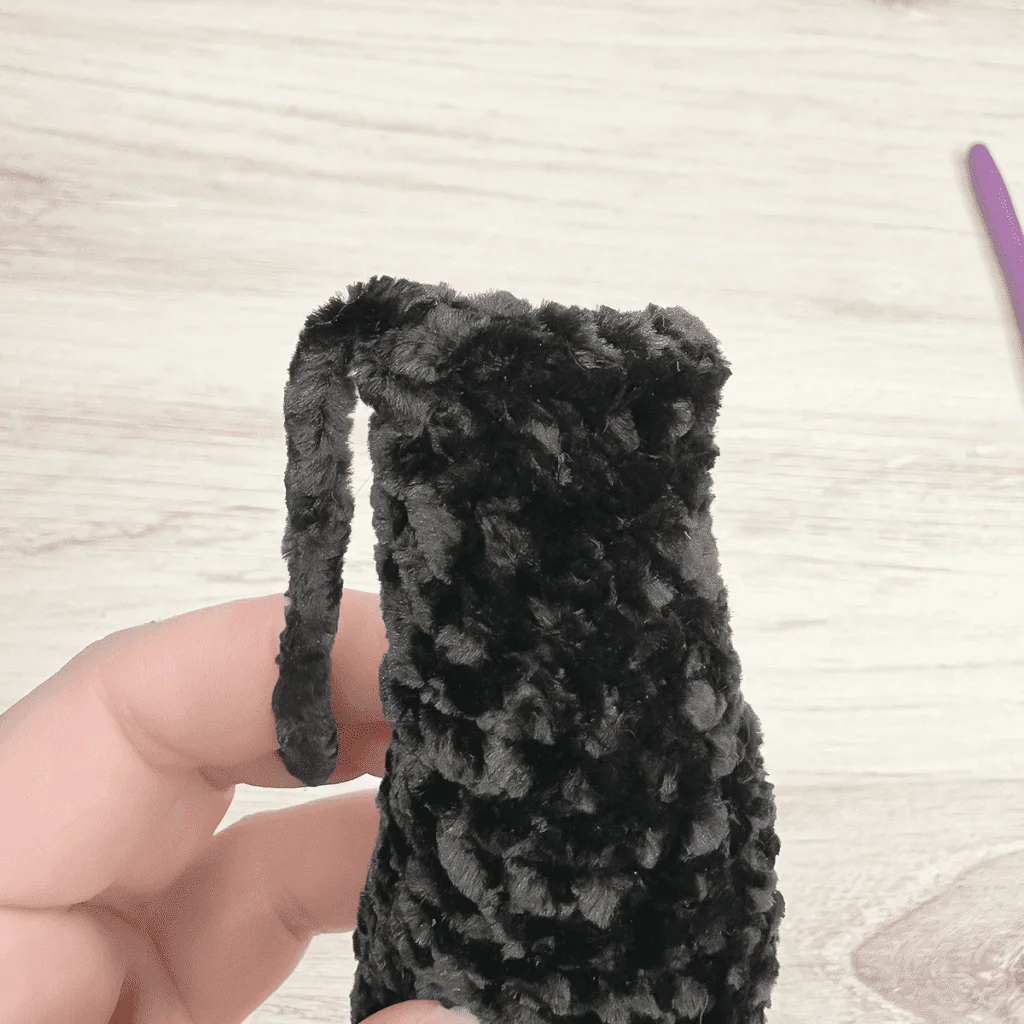
Fasten off and hide ends inside. Set arms aside for later.
LEGS (make 2)
To Begin: With COLOR A, make a Magic Circle; CH1.
Round 1: 7 CSC in MC. (7)
Round 2: INC in each ST around. (14)
Round 3: (INC, CSC) around. (21)
Round 4: (CSC, INC, CSC) around. (28)
Round 5: In BLO, (3 CSC, INC, 3 CSC) around. (32)
Rounds 6-7: CSC in each ST around. (32)
Round 8: (3 CSC, DEC, 3 CSC) around. (28)
Round 9: 10 CSC, 4 DEC, 10 CSC. (24)
Round 10: 8 CSC, 4 DEC, 8 CSC. (20)
Rounds 11-22: CSC in each ST around. (20)
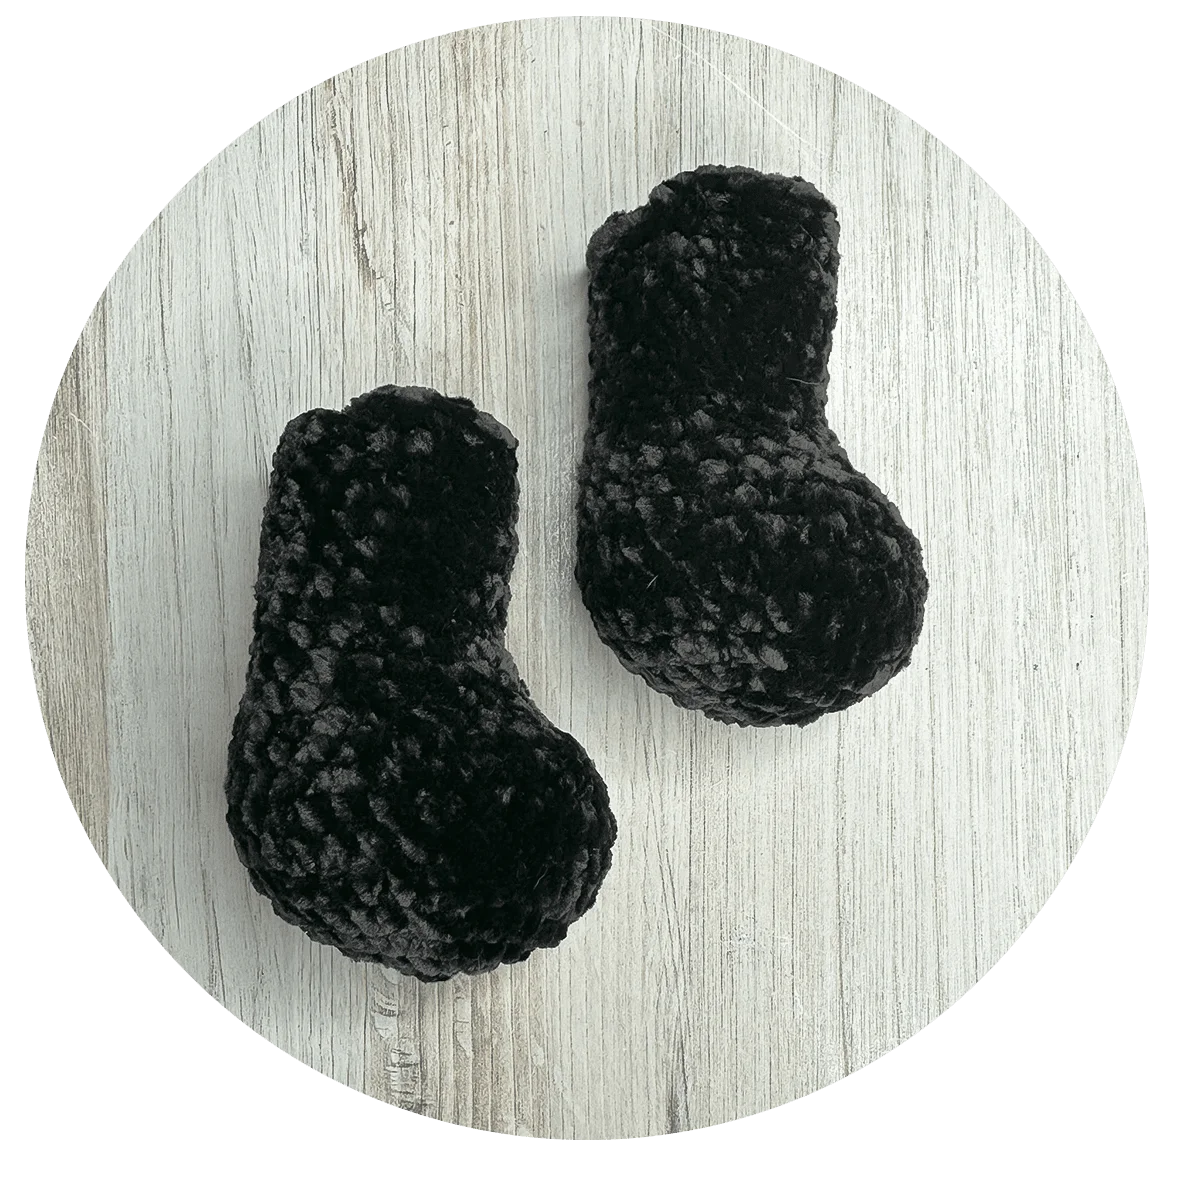
Fasten off. Add stuffing. (I stuff the bottom part of the leg quite densely, then lightly stuff the skinnier part and leave about 1/2” at the top completely unstuffed. This helps the legs stay flexible.)
Continue on to “BODY”.

Continue on to BODY.
BODY

To Begin: Place legs side by side, fronts facing away from you. On the inner sides that sit closest together, locate the centermost stitch on each leg. With COLOR A, join legs together by joining yarn through top loops of BOTH opposing stitches; CH1.
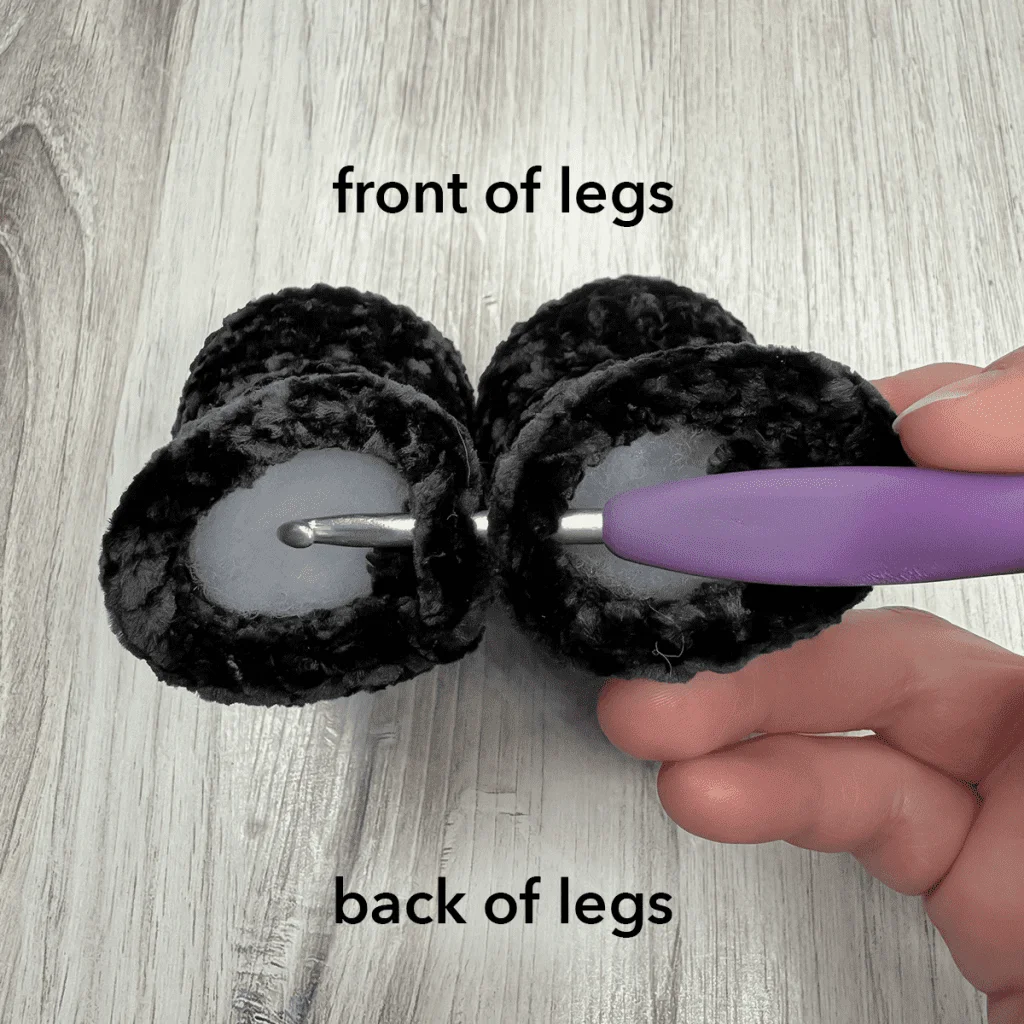
Round 1: CSC in same ST as your CH1 on the left leg, and moving clockwise, CSC in each remain- ing ST around left leg (20 CSC). Continue to the right leg, and CSC again in the same ST as your initial CH1; continue to CSC in each ST around the right leg (20 CSC). (40)

NOTE: When you come to the part on each leg that has the “dropoff” created by the end of the final round, simply CSC until the dropoff and continue immediately to the next unworked stitch after it. (Pretend the dropoff isn’t even there.
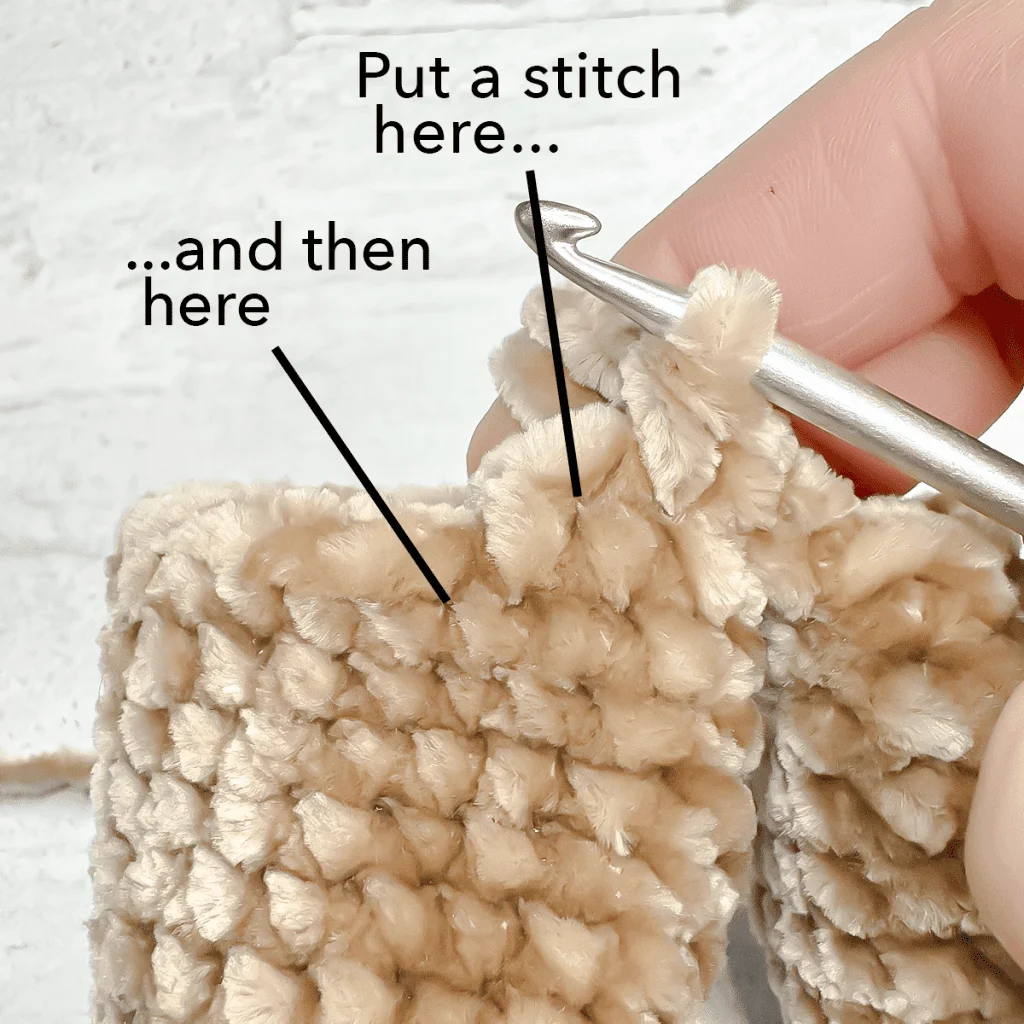
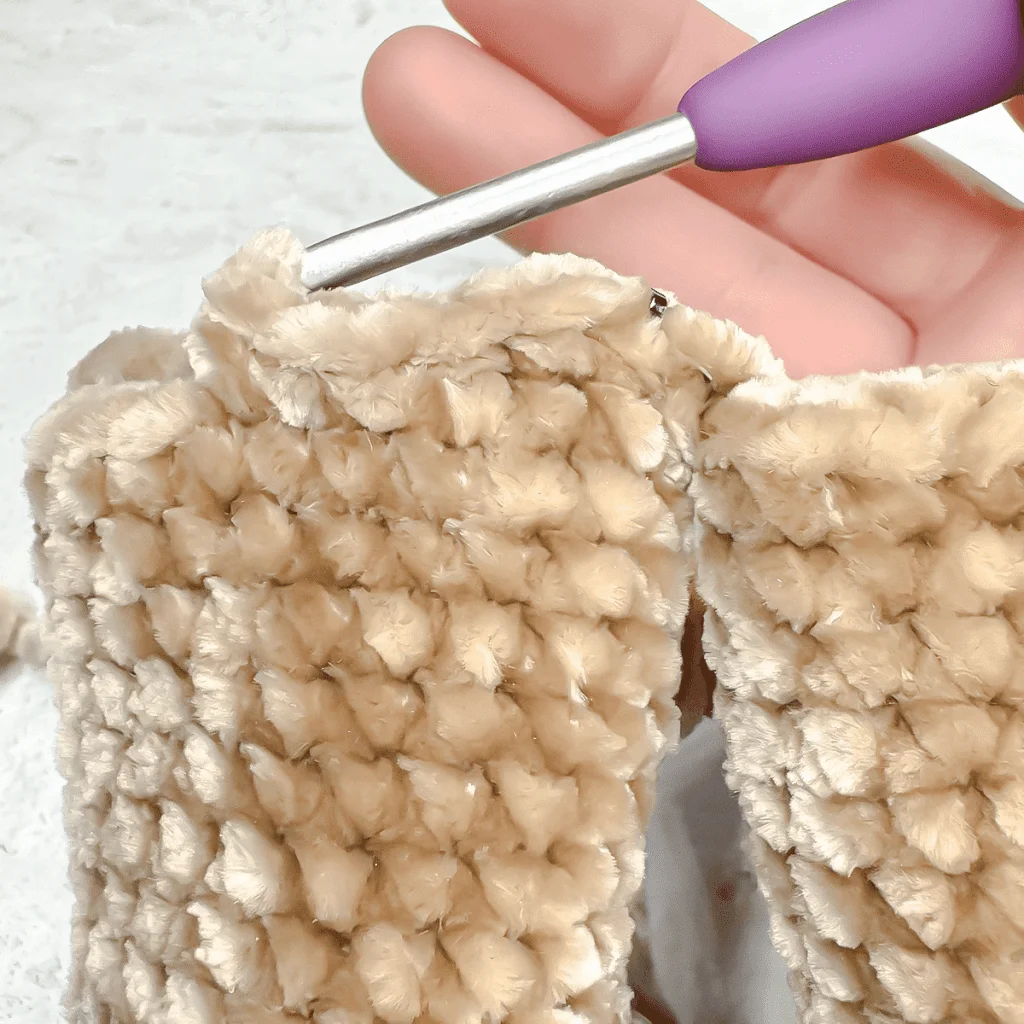
Switch to COLOR B; fasten off COLOR A.
Round 2: With a looser tension, SL ST in each ST around. (40)
Round 3: In BLO for this round only, (INC, 3 CSC) around. (50)
Rounds 4-12: CSC in each ST around. (50)
Round 13: (4 CSC, DEC, 4 CSC) around. (45)
Round 14: CSC in each ST around. (45)
Round 15: (DEC, 7 CSC) around. (40)
Round 16: CSC in each ST around. (40)
Switch to COLOR A; fasten off COLOR B.
Round 17: With a looser tension, SL ST in BLO of each ST around. (40)
Round 18: In BLO, (3 CSC, DEC, 3 CSC) around. (35)
Round 19: CSC in each ST around. (35)
Round 20: (DEC, 5 CSC) around. (30)
Along Round 20, use stitch markers to mark 4 or 5 STS for each arm (depending on how many STS you used to seam the arms).

Round 21: CSC in each ST around, attaching arms as you go by inserting hook into corresponding ST on arm AND body. (30)
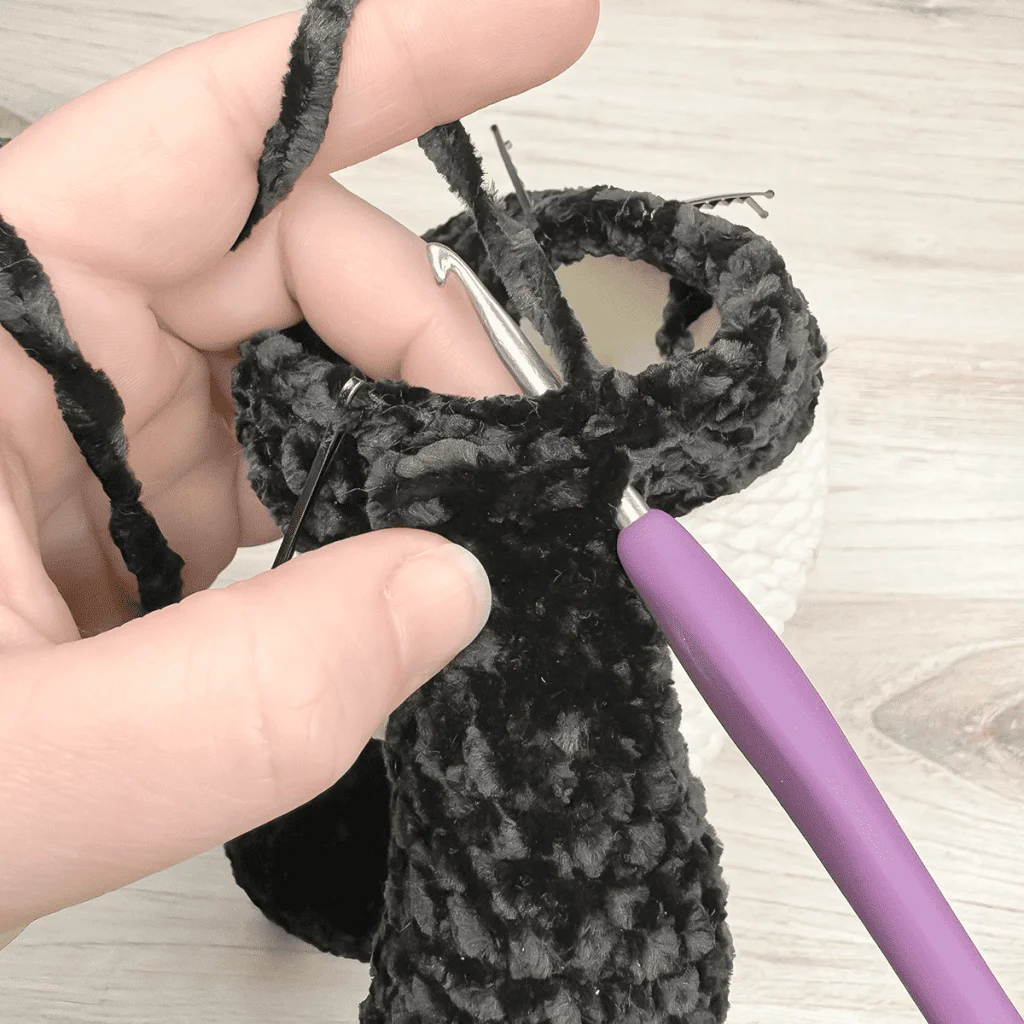
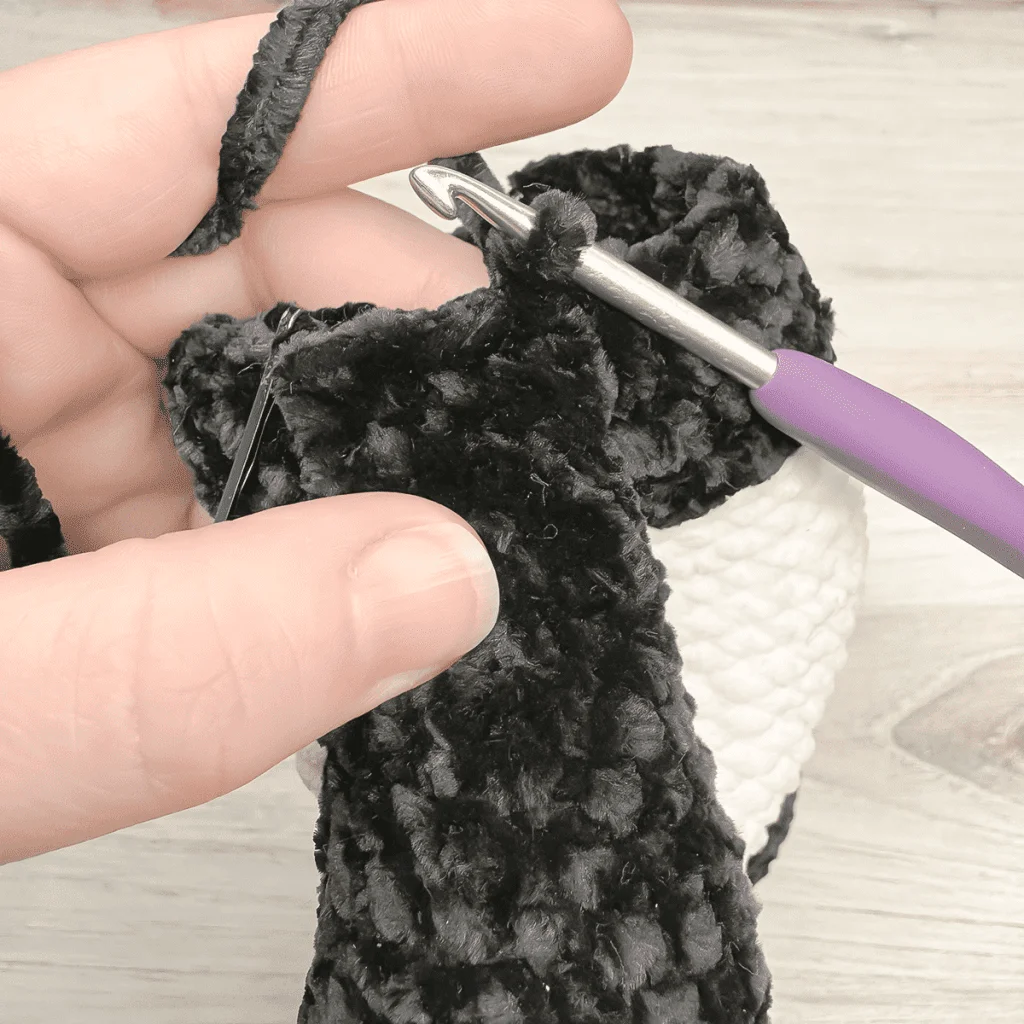
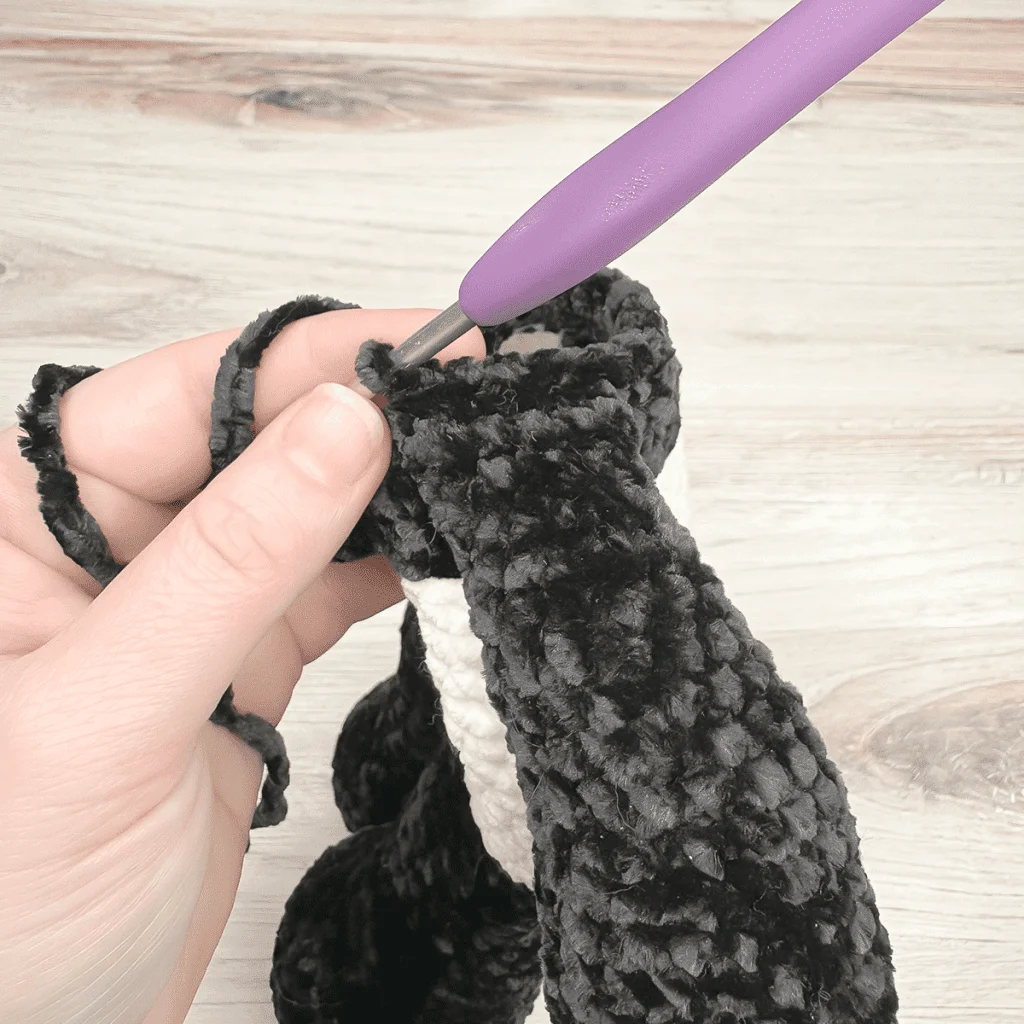
Round 22: (DEC, 3 CSC) around. (24)
Stuff as desired. Continue on to “HEAD”.
HEAD
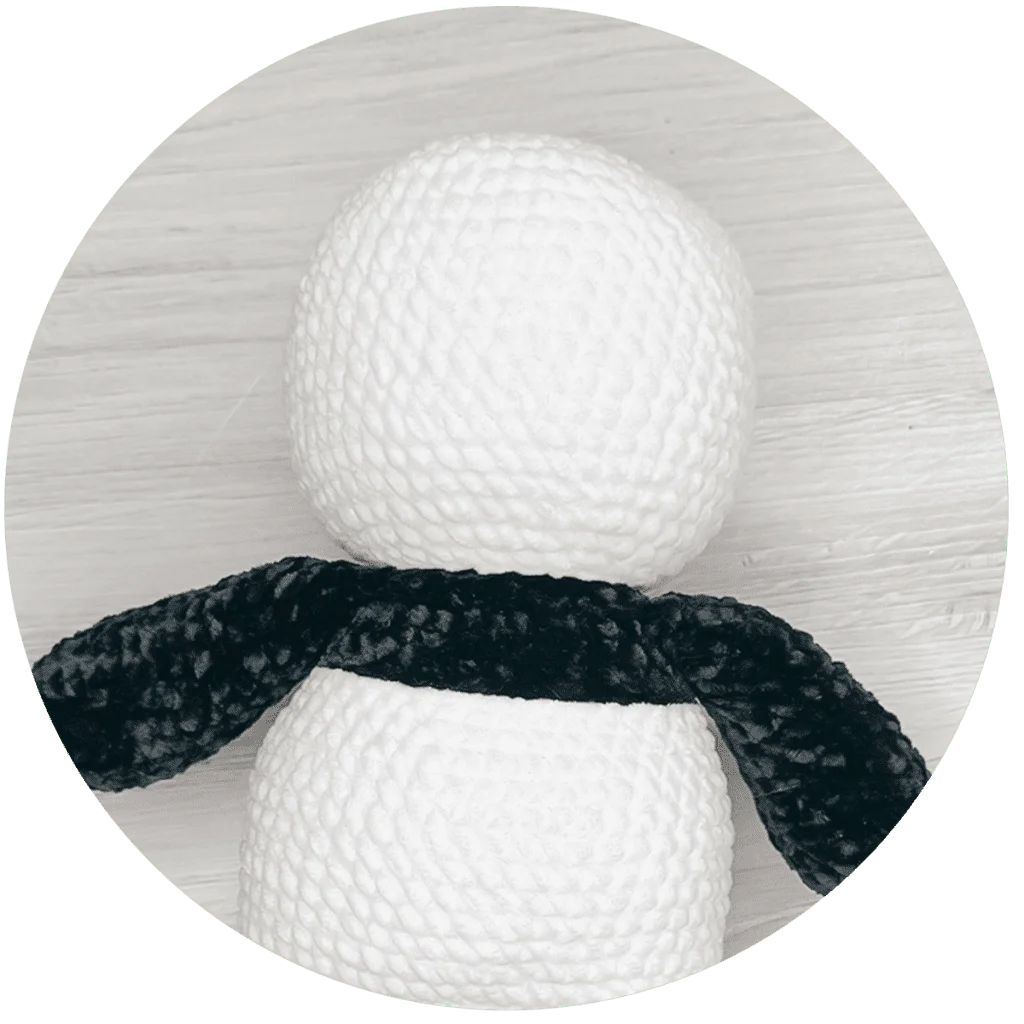
Continuing from Round 22 (BODY), switch to COLOR B; fasten off COLOR A.
Round 23: With a looser tension, SL ST in BLO of each ST around. (24)
Round 24: In BLO, (CSC, INC, CSC) around. (32)
Round 25: (INC, 3 CSC) around. (40)
Round 26: (2 CSC, INC, 2 CSC) around. (48)
Round 27: (INC, 11 CSC) around. (52)
Round 28-38: CSC in each ST around. (52)
Round 39: (DEC, 11 CSC) around. (48)
Round 40: (2 CSC, DEC, 2 CSC) around. (40)
Round 41: (DEC, 3 CSC) around. (32)
Round 42: (CSC, DEC, CSC) around. (24)
Stuff here, and continue to add stuffing as desired until you close it up.
Round 43: (DEC, CSC) around. (16)
Round 44: DEC around. (8)
To finish: Fasten off with a long tail. Thread tail through a yarn needle and weave the needle in and out of the outer loops of the previous round, all the way around. Slowly pull circle closed. (Be careful if you’re using single-ply yarn, it breaks easily!)
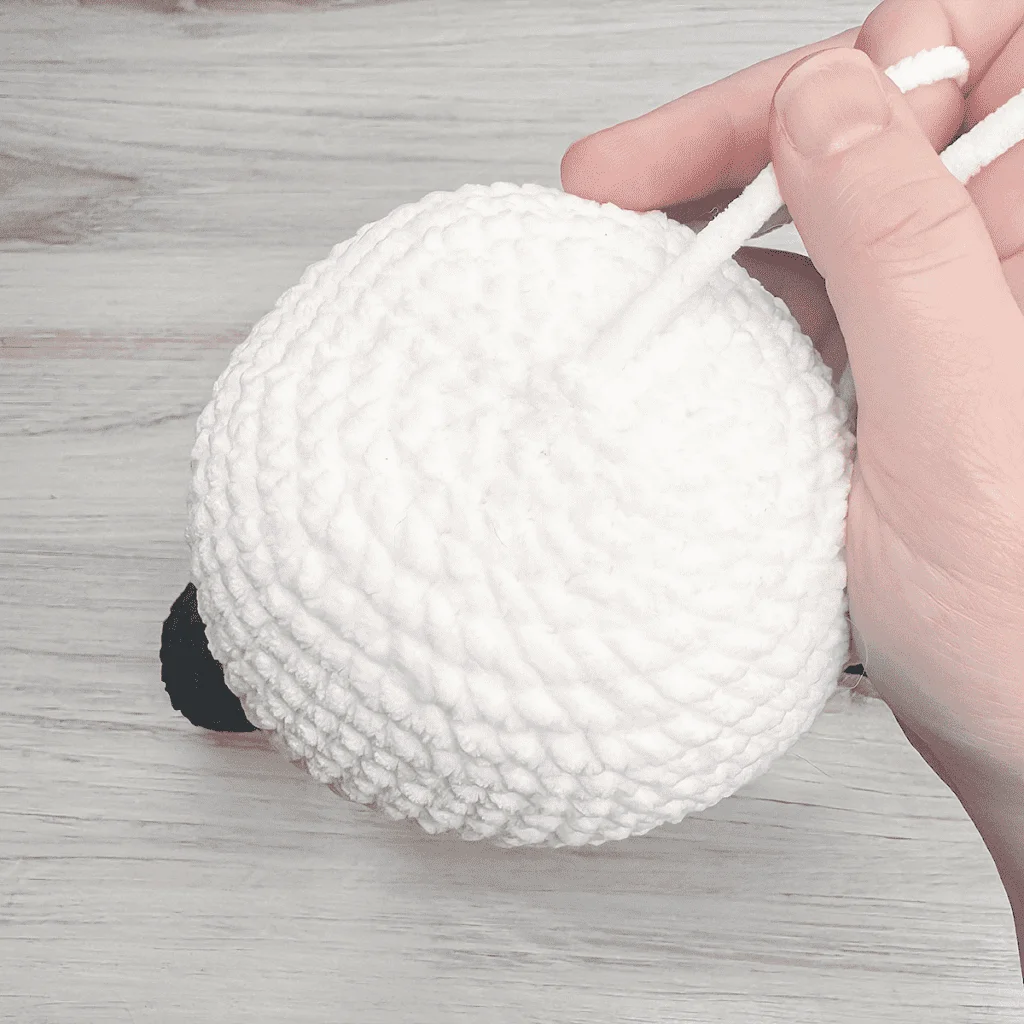
Tie a knot, then hide knot and tail inside head.
SNOUT
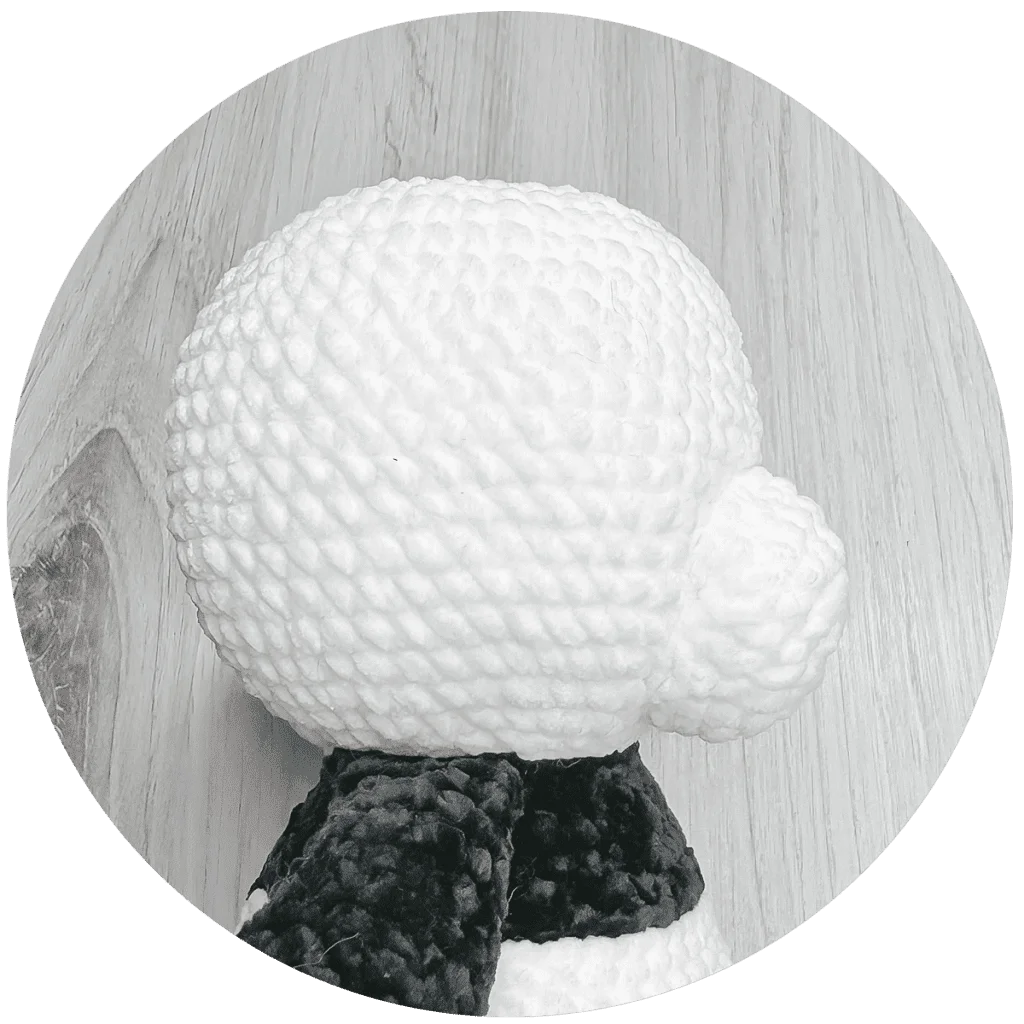
To Begin: With COLOR B, CH4.
Round 1: Starting in 2nd CH from hook, and working into only the back loop of each chain stitch, INC, CSC, INC. Working around to the other side of the CH, and working in the unworked loops of each chain stitch, INC, CSC, INC. (10)
Round 2: 2 INC, CSC, 4 INC, CSC, 2 INC. (18)
Round 3: INC, CSC, INC, 2 CSC, (INC, CSC) 4 times, CSC, INC, CSC, INC, CSC. (26)
Rounds 4-5: CSC in each ST around. (26)
To finish: SL ST in next ST. Fasten off, leaving a long tail for sewing.
ATTACHING THE SNOUT
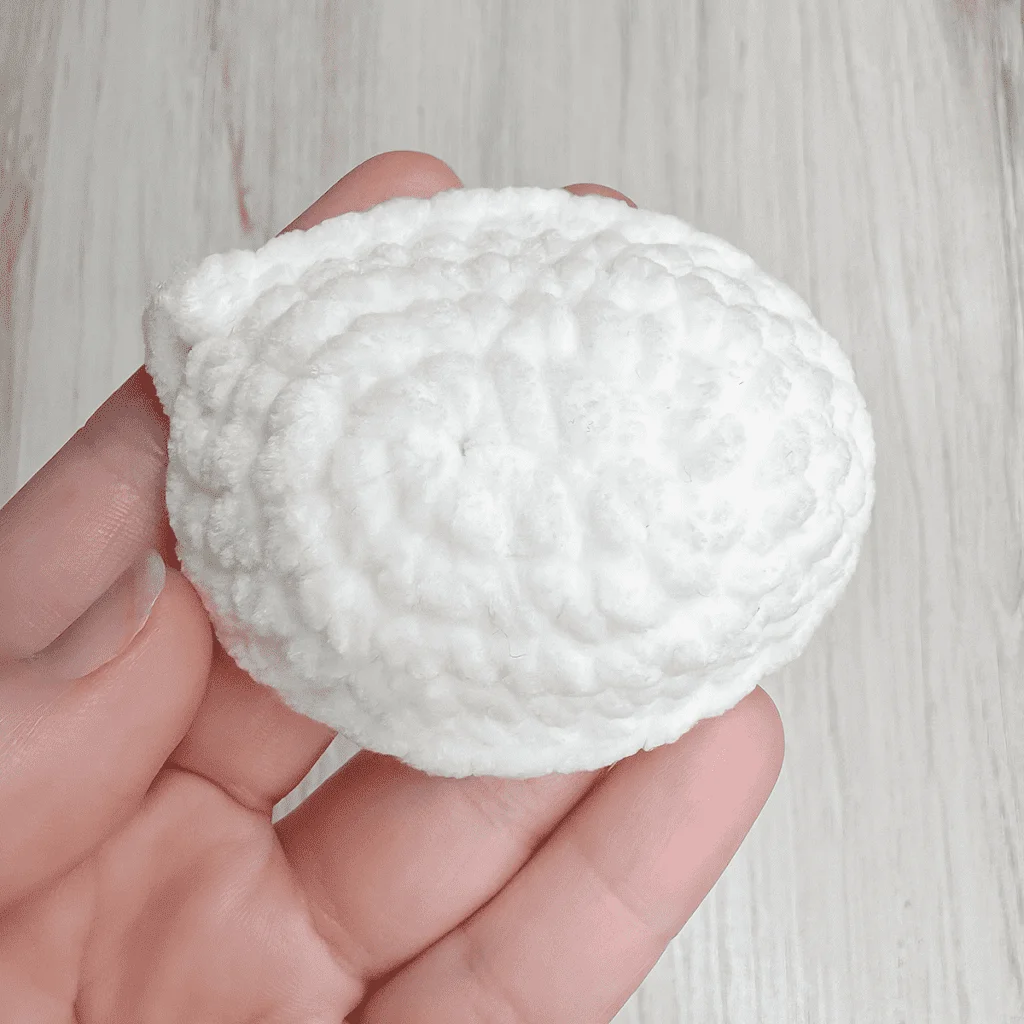
Use finishing tail to sew snout to face. Add stuffing when halfway around, and continue to add stuffing as desired until finished. Knot and hide finishing tail inside head.
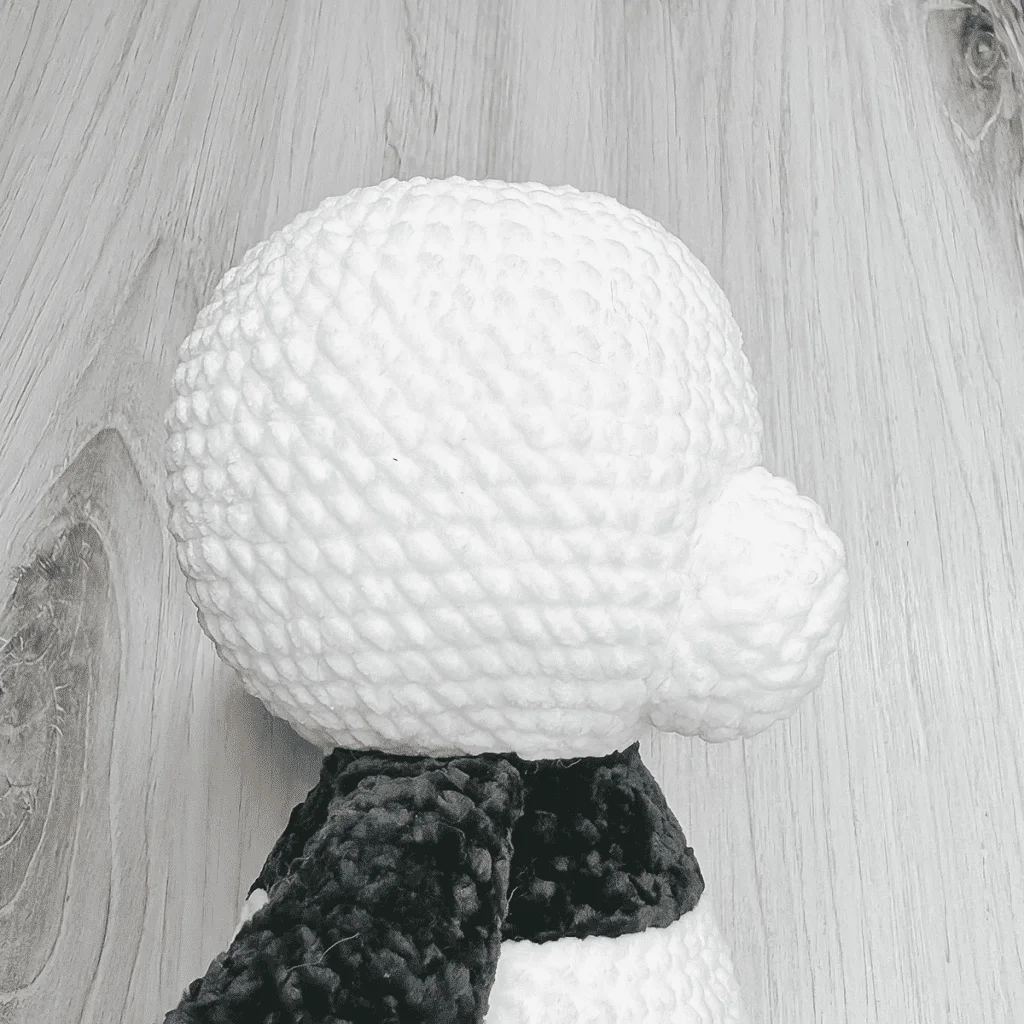
Bottom of snout should be just a round or two above the crease of the neck, extending up to about the 10th round of the head.

EARS
To Begin: With COLOR A, CH4.
Round 1: Starting in 2nd CH from hook, and working into only the back loop of each chain stitch, INC, CSC, INC. Working around to the other side of the CH, and working in the unworked loops of each chain stitch, INC, CSC, INC. (10)
Round 2: INC, 3 CSC, 2 INC, 3 CSC, INC. (14)
Round 3: INC, 5 CSC, 2 INC, 5 CSC, INC. (18)
Rounds 4-5: CSC in each ST around. (18)
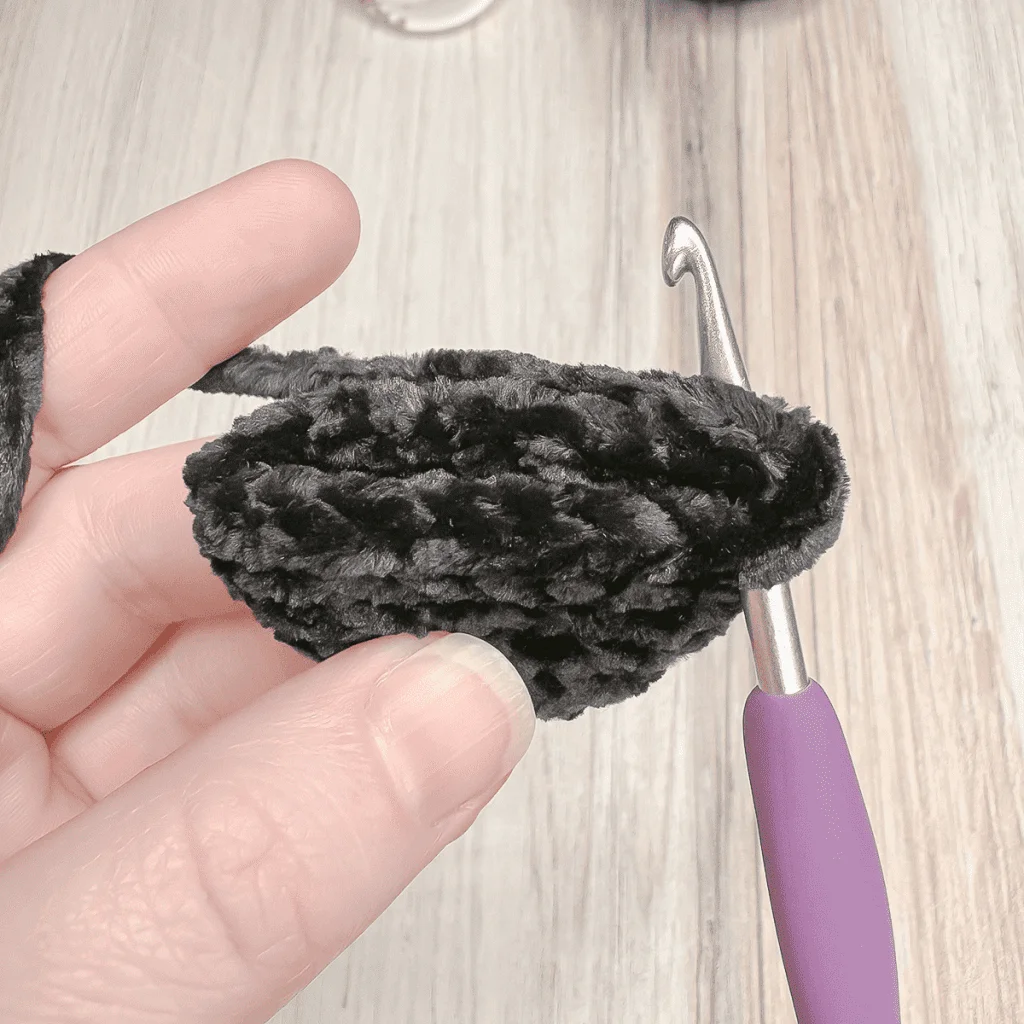
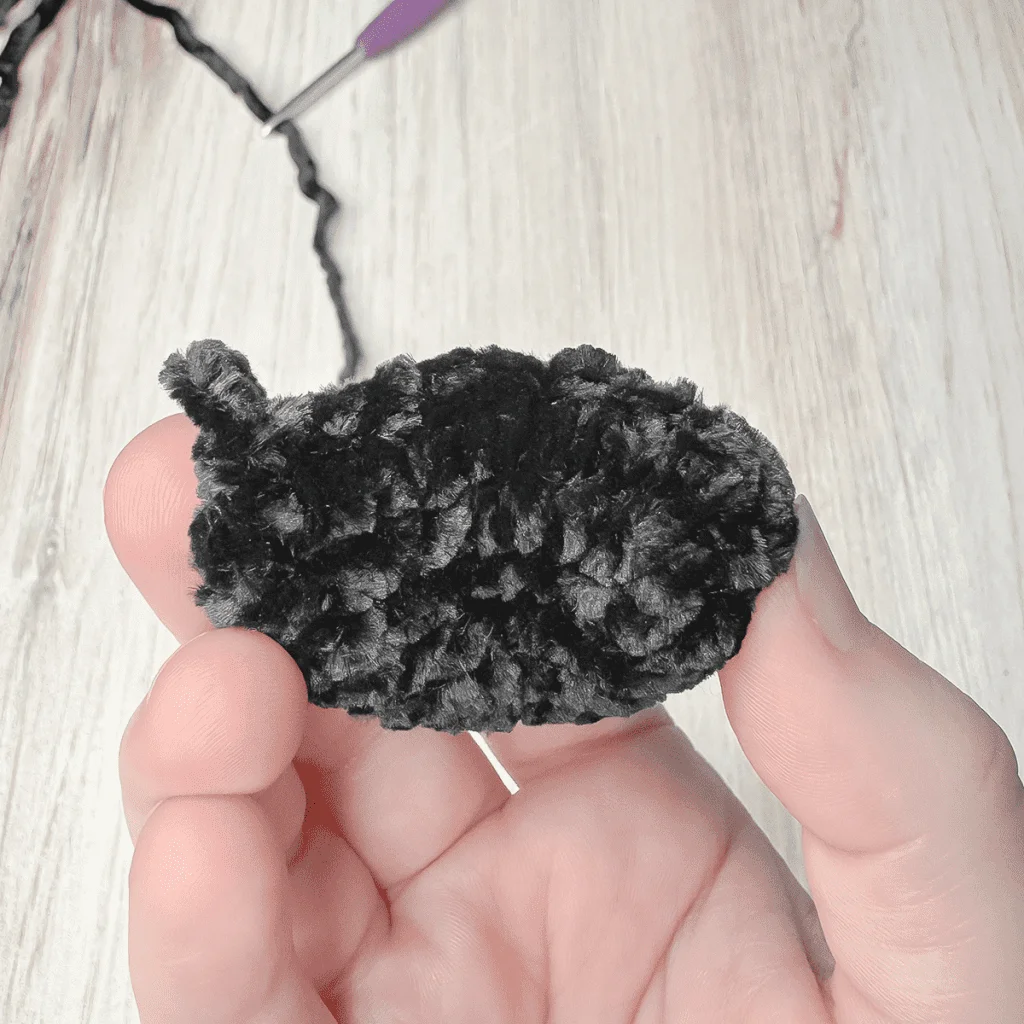
To finish: SL ST in each of the next 2 STS; remove hook. Secure and trim starting tail, then CSC ear closed by folding in half along the starting chain, and working through both sets of corresponding loops across. Fasten off, leaving a long tail for sewing.
ATTACHING THE EARS
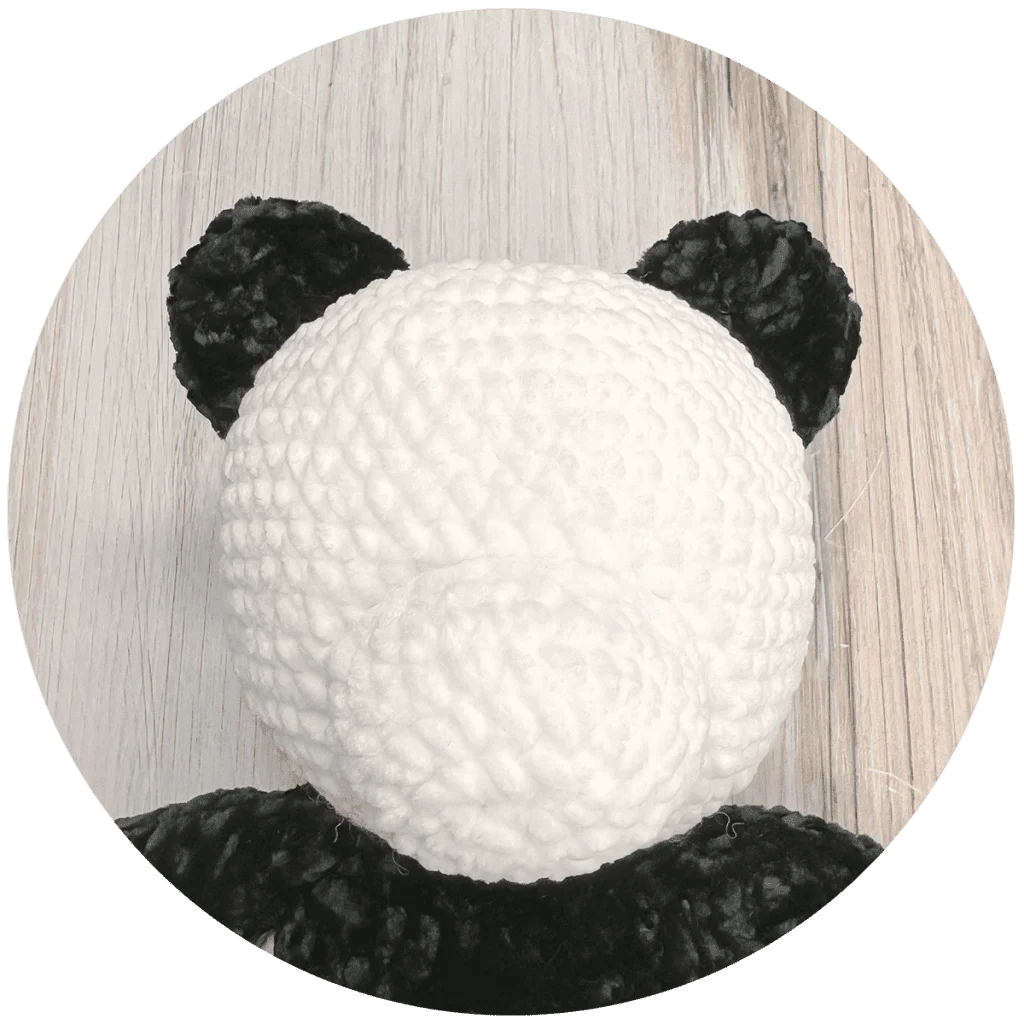
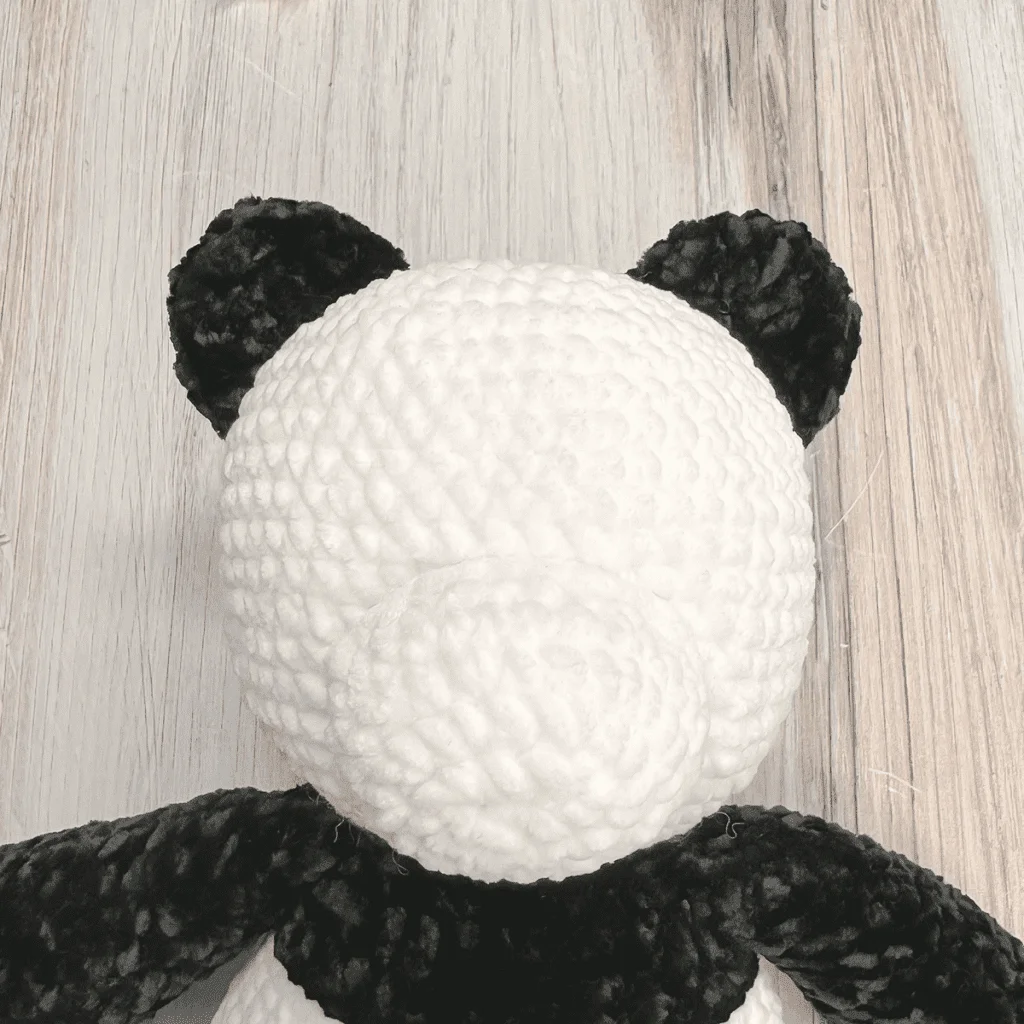
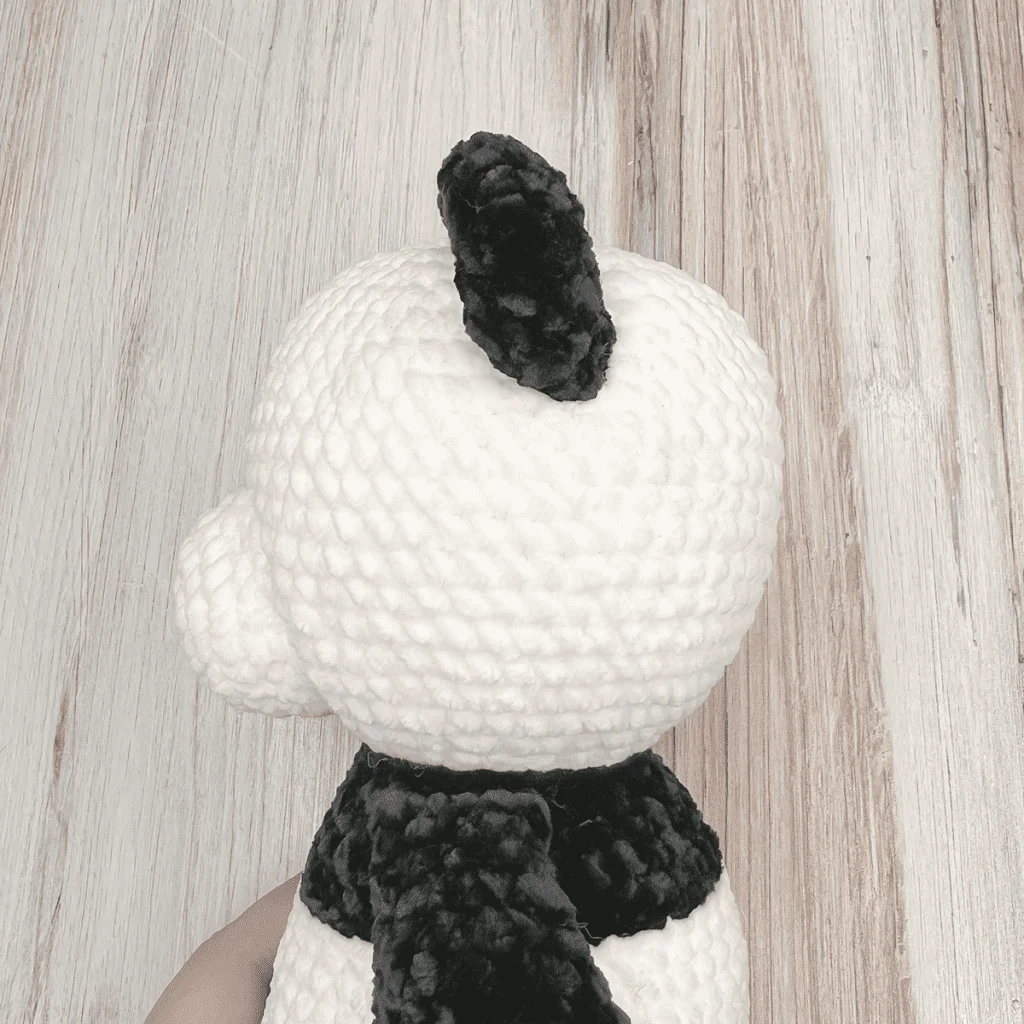
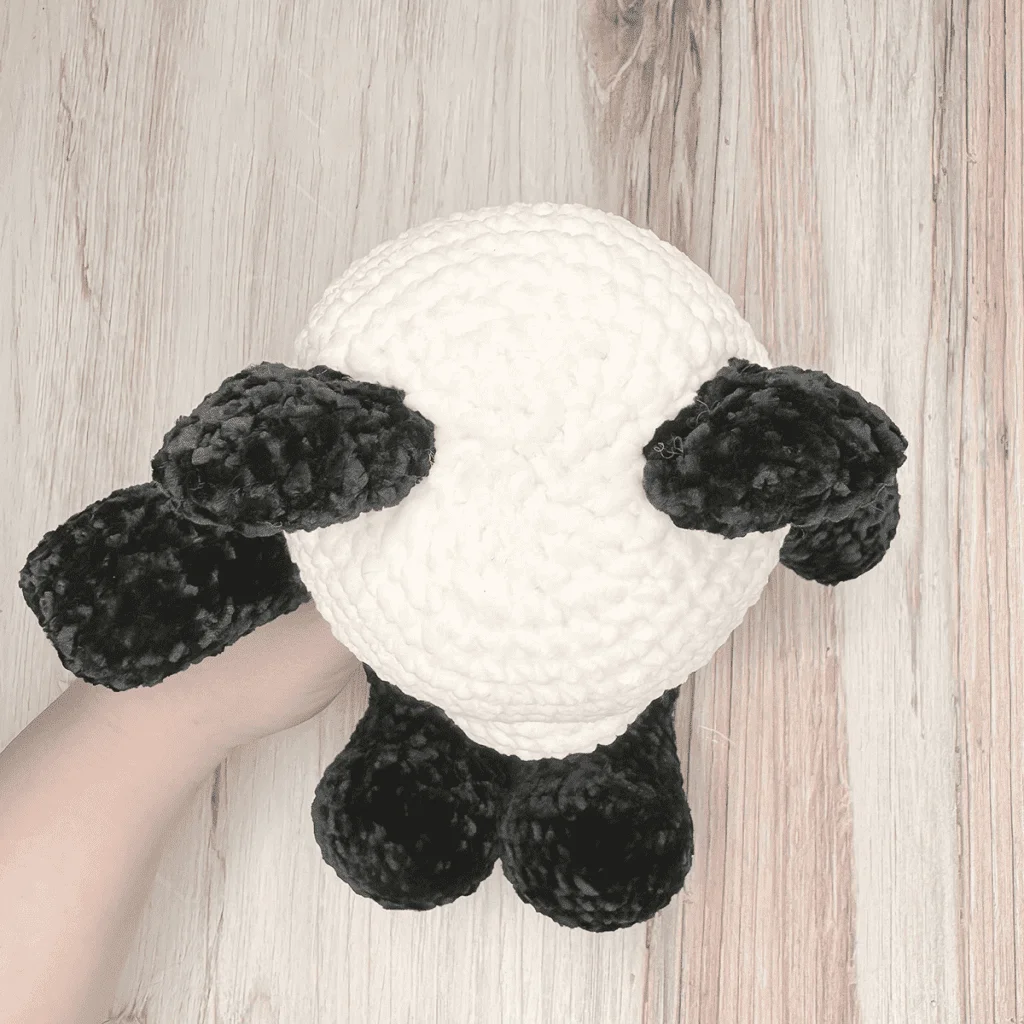
Use finishing tail to sew ears to sides of head. (Mine are attached halfway back on the head starting at the 4th round down from the top of the head.) Tie a knot at the base of the ear and hide knot and tail inside head.
EYE PATCHES
To Begin: With COLOR A, CH5.
Round 1: Starting in 2nd CH from hook, and working into only the back loop of each chain stitch, INC, 2 CSC, INC. Working around to the other side of the CH, and working in the unworked loops of each chain stitch, INC, 2 CSC, INC. (12)
Round 2: 4 CSC in next ST, INC, DEC, INC, 4 CSC in next ST. SL ST in next ST and leave the rest unworked. (13 + SL ST)
Fasten off with a long tail for sewing to face.
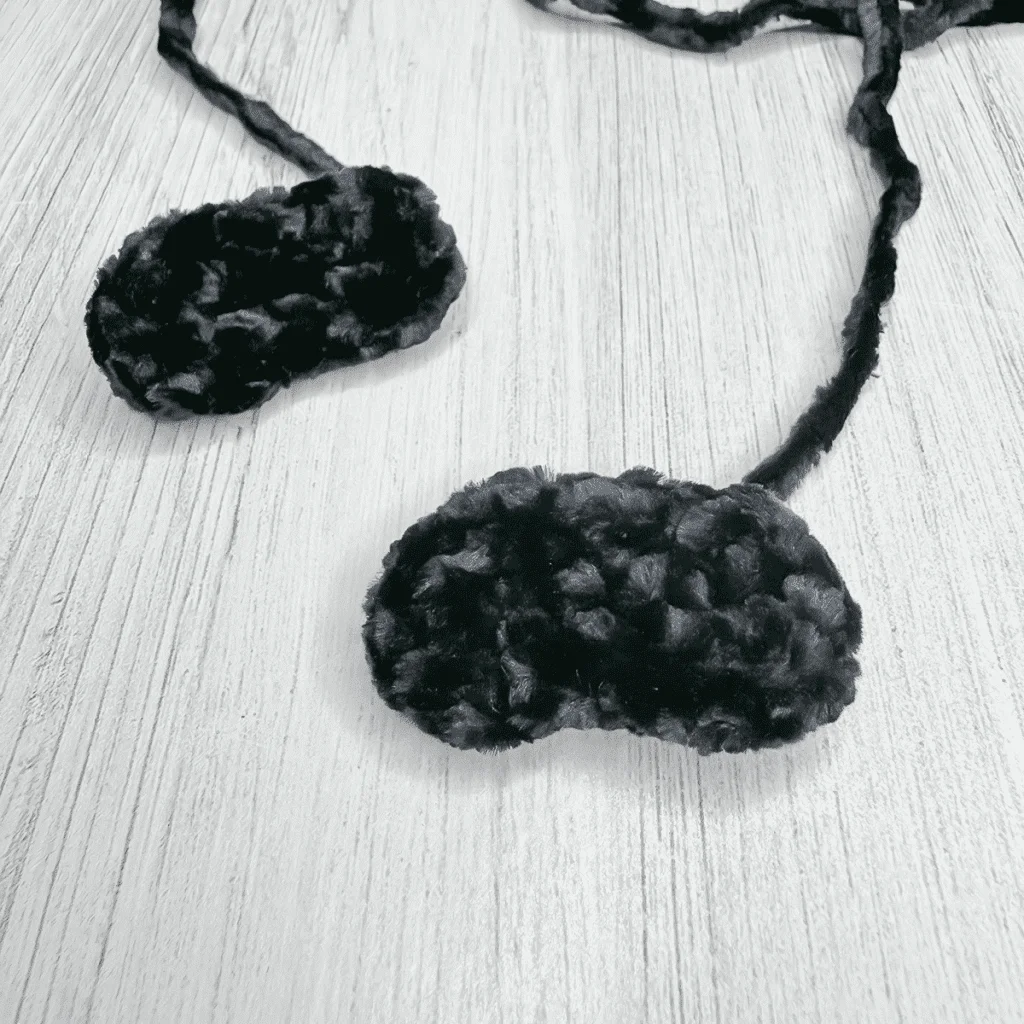
ADDING THE EYES
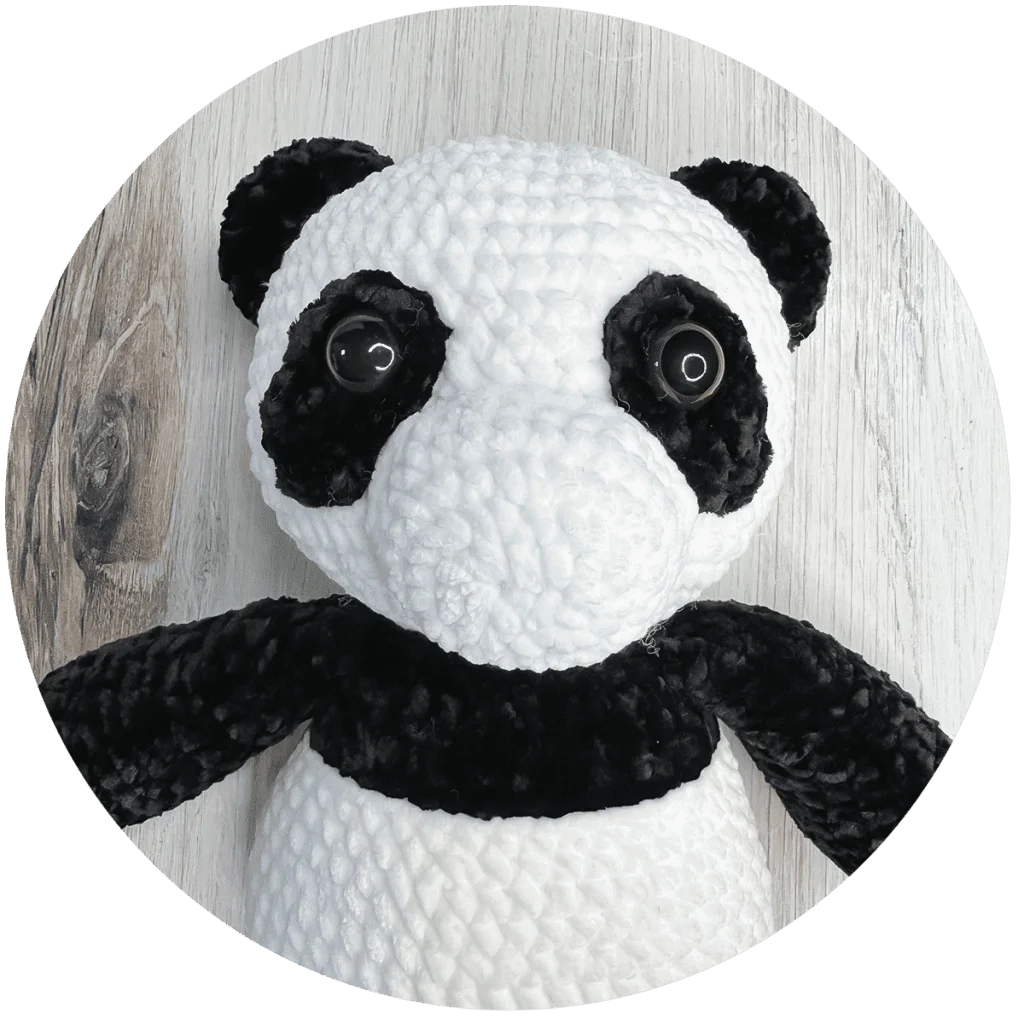
Attach eyes close to the edge of each eye patch, making sure to attach them at opposite ends as shown.
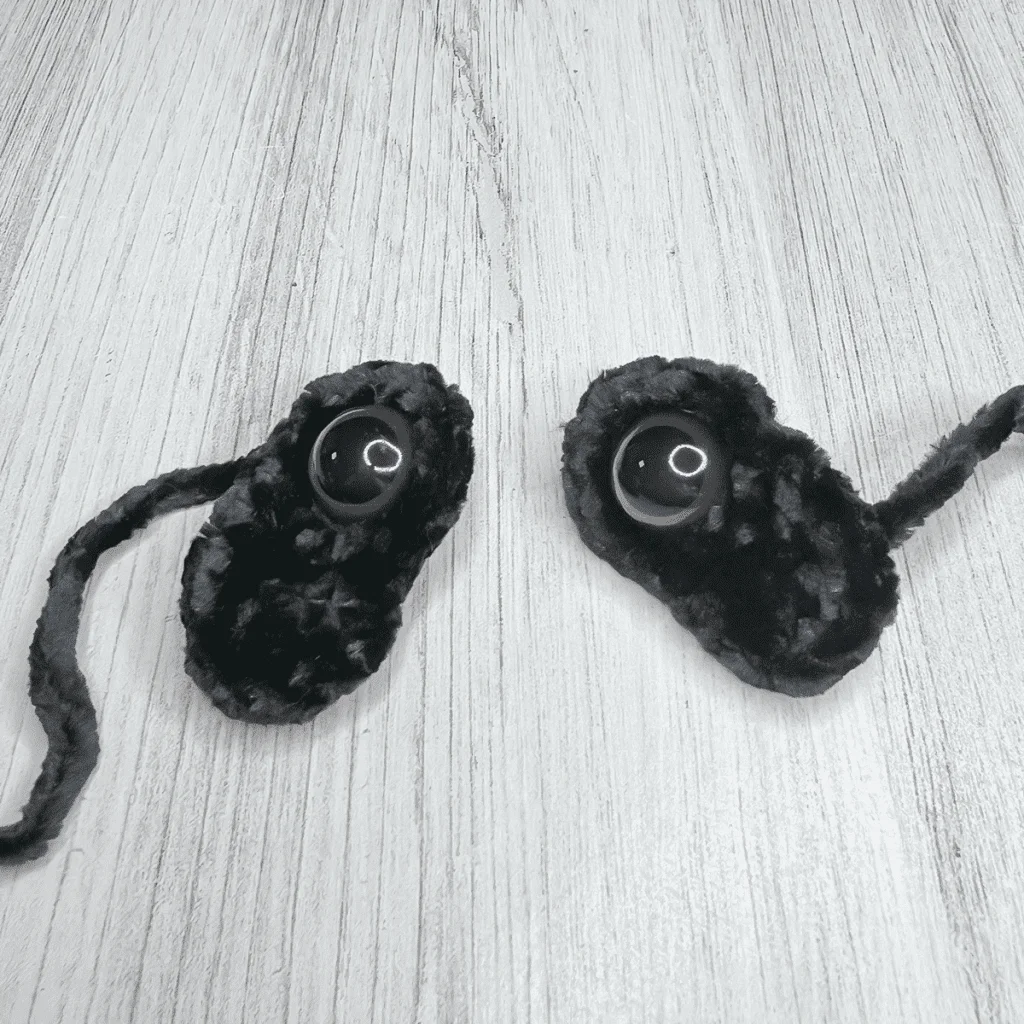
ATTACHING THE EYE PATCHES
Use finishing tail to sew eyes to face: Place eyes up against snout, with about 3-4 stitches between them above the snout. Secure tail with a knot; hide knot and tail inside head.

FACIAL DETAILS
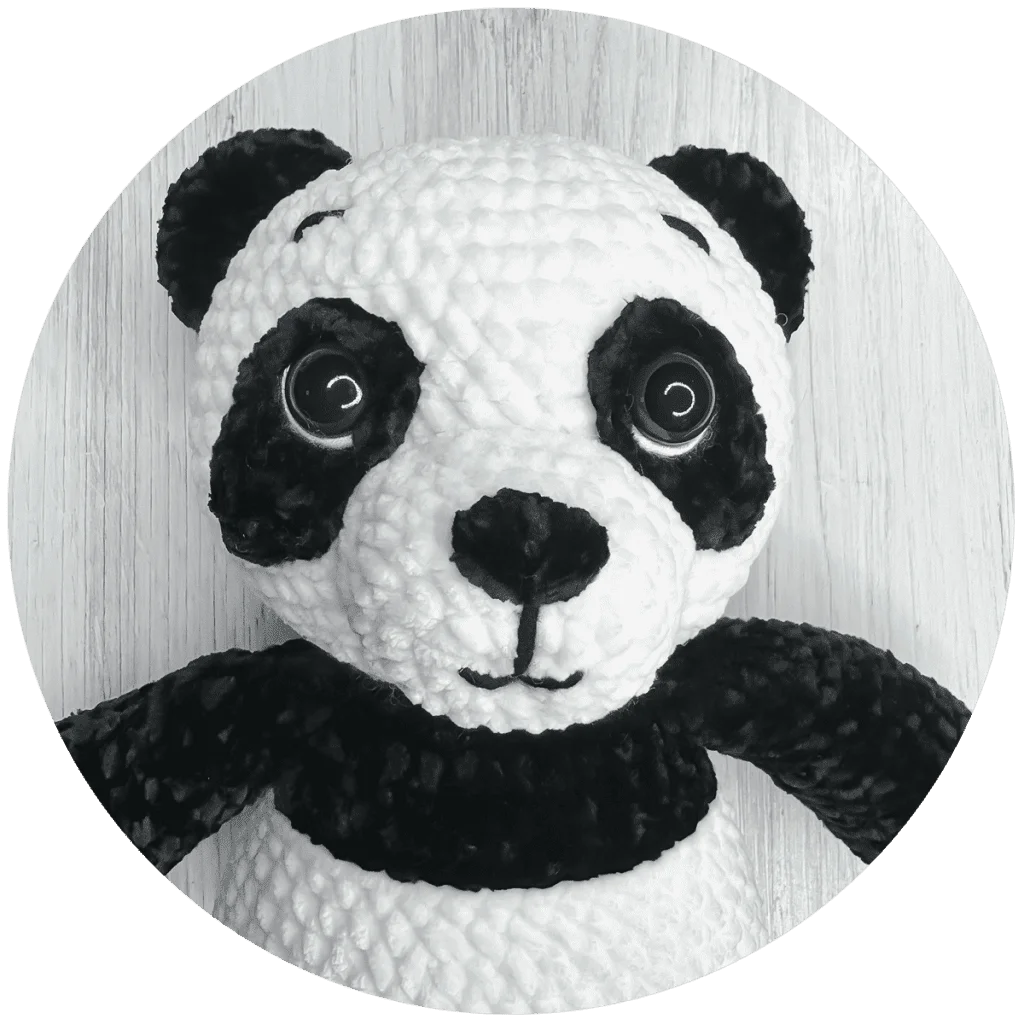
EMBROIDERING THE NOSE
Determine your nose placement. (The bottom point of mine starts between Rounds 2 and 3 of the snout, and the top edge is one round up from there, 4 stitches wide.) With COLOR A, entering from a stitch on the back of the head, “draw” the V that will form the bottom of the nose.

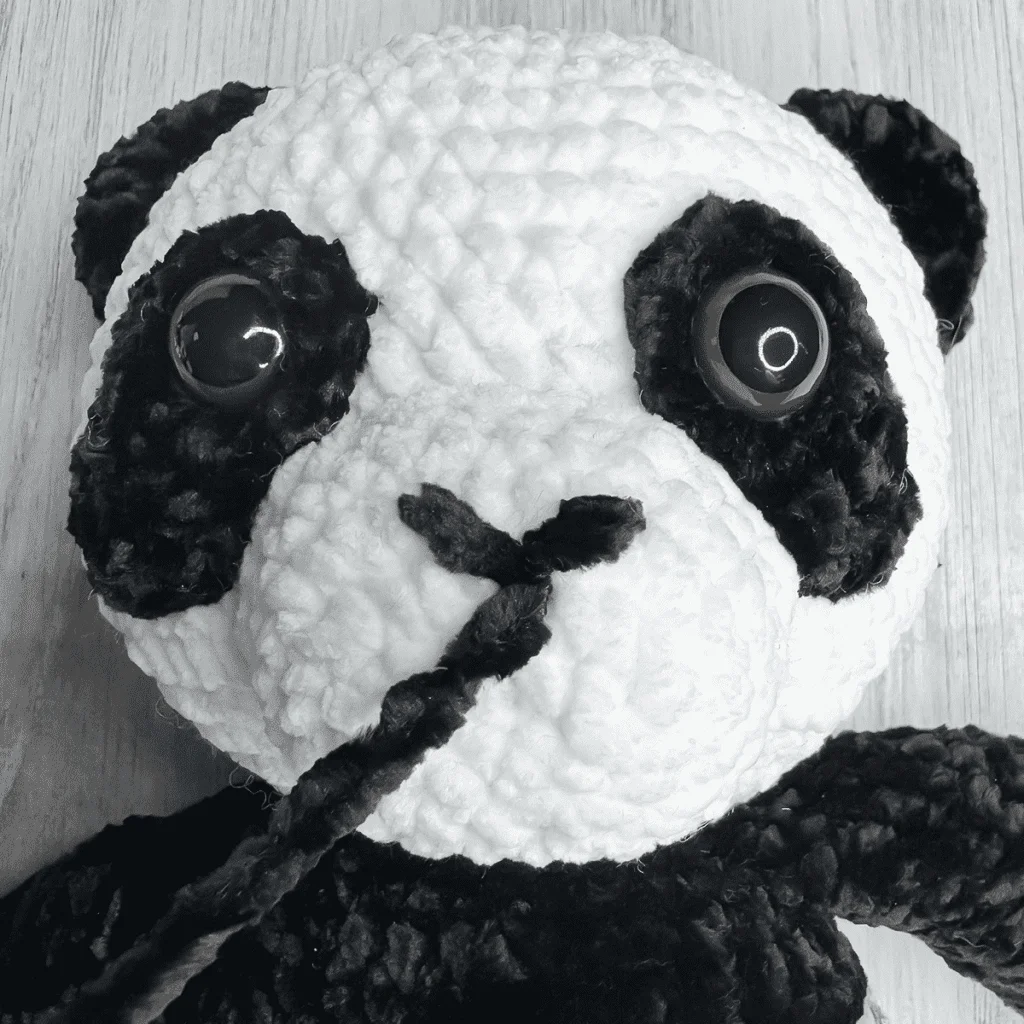
Build in the nose by drawing several more lines that fill in the space between the V. All of the lines should meet at the bottom point of the V. (Tip: Don’t pull too tight, or you’ll start to warp the bottom of the nose.) Then, draw a line across the top to clean up the top edge.
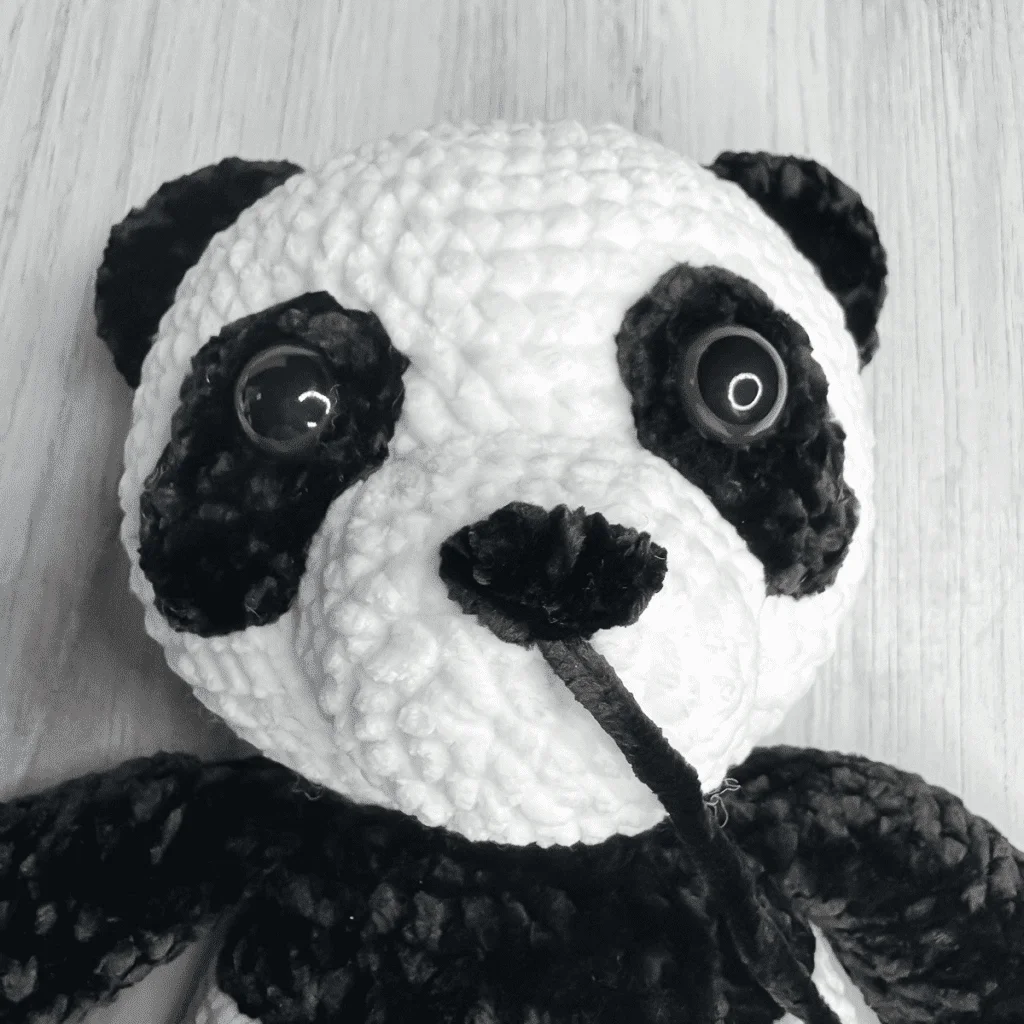
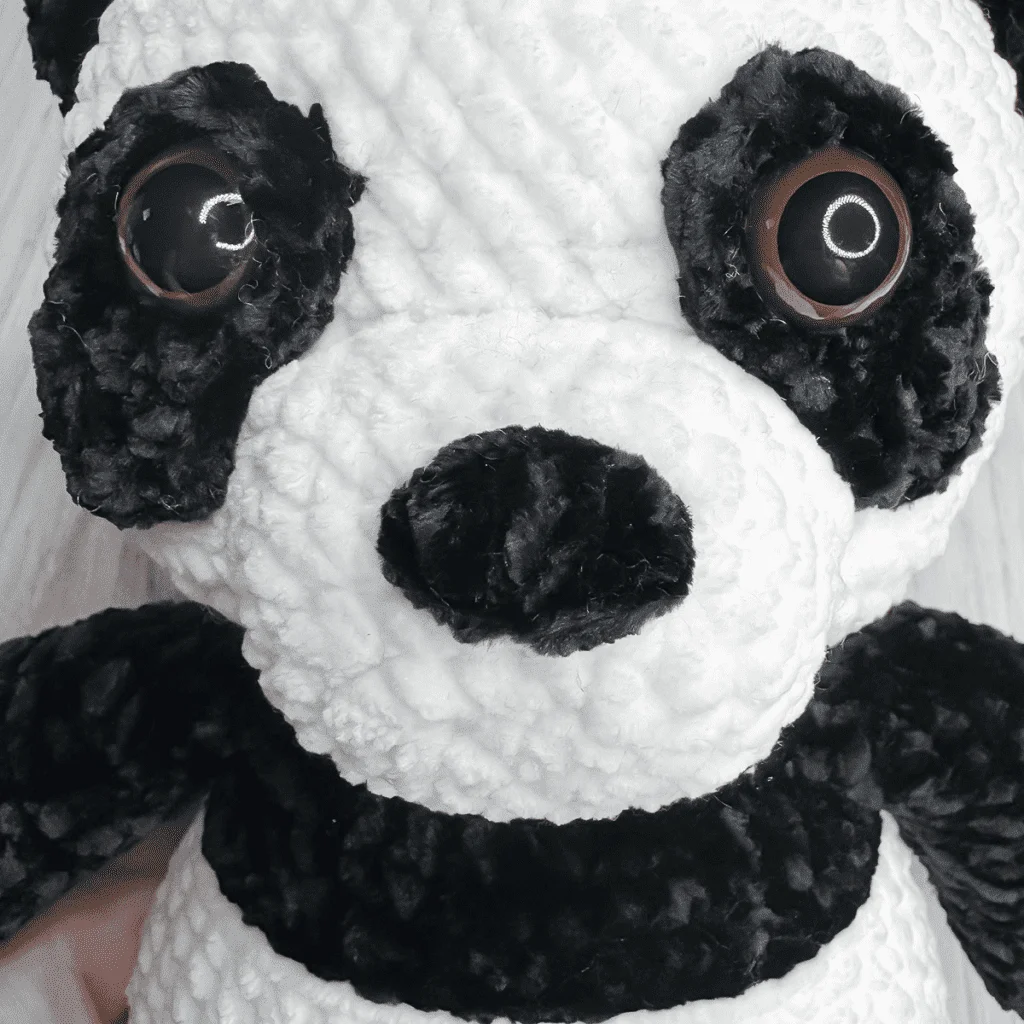
Exit the back of the head through the same stitch you entered, tie a knot, and hide the knot and tail inside the head.
OUTLINING THE EYES
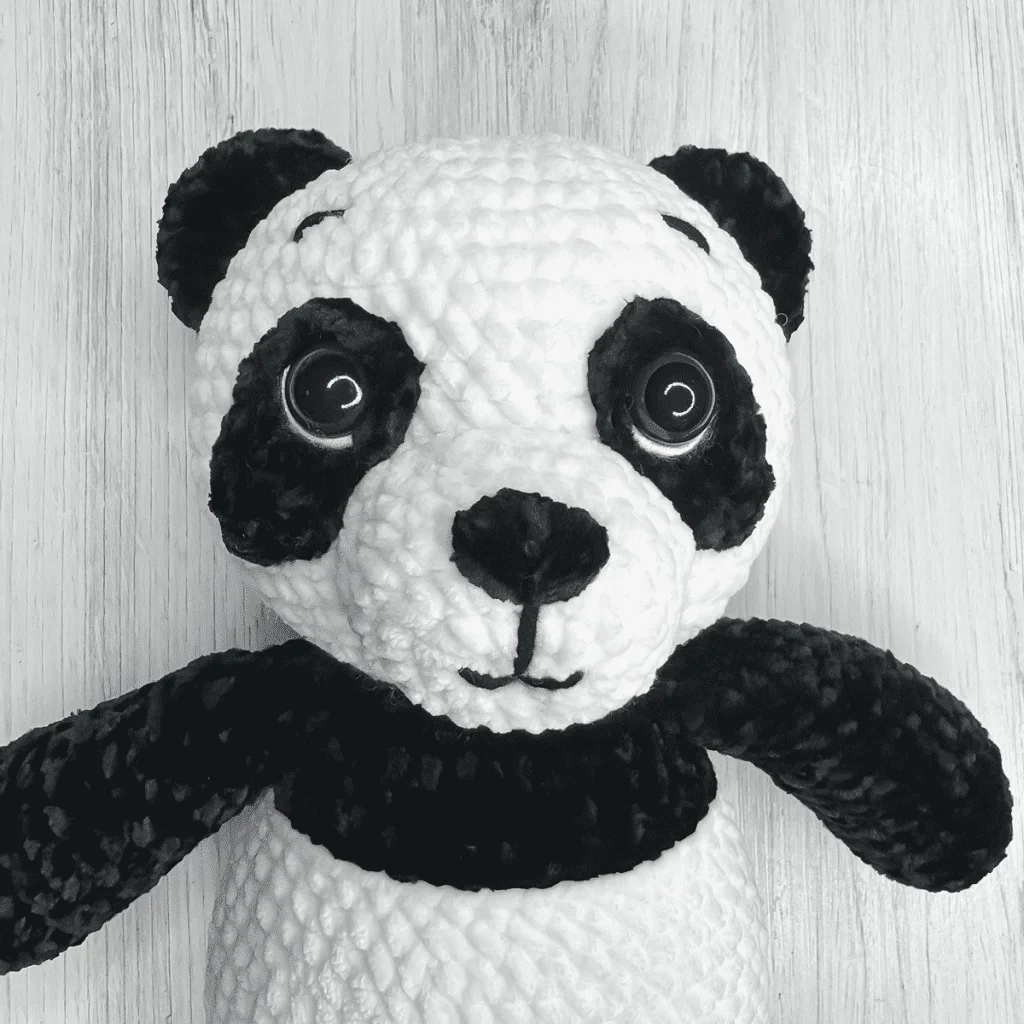
With a thinner white yarn, and entering through the back of the head, partially outline the eyes as shown.Exit the back of the head through the same stitch you entered, tie a knot, and hide the knot and tail inside the head.

ADDING THE MOUTH AND EYEBROWS
With a thinner black yarn, and entering through the back of the head, draw the mouth and eyebrows as shown.Exit the back of the head through the same stitch you entered, tie a knot, and hide the knot and tail inside the head.
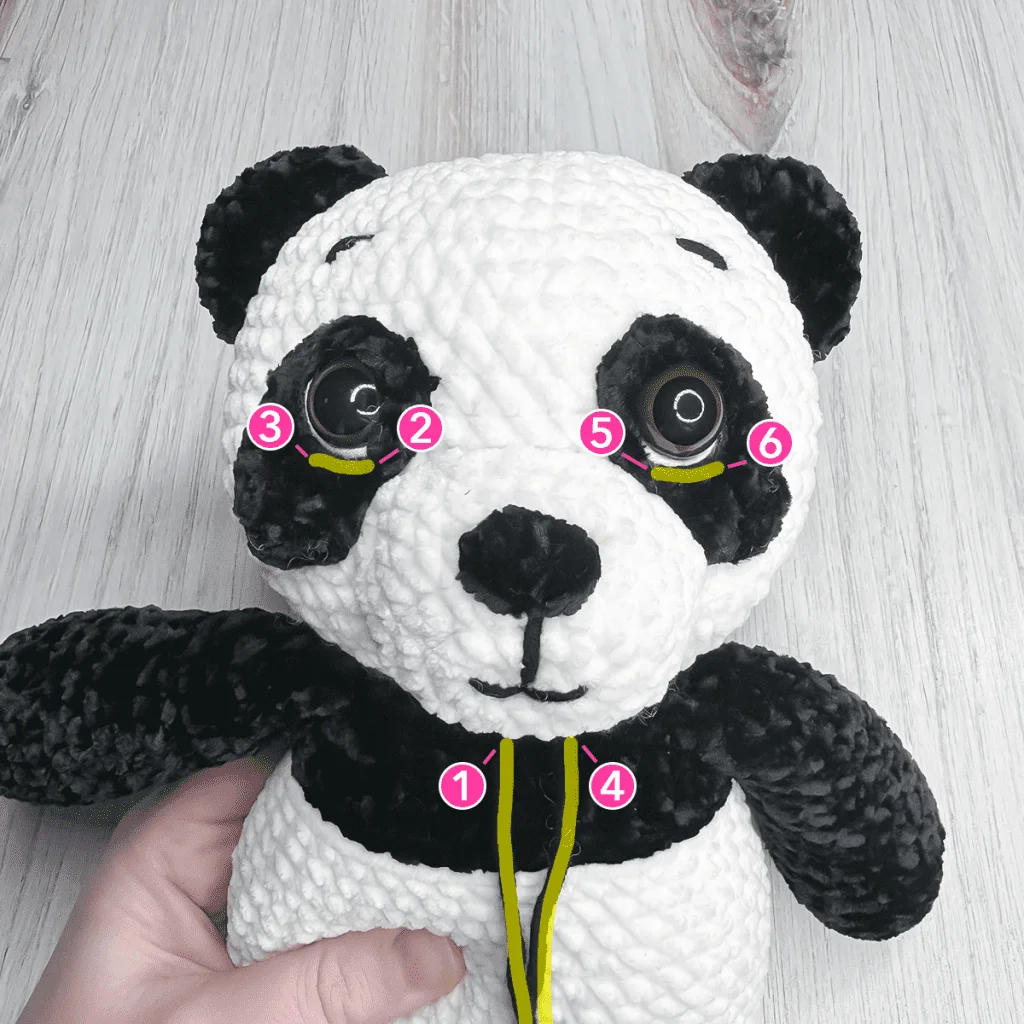
SHAPING THE FACE
Cut a long length of the thinner black yarn and thread it through a long yarn needle, then follow these steps carefully, using the picture as a guide.
- Insert needle at the base of the neck (1), and pull it out at the lower right part of the first eye (2).
- Insert it into the lower left part of the same eye (3), and pull it out of the same spot at the base of the neck where you first inserted it (1).
- Move one stitch to the right (4) and insert needle, then pull it out at the lower left part of the 2nd eye (5).
- Insert it into the lower right part of the same eye (6), and pull it out of the same spot at the base of the neck where you most recently inserted it (4).
You should now have two ends coming out of the base of the neck. Gently pull them (at the same time) until you are happy with the indentation of the eyes, then tie them in a knot and hide the knot inside the head.
TAIL
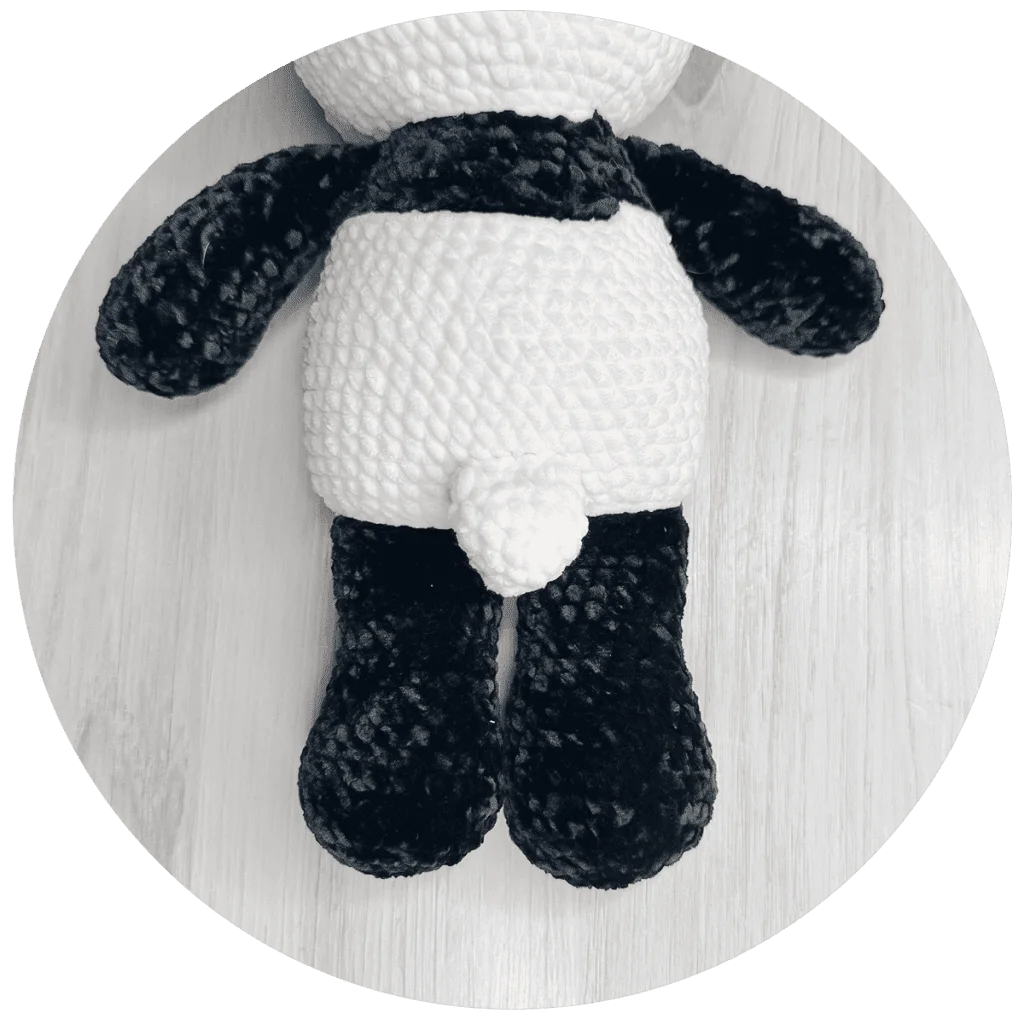
To Begin: With COLOR A, make a Magic Circle; CH1.
Round 1: 6 CSC in MC. (6)
Round 2: INC in each ST around. (12)
Rounds 3-5: CSC in each ST around. (12)
To Finish: SL ST in next ST. Remove hook; secure and trim starting tail. Reinsert hook and CSC tail closed by holding sides of opening together, and working through both sets of corresponding loops across. (This is the same technique you used to seam the arms.) Fasten off, leaving a long tail for sewing.
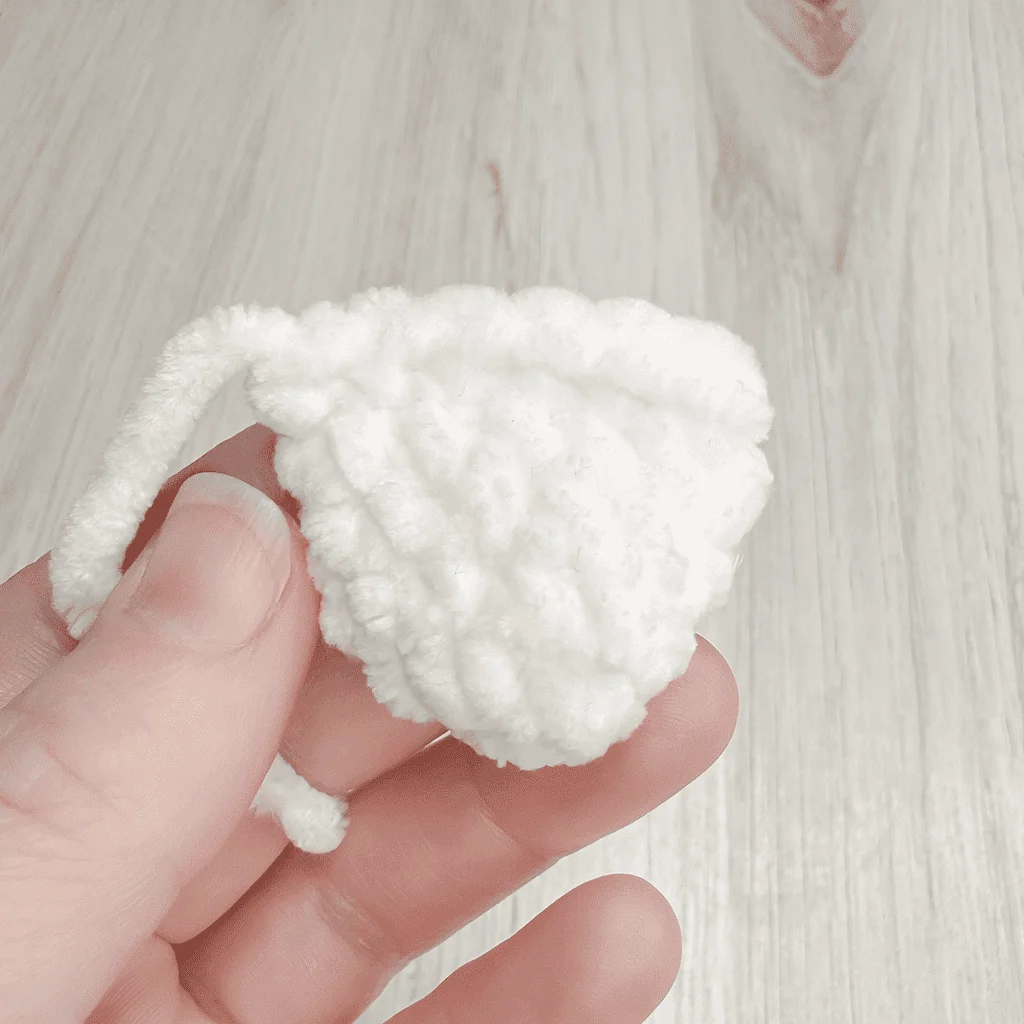
ATTACHING THE TAIL
Use pins to hold tail in place, if desired. Sew tail to back of body. (I sewed my tail so that the top was in line with Rounds 6-7 of the body.) When finished, knot and hide finishing tail inside body.
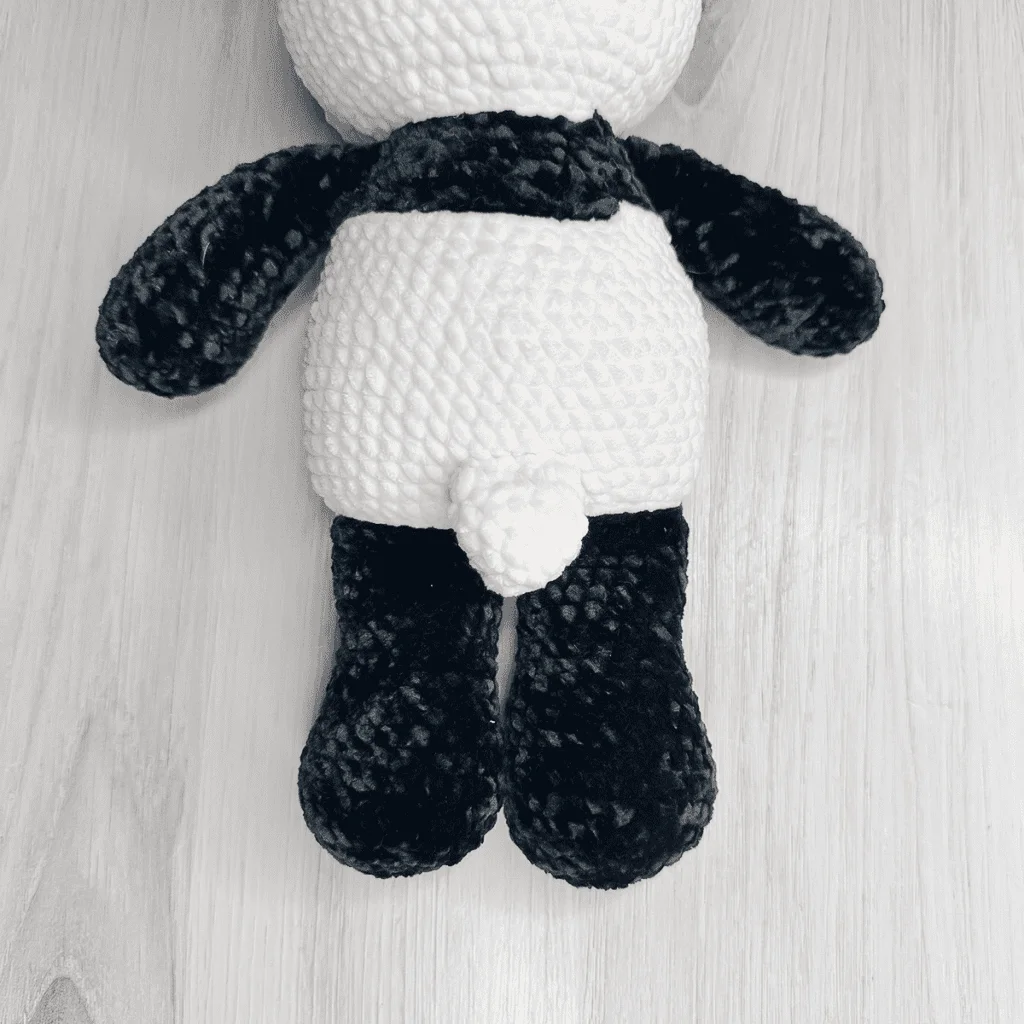
That’s it!
I hope you’ve enjoyed this pattern.
Thank you for your support!