Free Panda Crochet Pattern
Pepe the Panda Bear Amigurumi
Welcome to our new free Amigurumi tutorial! Today we are making a delightful little Panda Bear plushie. This beginner-friendly free panda crochet pattern is perfect if you want to create a sweet, handmade gift in just a couple of hours. Whether you’re a seasoned crocheter or just starting out, this cute panda will surely steal your heart!
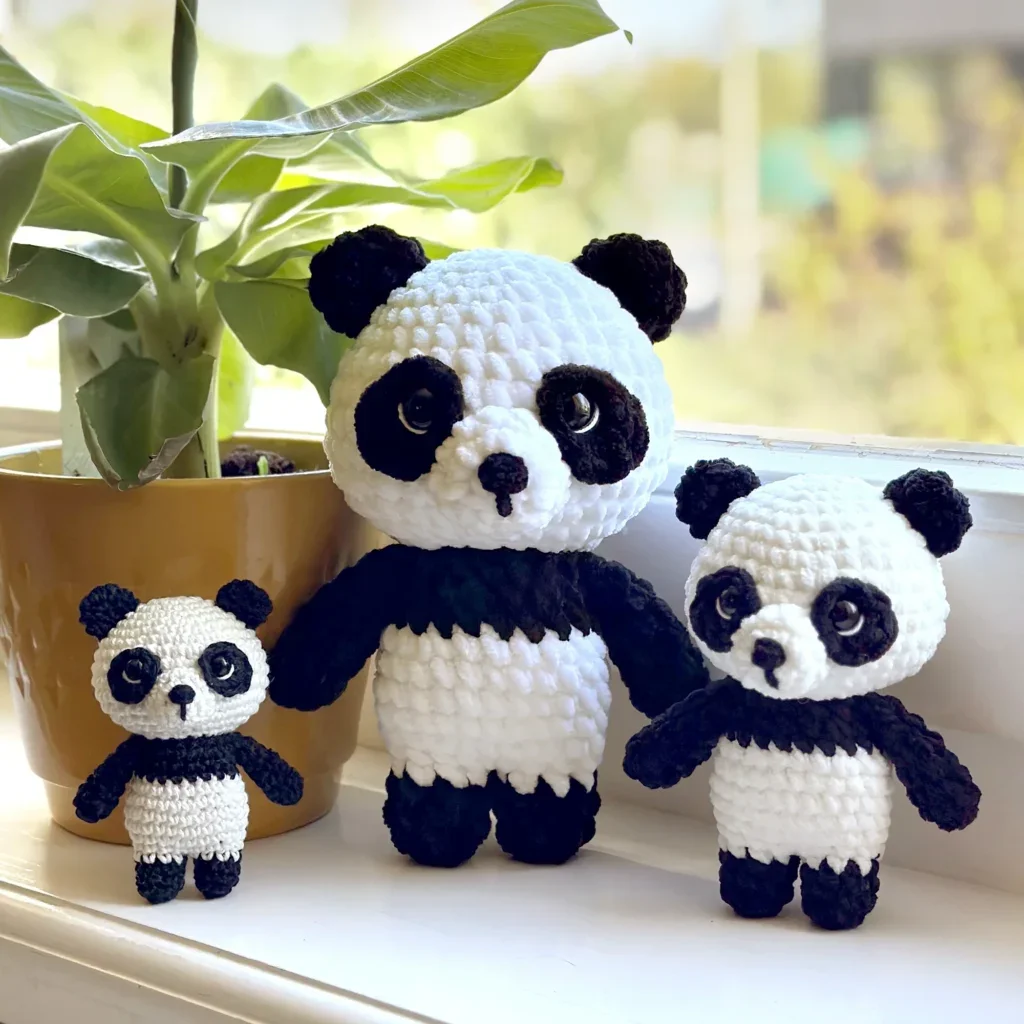
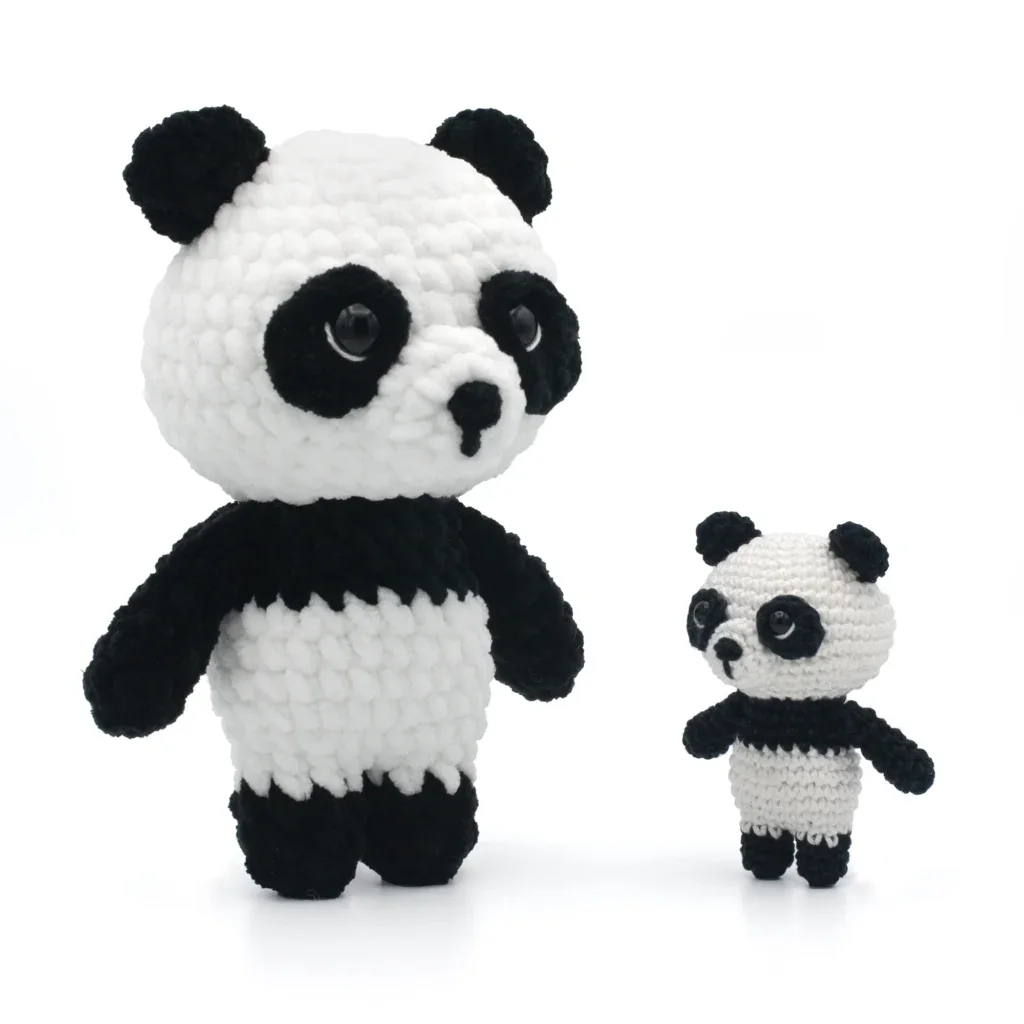
The size of your finished amigurumi will depend on the yarn you choose. A thicker yarn will result in a larger, cuddlier bear, while thinner yarn is perfect for a keychain size. Let’s get started on this fun project!
Materials
These are the materials that I used. However, feel free to replace them with other materials of your choice. Furthermore, if you wish to crochet a larger or smaller version of this toy plushie using this free Panda bear amigurumi crochet pattern, you can simply use a thicker or thinner yarn and crochet hook.
Cotton Sport Weight version 10 cm / 4 inch:
– Yarn and Colors Must Have White cotton color: 001
– Yarn and Colors Must Have Black cotton color: 100
– Synthetic Poly Filling
– Crochet hook size 2.5 mm
– Safety eyes 1 pair: 7 mm
Chenille DK version 14 cm / 6 inch:
– Scheepjes Little Darling Black and White Chenille DK yarn
– Synthetic Poly Filling
– Crochet hook size 3.5 mm
– Safety eyes 1 pair: 15 mm
Chenille Super Bulky version 21 cm / 8 inch:
– White and Black Chenille yarn
– Synthetic Poly Filling
– Crochet hook size 5.0 mm
Search for a similar chenille yarn you can buy near you on YARNSUB
Supplies:
– Scissors
– Tapestry needles with blunt point, nr. 16 or 17
– Pins
TIP: Are you using are using Blanket yarn? Then I recommend a 8 mm crochet hook.
Abbreviations
Abbreviations used in this cute crochet pattern:
(All abbreviations are explained in my basic stitches tutorial)
Rnd: Round
st: stitch
sc: single crochet
sl st: slip stitch
dec: decrease
inc: increase
TIP: Before starting this Panda bear plushie crochet pattern, beginners should remember that there is a full video tutorial on how to make Pepe the Panda Amigurumi: https://youtu.be/HvlRpmBTuyc
Free Panda Crochet Pattern
Eye Patch 2x:
- Use black yarn
- Rnd 1: 2 sc, 1 hdc, 2 dc, 1 hdc, 2 sc in a magic ring (8)
- Invisible fasten off
- Put a safety eye through the middle of the magic ring, do not put the washer on it yet.
Head:
- Use white yarn
- Rnd 1: start 8 sc in a magic ring (8)
- Rnd 2: inc 8 times (16)
- Rnd 3: (sc in next 3 st, inc in next st) repeat 4 times (20)
- Rnd 4: (sc in next 4 st, inc in next st) repeat 4 times (24)
- Rnd 5: (sc in next 3 st, inc in next st) repeat 6 times (30)
- Rnd 6: sc in all 30 st (30)
- Rnd 7: (sc in next 4 st, inc in next st) repeat 6 times (36)
- Rnd 8: (sc in next 11 st, inc in next st) repeat 3 times (39)
- Rnd 9-11: sc in all 39 st (39)
- Rnd 12: (sc in next 11 st, dec) repeat 3 times (36)
- Attach the safety eyes with the eye patches between rounds 9 and 10, with 5 stitches between both eyes. Do not sew the patches on the head yet.
- Rnd 13: (sc in next 4 st, dec) repeat 6 times (30)
- Rnd 14: (sc in next 3 st, dec) repeat 6 times (24)
- Rnd 15: (sc in next st, dec) repeat 8 times (16)
- Put stuffing in the head
- Rnd 16: dec 8 times (8)
- Fasten off, leaving a yarn tail. Using your yarn needle, weave the yarn tail through the front loop of each remaining stitch and pull it tight to close. Weave in the yarn end.
Snout:
- Use white yarn
- Rnd 1: start 6 sc in a magic ring (6)
- Rnd 2: inc 6 times (12)
- Rnd 3: sc in all 12 st (12)
- Fasten off with a slst.
- Sew the snout between rounds 9 and 14. Embroider the nose on the snout (photo 1-3) with black yarn and put a bit of stuffing in the snout when there is still a small hole left. Sew the eye patches on the head.
Ear 2x:
- Use black yarn
- Rnd 1: start 8 sc in a magic ring (8)
- Rnd 2-3: sc in all 8 st (8)
- Fasten off with a slst.
- Flatten the ears and sew the ears between rounds 3 and 7.

Body:
- First make two legs:
- We start by making 2 legs in black yarn.
- Rnd 1: start 8 sc in a magic ring (8)
- Rnd 2-4: sc in all 8 st (8)
- Slst in next st and fasten off on the first leg. Repeat rounds 1-4 but do not fasten off on the second leg.
- Continue crocheting on the second leg.
- Change to white yarn (photo 4-5)
- Rnd 1: sc in next 4 st, ch 1 (photo 6), continue in the first stitch of the first leg (photo 7), sc in all 8 st of the first leg, sc in the chain st (photo 8), continue in the fifth stitch of the second leg, sc in next 4 st of the second leg (18)
- If you need more help with crocheting the legs, please watch the full video part 2 on how to crochet this cute panda Amigurumi: https://youtu.be/-IG7i9zmKmU
- Rnd 2: (inc, sc in next 8 st) repeat 2 times (20)
- Rnd 3: (sc in next 3 st, inc in next st) repeat 5 times (25)
- Rnd 4-6: sc in all 25 st (25)
- Rnd 7: (sc in next 3 st, dec) repeat 5 times (20)
- Change to black yarn
- Rnd 8: sc in all 20 st (20)
- Rnd 9: (sc in next 3 st, dec) repeat 4 times (16)
- Rnd 10: sc in all 16 st (16)
- Fasten off with a slst.
- Put stuffing in the body.
- Sew the body on the head, between rounds 15 and 16.
Arm 2x:
- Use black yarn
- Rnd 1: start 6 sc in a magic ring (6)
- Rnd 2-7: sc in all 6 st (6)
- Fasten off with a slst.
- Put a bit of stuffing in the arms. Sew the arms on the side of the body, or your panda flatten round 7 and sew them on round 10 of the body.
Tail:
- Use white yarn
- Rnd 1: start 6 sc in a magic ring (6)
- Rnd 2: sc in all 6 st (6)
- Fasten off with a slst.
- Sew the tail on the back of the body on between round 2 and 5.
- Optional: Embroider a white stripe along the eyes.
- Now your cute panda is done! Would you like to make more stuffed animals? Check out all other Amigurumi crochet patterns on my blog.