Best Easy Lumina Crochet Dog Bandana Free Crochet Pattern
Are you looking for the absolute best free pattern for a lumina crochet dog bandana? You are in exactly the right place! We have discovered this top-rated, incredibly easy crochet design that is guaranteed to be a huge hit. Whether you want to make a quick handmade gift or create a beautiful keepsake, this project is fun, straightforward, and looks absolutely stunning when finished. Grab your softest yarn and let’s get started on your new favorite project!
- Ch – Chain
- Sc – Single Crochet
- Dc – Double Crochet
- Sl st – Slip stitch
- Sk – Skip
- Spc – Space
- Sts – Stitch(es)
- […] – Repeats are listed inside brackets
- (…) – Indicates to work all stitches in the same space.
- (…) – Stitch counts are listed at end of row in ( ) and bold italics.
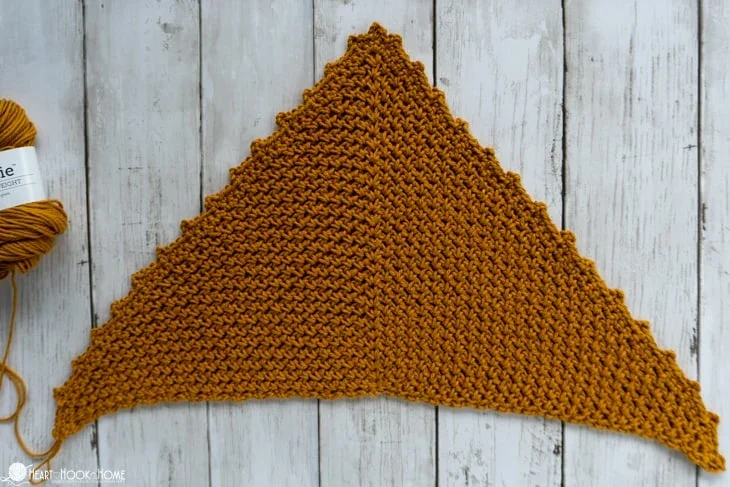
- This dog bandana is worked from the center of the neck outward, growing larger with each row.
- Pattern is written to specific sizes however, if you desire a larger or smaller bandana, you can add or remove rows.
- Chain 2 at the beginning of rows never counts as a stitch.
- This bandana is written to use Medium (4) cotton yarn which is fantastic for heavy use items. However, you can use any weight of cotton yarn you prefer.
- Yarn requirements are listed for Medium (4) weight. If you use a different yarn weight, your usage will be different.
- You might want to mark your center chain 2 space with a stitch marker and move the stitch marker up each row if you haven’t worked a bandana in this way before. Some rows have many chain 2 spaces, so it will be important to know where the center chain 2 space is.
Crochet Dog Bandana Free Pattern
All Sizes Begin Here:
Row 1 – In Magic Circle, chain 2 (doesn’t count here or throughout). Place 3 dc, chain 2, 3 dc. Pull tail tight. (6 dc, 1 ch 2 spc)
Row 2 – Ch 2, turn. Place 3 dc in same st. 1 dc next 2 sts, (2 dc, ch 2, 2 dc) in ch 2 spc. 1 dc next 2 sts, 3 dc last st. (14 dc, 1 ch 2 spc)
Row 3 – Ch 2, turn. 3 dc in same st. Ch 2, sk 2, 1 dc next 2 sts. Ch 2, sk 2, (2 dc, ch 2, 2 dc) in ch 2 spc. Ch 2, sk 2, 1 dc 2 sts. Ch 2, sk 2, 3 dc last st. (14 dc, 5 ch 2 spcs)
Row 4 – Ch 2, turn. 3 dc in same st. 1 dc in each st and 2 dc in each ch 2 spc to center ch 2 spc (point of triangle). (2 dc, ch 2, 2 dc) in center ch 2 spc. Place 1 dc in each st and 2 dc in each ch 2 spc until 1 st remains. 3 dc in last st. (30 dc, 1 ch 2)
Row 5 – Ch 2, turn. 3 dc in same st. 1 dc in each st to ch 2 spc. (2 dc, ch 2, 2 dc) in ch 2 spc. 1 dc in each st until 1 st remains. 3 dc in last st. (38 dc, 1 ch 2 spc)
Row 6 – Ch 2, turn. 3 dc in same st. Ch 2, sk 2, [1 dc next 2 sts, ch 2, sk 2] Repeat inside brackets to ch 2 spc. (2 dc, ch 2, 2 dc) in ch 2 spc. Ch 2, sk 2, [1 dc next 2 sts, ch 2 sk 2] Repeat inside brackets until 1 st remains. 3 dc in last st. (26 dc, 11 ch 2 sps)
From here, find the size you’re creating below and follow the instructions listed.
Once you have completed the instructions for the size you’re working, continue to finishing instructions.
Extra Small
Row 7 – Repeat Row 4. Or, repeat Rows 4, 5 and 6 in sequence until work measures approximately 9 inches (23 cm) across the long, raw edge.
Small
Rows 7 through 9 – Repeat Rows 4, 5 and 6 in sequence through Row 9 or until work measures approximately 13 inches (33 cm) across the long, raw edge.
Medium
Rows 7 through 12 – Repeat Rows 4, 5 and 6 in sequence through Row 12 or until work measures approximately 16 inches (40.5 cm) across the long, raw edge.
Medium/Large
Rows 7 through 14 – Repeat Rows 4, 5 and 6 in sequence through Row 14 or until work measures approximately 18 inches (46 cm) across the long, raw edge.
Large
Rows 7 through 17 – Repeat Rows 4, 5 and 6 in sequence through Row 14 or until work measures approximately 21 inches (53.5 cm) across the long, raw edge.
Extra Large
Rows 7 through 19 – Repeat Rows 4, 5 and 6 in sequence through Row 19 or until work measures approximately 24 inches (61 cm) across the long, raw edge.
Finishing Instructions
Now the bandana is to size, we will work 1 round around the triangle to both clean up the edges and create the ties that you will use to secure the bandana to your pup.
Regardless of what row repeat you ended on, you will:
Ch 41. Place 1 sl st in the 2nd ch from hook and in each of the next 39 chs. You will now have a long tie and 40 sts. Continue working along the long raw edge. Place 2 sc in side of each dc across to the end.
(Your stitch count should be approximately 4x the number of rows you worked. If you worked 7 rows, you should have 28 stitches. Your stitch count doesn’t have to be perfect here. As long as the edge lays flat and doesn’t wrinkle, it’s good to go!)
Ch 41 again. Place 1 sl st in the 2nd ch from hook and in each of the next 39 chs. You should now have a 2nd tie and 40 sts.
Rotate your work to work along the tops of the stitches from your final row.
If you ended on a Row 6 Repeat (with many ch 2 spcs): Crochet along the final row completed and place 1 sc in each st and 2 sc in each ch 2 spc to the ch 2 point. In the point, place 3 sc. Continue working along the final side, placing 1 sc in each st and 2 sc in each ch 2 spc. At the end, sl st to the first sl st on the tie to close.
If you ended on a Row 4 or 5 Repeat (with no chain spaces other than the 1 in the center): Crochet along the final row completed and place 1 sc in each st to the ch 2 space. In the ch 2 space, place 3 sc. Continue working along the final side, placing 1 sc in each st. At the end, sl st to the first sl st on the tie to close.
You’re done! Cut your yarn, weave in your ends and block if desired.
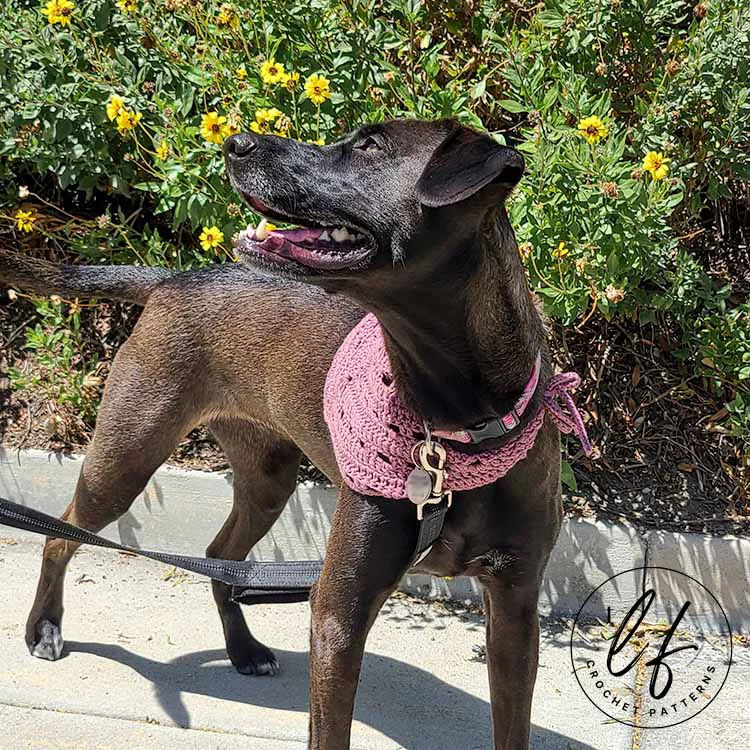
A little bit about our rescue dog, Onyx.
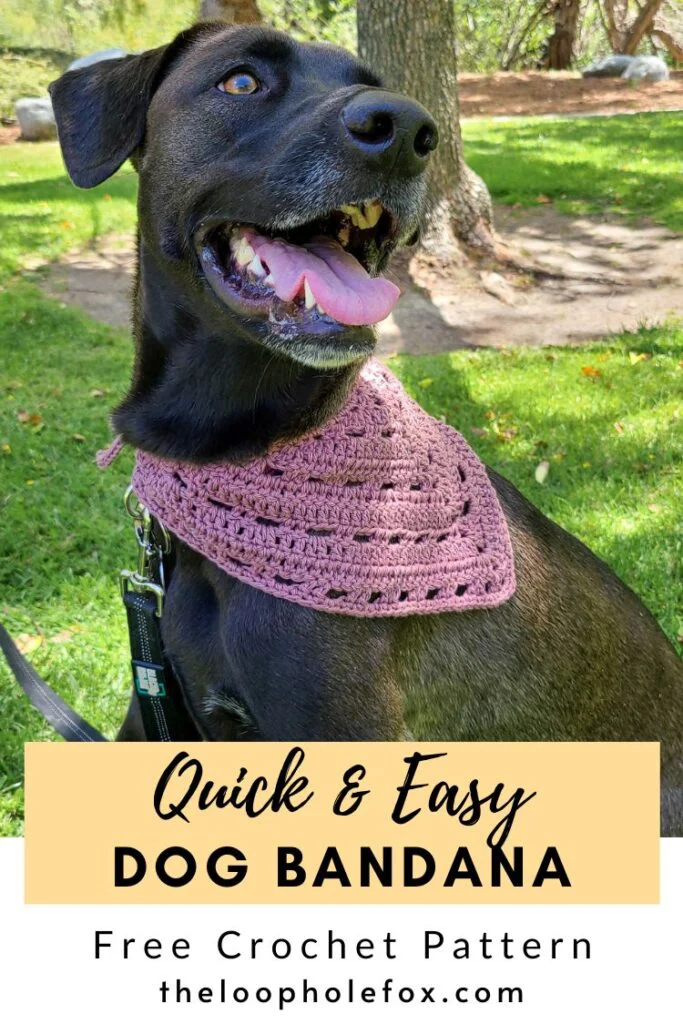
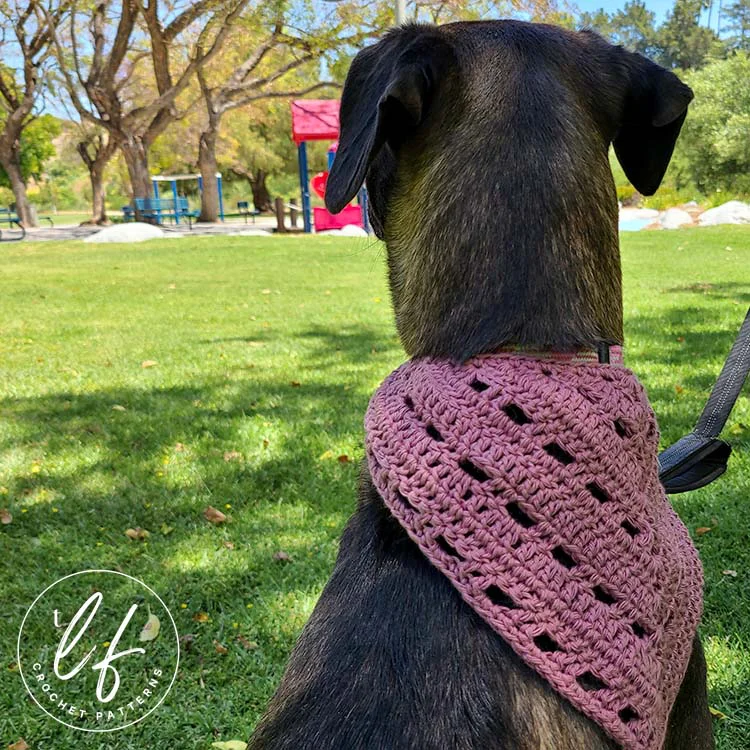
Our rescue dog, Onyx, is the lovely model for this crochet dog bandana. She received lots of love and treats for being such a good sport (translation: getting these pictures was very difficult, haha).
As you read above, I came across Onyx’s shelter picture when she was just a puppy. My husband and I had already talked previously about rescuing a dog, so there wasn’t a lot of talking to do when I saw her. We went, we met her, we signed paperwork and came back two days later to pick her up. She slept calmly the whole way home on my husbands lap.
When you rescue a dog, regardless of their age, you’re accepting that they will come with some trauma. Despite Onyx being about 3 months old when we got her, she very clearly came to us with some serious trauma. She was terrified of the strangest things and needed a lot of love and a lot of support as she grew her confidence.
She is and was the biggest ball of energy and she never fails to bring a smile to my face. Whether she’s laying on her back holding a toy above her head with her paws, doing “face-rubbies” after eating her dinner, investigating something new with curiosity or finally settling next to me on the couch after a long day, she truly is one of the biggest lights of my life.
It has been such a joy to be the humans that showed her compassion, that gave her boundaries, that helped her build confidence and learn that she is safe. To watch her grow from being terrified of creeks or things shaped like circles to being a fearless little lady that dives into water head first or ignoring the circular shaped object (hello pizza pan!) has been a fantastic experience.
While there have been challenges, of course, I absolutely could not imagine my life without this pup or without her taking up way too much space on our little couch.
I am truly lucky to be her dog-momma and that I had the opportunity to design a crochet dog bandana special for her so that she and I can spread our love to your dogs and to the dogs in shelters who need love and homes.