Elf Stripes Crochet Dog Bandana (Free Pattern)
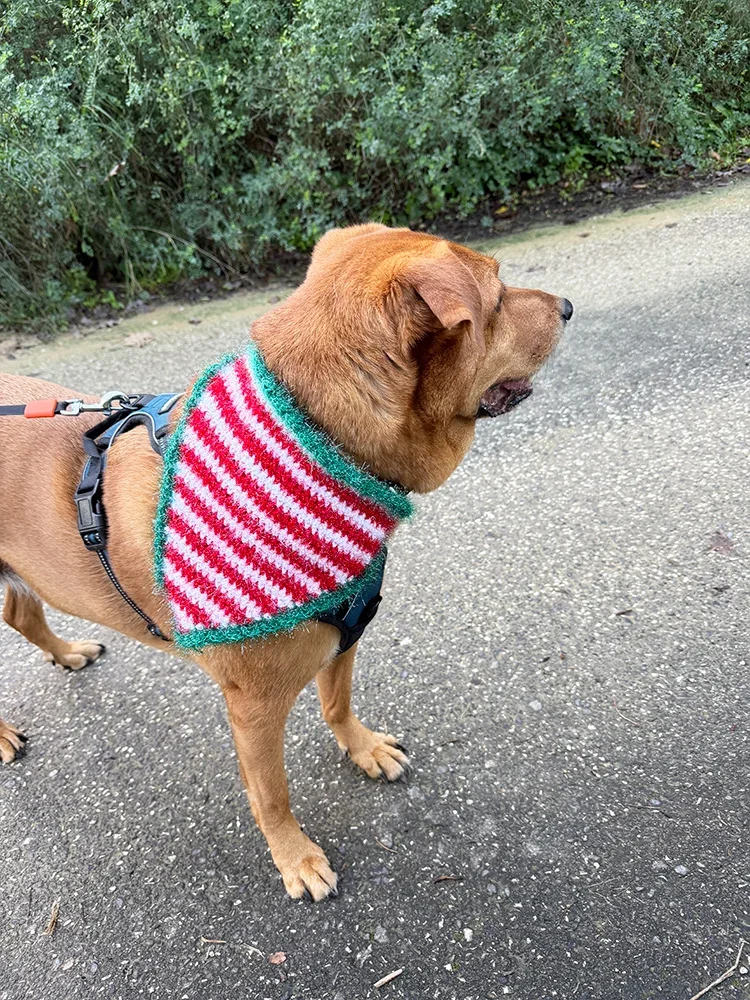
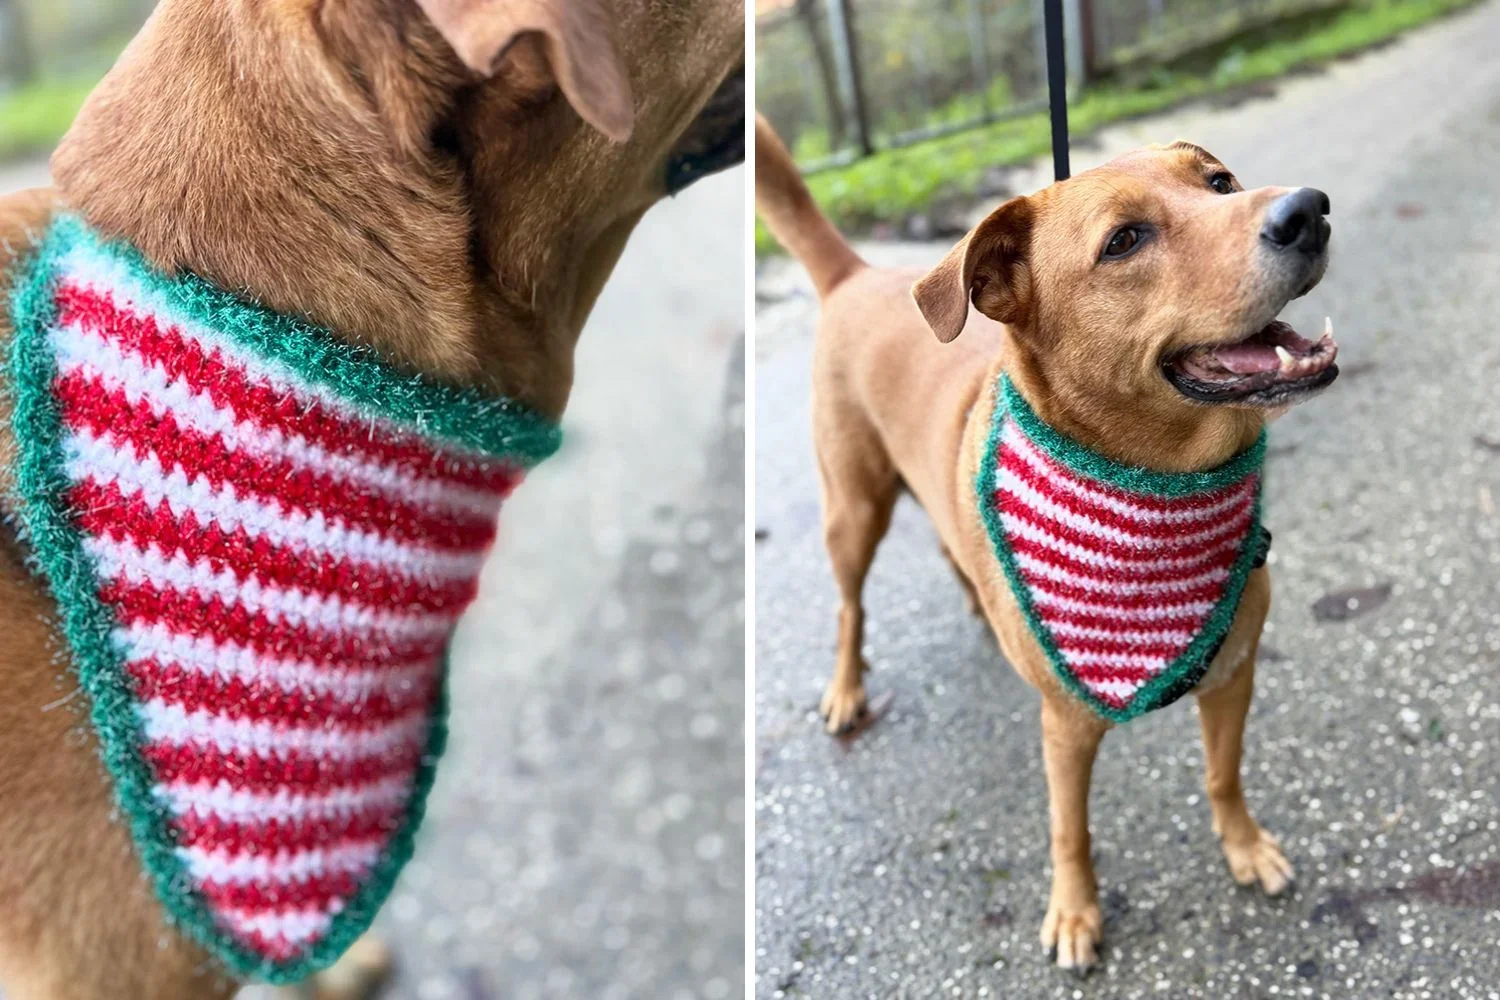
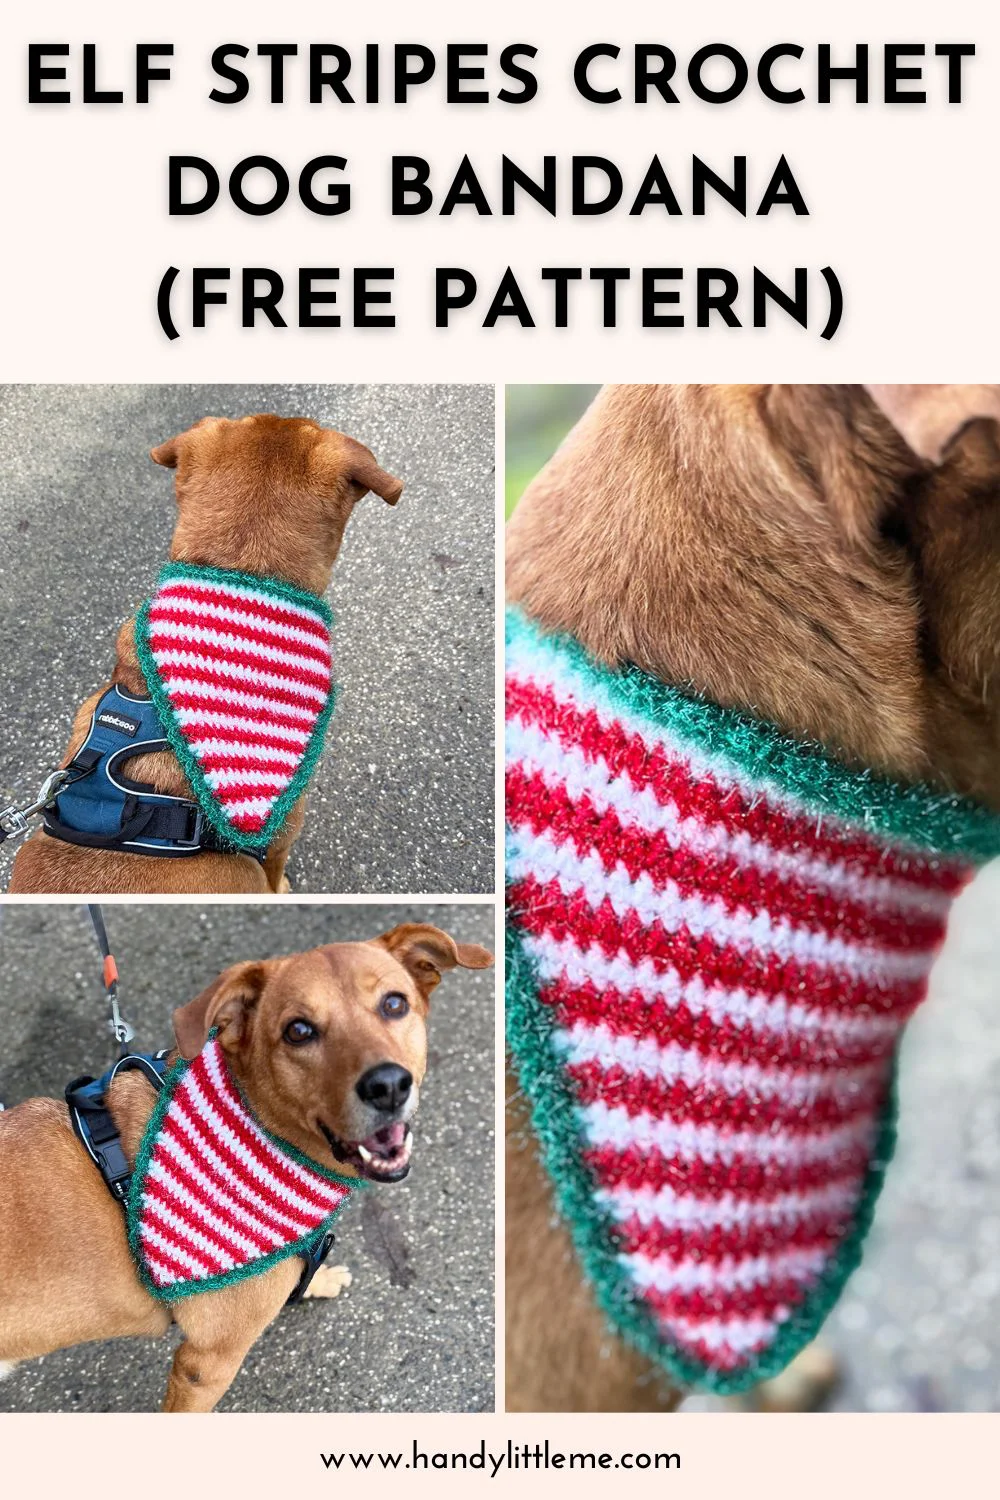
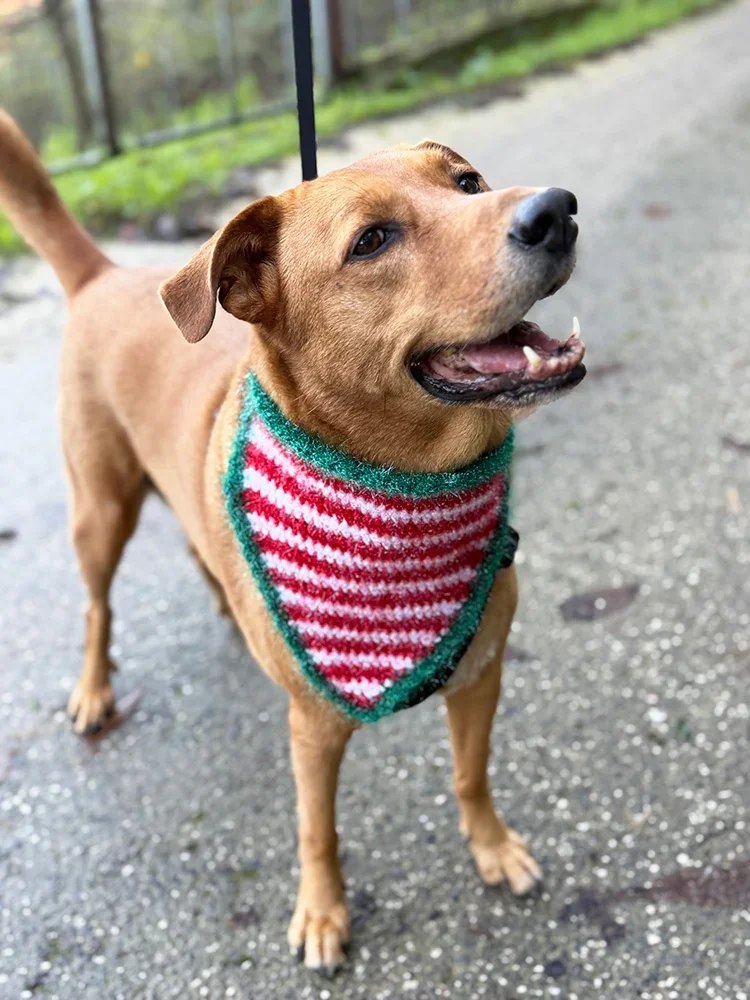
This Elf Stripes Crochet Dog Bandana by Handy Little Me is the perfect festive accessory to make your pup look extra special this holiday season. Featuring a fun, striped design and an easy-to-follow pattern, this quick project is a great way to use up your leftover holiday yarn while spreading some festive cheer!
Tools & Materials Needed
- Yarn
- Main DK yarn – 1 x of each = Sirdar Snuggly Replay DK (cotton/acrylic) in white and red
- Sparkle yarn – 1 x of each = YarnArt Christmas in white, red, and green
- Body stripes are worked with one strand of DK + one strand of sparkle held together
- Ruffle is worked with green sparkle only for a lighter, fluffier edge
- Hook
- 5 mm (US H-8) crochet hook, or size needed to obtain gauge
- Notions
- Tapestry needle for weaving in ends and tidying carried strands
- Tape measure
- Scissors
- Optional: cute buttons if you’d like to fasten the neck edge with buttons instead of ties
As you work, keep an eye on your edge loops and color changes so everything stays neat and flat.
Size Info and Gauge
The bandana is written for four different sizes:
- Small (S)
- Medium (M)
- Large (L)
- Extra Large (XL)
Approximate neck edge widths (triangle only, not including ties):
- S: 28 cm / 11″
- M: 36 cm / 14″
- L: 43–44 cm / 17″
- XL: 50 cm / 19.75–20″
Gauge
- 15 sts and 6 rows = 4″ (10 cm) in single crochet, worked flat, after light blocking.
- Gauge isn’t super strict here, but changes will affect final size and yarn usage, especially if you swap to a heavier yarn.
Abbreviations (US Terms)
- ch – chain
- sc – single crochet
- dc – double crochet
- sl st – slip stitch
- st(s) – stitch(es)
- RS – right side
- WS – wrong side
- rep – repeat
- inc – increase (2 sts worked into the same st)
When you work the first row, pay attention to your first chain, and always place your increases into the last st of the shaping rows.
Notes
- Bandana is worked from the tip up in rows.
- Shaping is created by working 2 increases on every RS row: one in the first st and one in the last st.
- WS rows are worked straight with no increases.
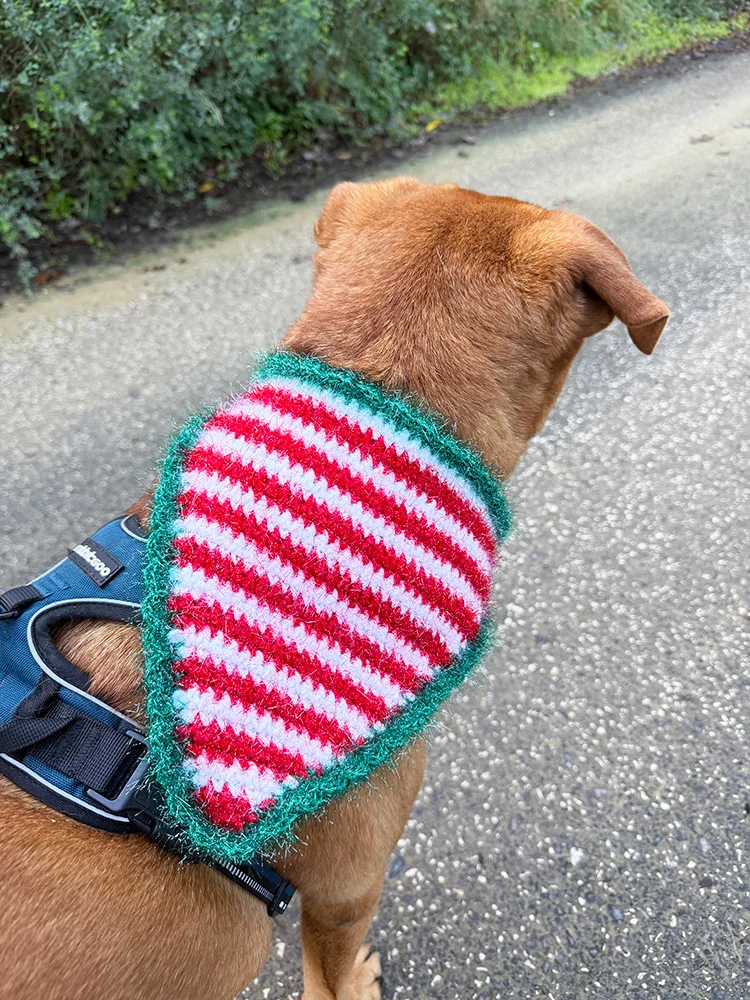
- Stripes are worked as: 2 rows in Yarn A (white), 2 rows in Yarn B (red), repeating.
- Color changes happen at the start of a RS row.
- The ruffled border is added along all sides, including the neck edge.
- Ties are worked separately from each top corner.
- You’ll repeat row 3 and 4 (your increase row and your straight row) until you reach the stitch count for your size.
Pattern Instructions
Please scroll down to view the free pattern, or grab the printable PDF pattern in my shop here.
Bandana Body (All Sizes)
- With Yarn A (white), ch 3.
- Row 1 (RS): 2 sc in 2nd ch from hook, 2 sc in last ch. (4 sts)
- Row 2 (WS): Ch 1, turn, sc in each st across. (4 sts)
- Row 3 (RS – inc row): Ch 1, turn, 2 sc in first st, sc in each st to last st, 2 sc in last st. (6 sts)
- Row 4 (WS): Ch 1, turn, sc in each st across. (6 sts)
Pattern repeat for body:
- RS rows (odd-numbered after Row 1): increase at both ends (2 sc in first st, sc across, 2 sc in last st).
- WS rows (even-numbered): sc in each st across.
Stripe Pattern
- After the initial Yarn A (white) rows, work 2 rows in Yarn B (red).
- Switch to 2 rows in Yarn A (white).
- Repeat: B x 2 rows, A x 2 rows, throughout the body.
- Change color at the beginning of a RS row (after turning and before you chain 1).
- Carry yarn neatly up the side or cut and weave in ends as preferred.
Size Instructions (Stitch Counts)
Continue repeating Rows 3–4 (keeping the stripe pattern) until you reach the stitch count for your chosen size at the end of a WS row:
- Small (S): work until you have 42 sts across the top.
- Medium (M): work until you have 52 sts across the top.
- Large (L): work until you have 64 sts across the top.
- Extra Large (XL): work until you have 74 sts across the top.
When you reach the stitch count for your size, fasten off Yarn A or B (whichever you ended on) and prepare for the border with Yarn C.
Ruffled Border
With RS facing, join Yarn C (green) to one top corner of the triangle.
Round 1 – Base Round
- Ch 1, sc evenly down the first slanted side of the triangle.
- When you reach the point at the bottom, work 3 sc in the very tip stitch to turn the corner neatly.
- Continue to sc evenly up the second slanted side to the opposite top corner, work 3 sc in each corner.
- Then continue to sc evenly along the neck edge, ending with 3 sc in the final corner point.
Aim for about 1 sc per row end; adjust as needed so the edge lies flat (a tiny bit of snugness is okay before the ruffle).
Round 2 – Ruffle
Still with Yarn C, and with RS facing:
- Sc in next st, 3 dc in next st; rep from * to * all the way along both slanted sides, ending with either a sc or 3 dc as pattern allows.
This combination will create a soft, wavy ruffle.
Fasten off and weave in ends.
Neck Ties
Make one tie at each top corner of the neck edge.
You can use Yarn C (green) or one of the stripe colors.
Left Tie
- With RS facing, join yarn to the left top corner st.
- Chain for your size:
- S: ch 30
- M: ch 35
- L: ch 40
- XL: ch 45
- Starting in 2nd ch from hook, sc in each ch back to the bandana.
- Slip stitch into the same corner st to secure. Fasten off and weave in the end.
Right Tie
- Join yarn to the right top corner st.
- Repeat the same number of chains as the left tie for your size.
- Starting in 2nd ch from hook, sc in each ch back to the bandana.
- Slip stitch into the same corner st, fasten off, weave in ends.
You can tie the bandana in a bow or a double knot, depending on yarn and dog size.