New Crochet Pattern
Amigurumi Corner Free Panda Pattern
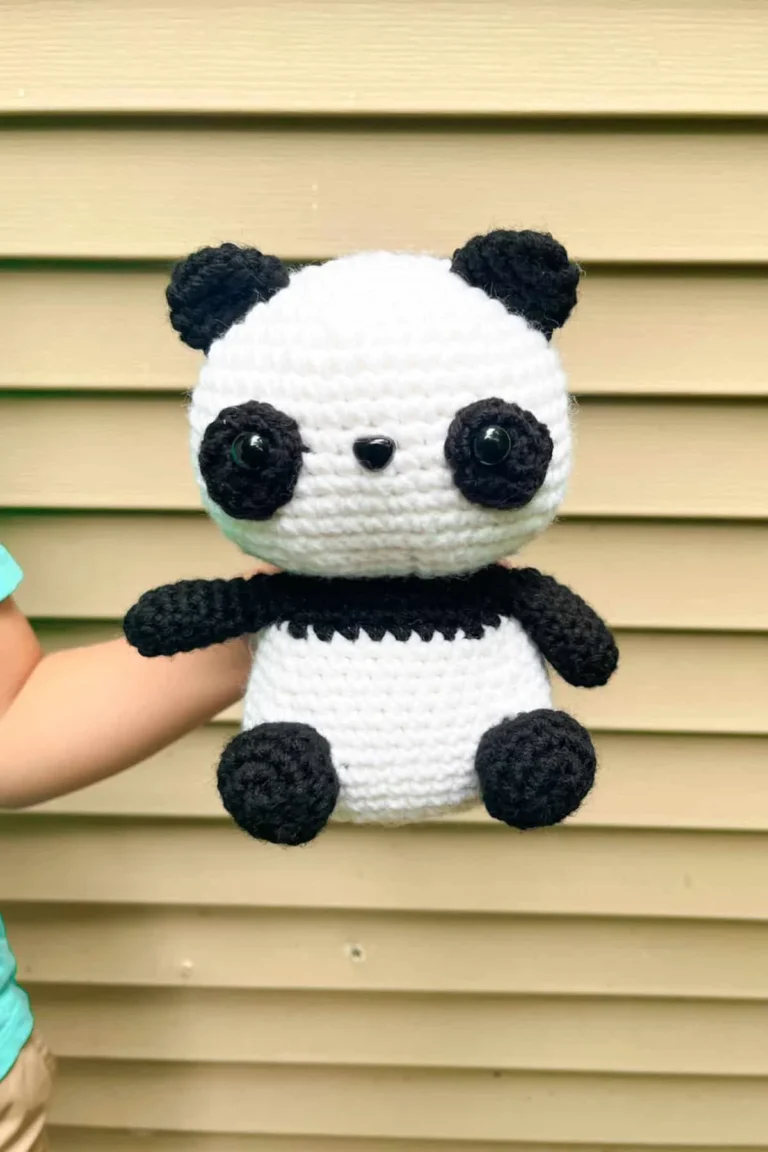
This fantastic free crochet pattern from Amigurumi Corner will walk you through creating an adorable, pocket-sized panda! The pattern features a classic two-tone aesthetic with perfectly rounded proportions, making it an ideal desk buddy or a sweet little gift. The simple shapes used in this design mean it works up relatively quickly while still delivering huge on charm.
As always, you can customize your panda by using different yarn weights. A chunky blanket yarn will give you a massive, squishy friend, while a standard worsted weight creates a classic plushie. Grab your hooks and let’s get crafting!
Materials
- Yarn: Himalaya Dolphin — 1 skein Black, 1 skein White
- Hook: Size 4mm (US G-6)
- Safety eyes: 12mm × 2
- White felt (optional, for eye backing)
- Black yarn for embroidering the nose
- Pink yarn for cheeks
- Polyfill stuffing
- Yarn needle for sewing and finishing
Abbreviations
| Abbreviation | Meaning |
|---|---|
| mr | Magic Ring |
| ch | Chain |
| sc | Single Crochet |
| hdc | Half Double Crochet |
| sl st | Slip Stitch |
| inc | Increase (2 sc in same stitch) |
| dec | Invisible Decrease |
| BLO | Back Loop Only |
| Rnd | Round |
A Few Tips Before You Start
This panda is worked in continuous spiral rounds throughout. Use a stitch marker to track the beginning of each round. The head and body are crocheted as one continuous piece, which means less seaming and a cleaner finish. All limbs and details are made separately and sewn on at the end.
When the pattern notes “sc 1 to shift marker,” simply work one extra single crochet before beginning the next round — this helps keep your shaping symmetrical as the piece turns.

EARS (Make 2)
Black yarn.
- Rnd 1: 4 sc in mr. (4)
- Rnd 2: 4 inc. (8)
- Rnd 3: (1 sc, inc) × 4. (12)
- Rnd 4: 12 sc. (12)
Fold flat and sc 6 through both layers to close. Fasten off, cut yarn.
EYE PATCHES (Make 2)
Black yarn.
- Rnd 1: Ch 6, starting in 2nd ch from hook: 4 sc, 3 sc in last ch; working along opposite side: 3 sc, inc. (12)
- Rnd 2: Inc, 3 sc, inc, 1 sc, inc, 3 sc, inc, 1 sl st. (16)
Fasten off, cut yarn, leaving a long tail for sewing.
HEAD & BODY
White yarn. Work in continuous spiral rounds.
- Rnd 1: 6 sc in mr. (6)
- Rnd 2: 6 inc. (12)
- Rnd 3: (1 sc, inc) × 6. (18)
- Rnd 4: (2 sc, inc) × 6. (24)
- Rnds 5–7: 24 sc. (24)
- Rnd 8: (3 sc, inc) × 6. (30)
- Rnd 9: (4 sc, inc) × 6. (36)
- Rnd 10: (5 sc, inc) × 6. (42)
- Rnd 11: (6 sc, inc) × 6. (48)
- Rnd 12: 8 sc, inc, (5 sc, inc) × 5, 9 sc. (54)
- Rnds 13–16: 54 sc. (54)
- Rnd 17 (Attach Ears): 15 sc, hold first ear against head and sc 6 through both ear and head, 10 sc, hold second ear against head and sc 6 through both ear and head, 16 sc. (54)
- Rnds 18–19: 54 sc. (54)
- Rnd 20: (7 sc, dec) × 6. (48)
- Rnd 21: 6 sc, (4 sc, dec) × 6, 6 sc. (42)
- Rnd 22: 6 sc, (3 sc, dec) × 6, 6 sc. (36)
Assembly note: Now is the time to sew the black eye patches onto the face between Rnds 6–13, one on each side. Insert 12mm safety eyes through the patches (use white felt backing if desired). Embroider the nose with black yarn.
- Rnds 23–24: (2 sc, inc) × 2, 4 sc, (2 sc, inc) × 4, 4 sc, (2 sc, inc) × 2. (36)

Switch to Black yarn.
- Rnds 25–28: 36 sc. (36)
- Rnd 29: 3 sc, inc, 27 sc, inc, 3 sc, inc. (39)
- Rnd 30: 39 sc. (39)
- Rnd 31: 5 sc, inc, 26 sc, inc, 5 sc, inc. (42)
Sc 1 to shift marker. Stuff the head firmly at this point.
Switch to White yarn.
- Rnd 32: 12 sc, (2 sc, inc) × 6, 12 sc. (48)
- Rnds 33–37: 48 sc. (48)
Sc 1 to shift marker.
- Rnd 38: 12 sc, (3 sc, inc) × 6, 12 sc. (54)
- Rnds 39–41: 54 sc. (54)
- Rnd 42: (7 sc, dec) × 6. (48)
- Rnd 43: (6 sc, dec) × 6. (42)
- Rnd 44: (5 sc, dec) × 6. (36)
Sc 1 to shift marker.
- Rnd 45: (4 sc, dec) × 6. (30)
- Rnd 46: (3 sc, dec) × 6. (24)
Continue stuffing the body, shaping the curves as you close.
- Rnd 47: (2 sc, dec) × 6. (18)
- Rnd 48: (1 sc, dec) × 6. (12)
- Rnd 49: 6 dec. (6)
Pull tight to close. Fasten off, cut yarn.
TAIL
Black yarn.
- Rnd 1: 6 sc in mr. (6)
- Rnd 2: 6 inc. (12)
- Rnds 3–4: 12 sc. (12)
Stuff lightly.
- Rnd 5: 6 dec. (6)
Pull tight to close. Fasten off, leaving a tail for sewing. Sew tail to body between Rnds 44–45.
BACK LEGS (Make 2)
Black yarn.
- Rnd 1: Ch 6, starting in 2nd ch from hook: 4 sc, 3 sc in last ch; working along opposite side: 3 sc, inc. (12)
- Rnd 2: (1 sc, inc) × 6. (18)
- Rnd 3: (2 sc, inc) × 6. (24)
- Rnd 4: BLO 24 sc. (24)
- Rnds 5–6: 24 sc. (24)
- Rnd 7: 6 sc, 6 dec, 6 sc. (18)
- Rnd 8: 6 sc, 3 dec, 6 sc. (15)
- Rnd 9: 6 sc, 3 inc, 6 sc. (18)
- Rnd 10: 6 sc, 6 inc, 6 sc. (24)
- Rnd 11: 24 sc. (24)
- Rnd 12: 6 sc, (1 sc, inc) × 6, 6 sc. (30)
- Rnds 13–15: 30 sc. (30)
- Rnd 16: (3 sc, dec) × 6. (24)
- Rnd 17: 24 sc. (24)
- Rnd 18: (2 sc, dec) × 6. (18)
Stuff the bottom of the leg only; leave the top flatter.
- Rnd 19: (1 sc, dec) × 6. (12)
- Rnd 20: 6 dec. (6)
Fasten off. Sew back legs to body between Rnds 8–18 on each side. Press legs firmly against the body while sewing to prevent splaying.
FRONT LEGS (Make 2)
Black yarn.
- Rnd 1: Ch 6, starting in 2nd ch from hook: 4 sc, 3 sc in last ch; working along opposite side: 3 sc, inc. (12)
- Rnd 2: (1 sc, inc) × 6. (18)
- Rnd 3: 1 sc, inc, 4 sc, inc, 3 sc, inc, 5 sc, inc, 1 sc. (22)
- Rnd 4: BLO 22 sc. (22)
- Rnds 5–6: 22 sc. (22)
Sc 1 to shift marker.
- Rnd 7: 5 sc, 6 dec, 5 sc. (16)
- Rnd 8: 5 sc, 3 dec, 5 sc. (13)
- Rnd 9: 13 sc. (13)
- Rnd 10: 6 sc, 2 inc, 5 sc. (15)
Sc 1 to shift marker.
- Rnd 11: 15 sc. (15)
- Rnd 12: (4 sc, inc) × 3. (18)
- Rnd 13: (2 sc, inc) × 6. (24)
- Rnds 14–15: 24 sc. (24)
- Rnd 16: (2 sc, dec) × 6. (18)
Stuff the bottom of the leg only; leave the top flatter.
- Rnd 17: (1 sc, dec) × 6. (12)
- Rnd 18: 6 dec. (6)
Fasten off. Sew front legs to body between Rnds 25–31 on each side. Press legs firmly against the body while sewing to prevent splaying.
CHEEKS (Make 2)
Pink yarn.
- Rnd 1: 6 hdc in mr. (6)
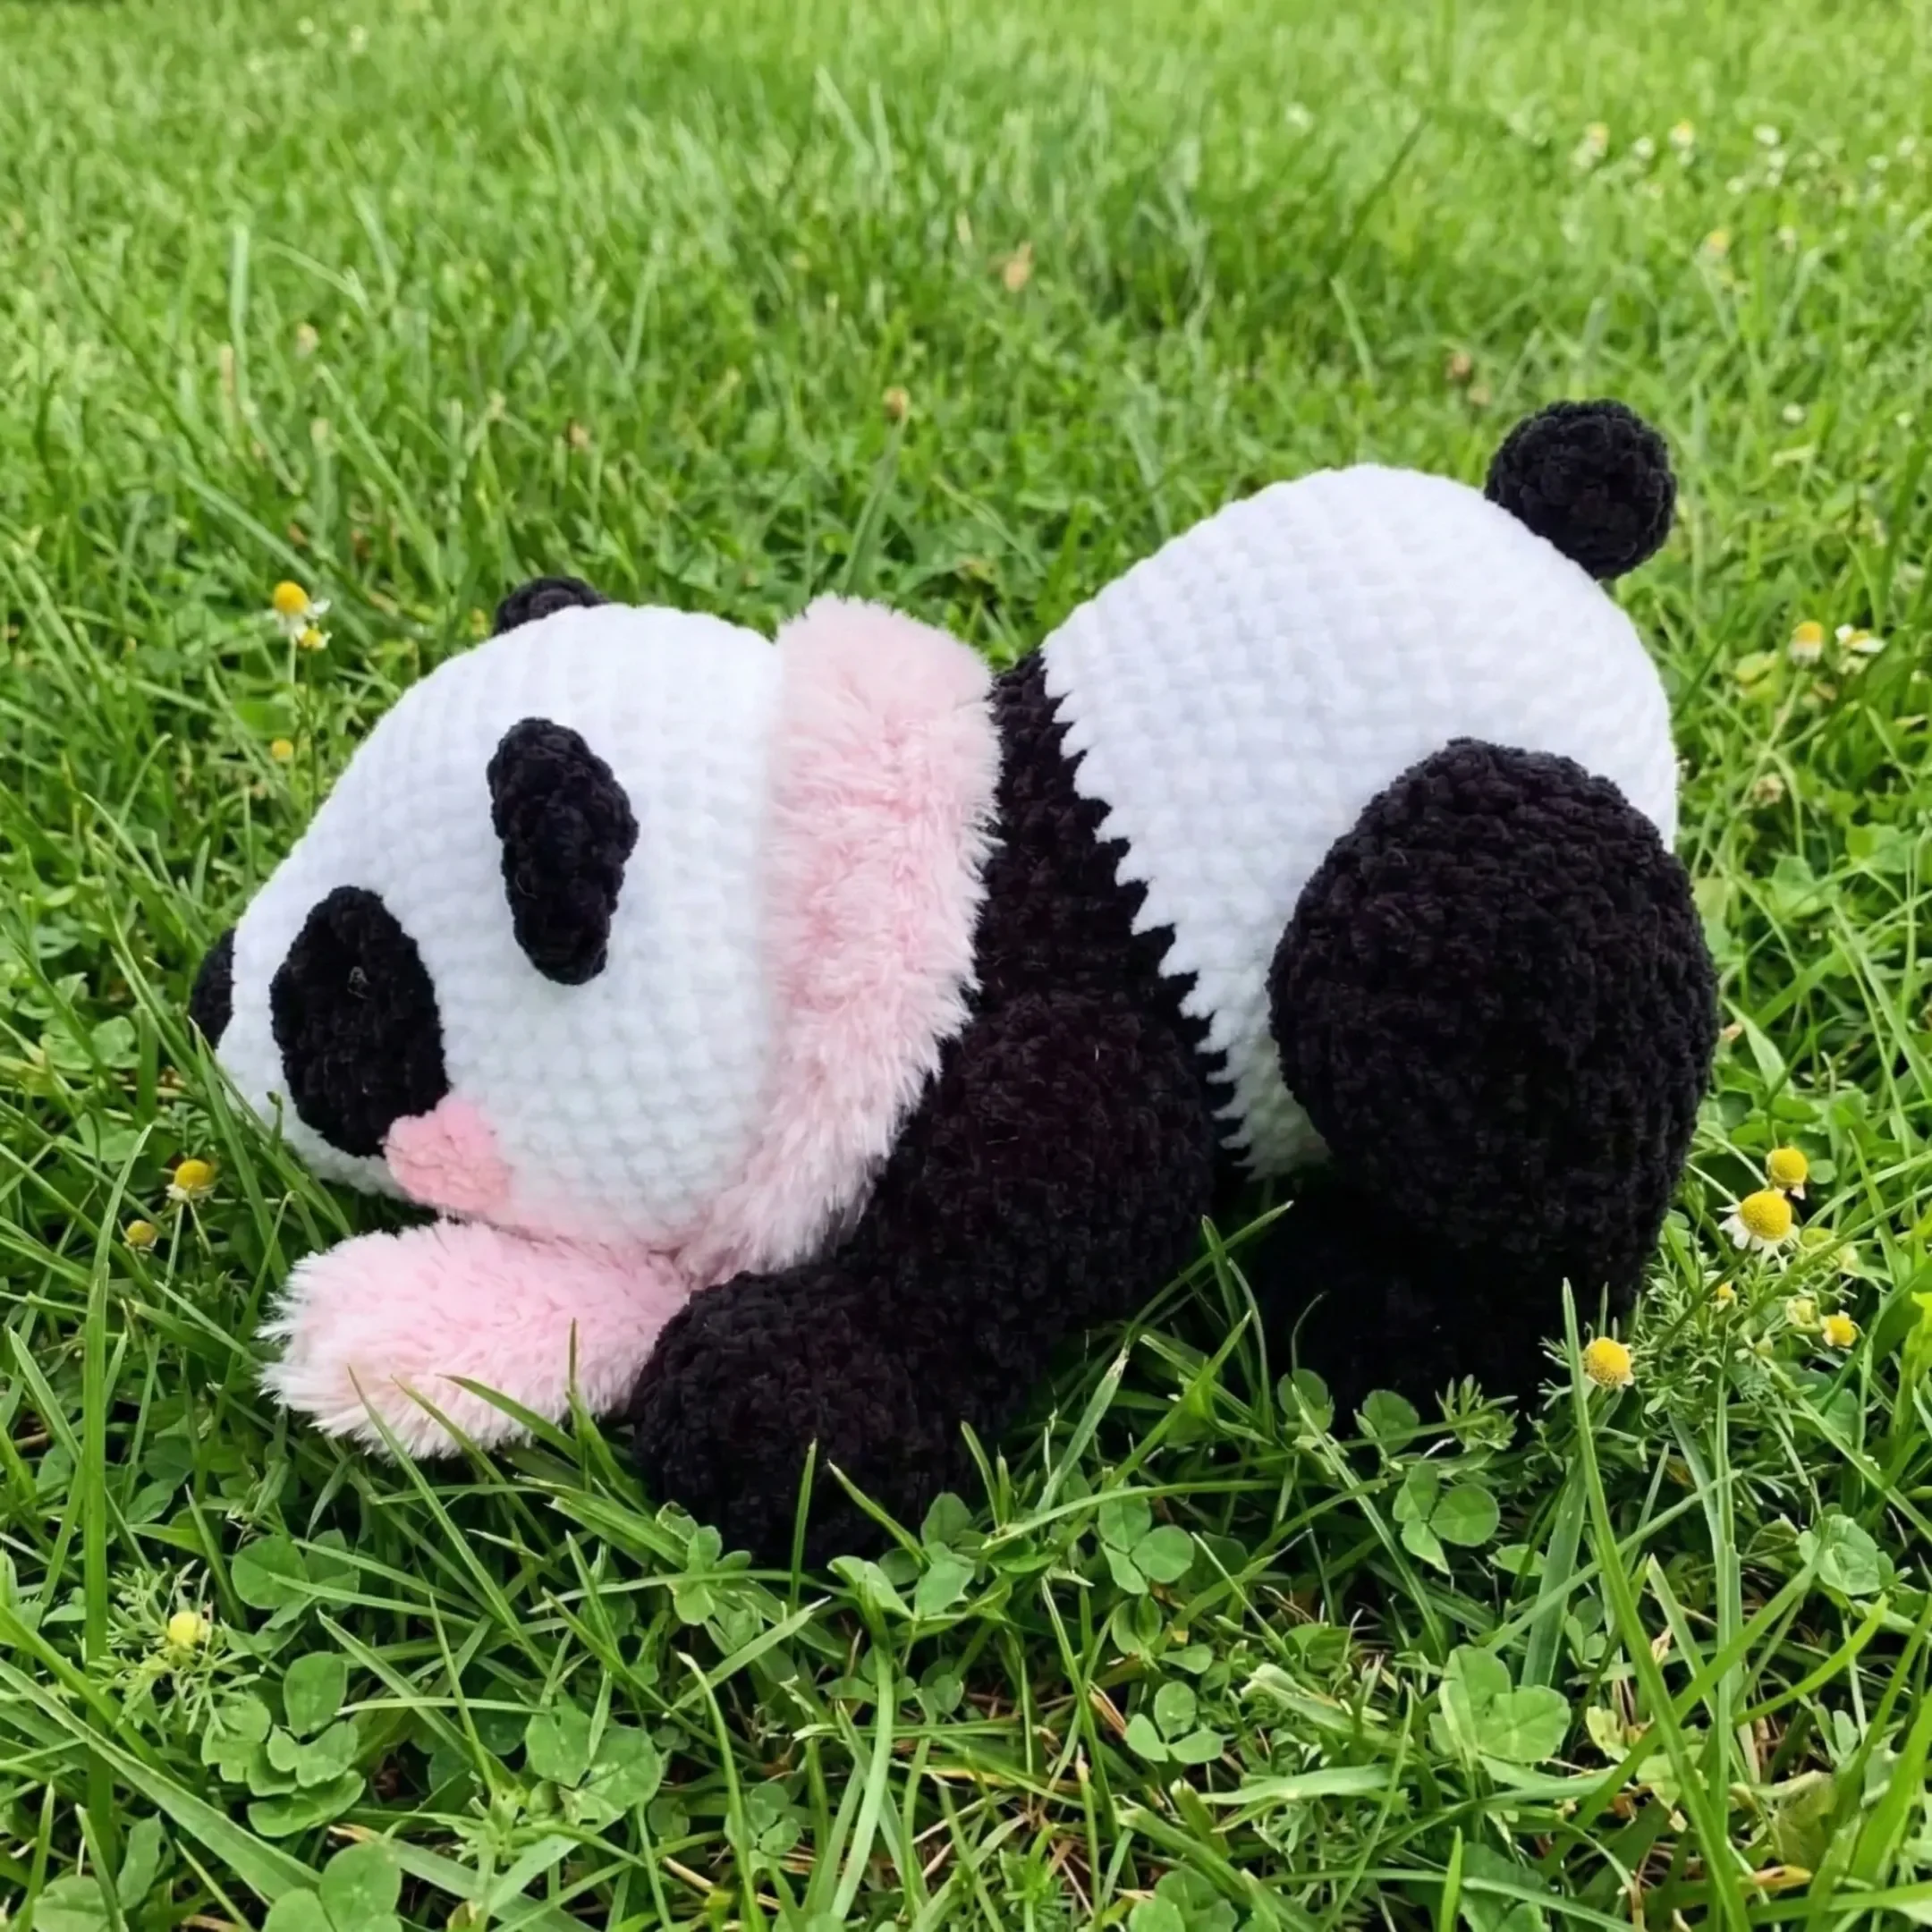
Fasten off, cut yarn. Sew cheeks below the eye patches on the face.
Finishing & Styling
Once all pieces are assembled, take a step back and admire your panda! For the nose, use a small amount of black yarn and embroider a simple triangle or Y-shape between the eye patches. If you’d like to add more personality, consider crocheting a small colorful scarf or bow tie to accessorize your panda — the possibilities are endless.