Viv Crochets Diamond Lace Crochet Bandana Free Pattern
Viv Crochets Diamond Lace Crochet Bandana Free Pattern
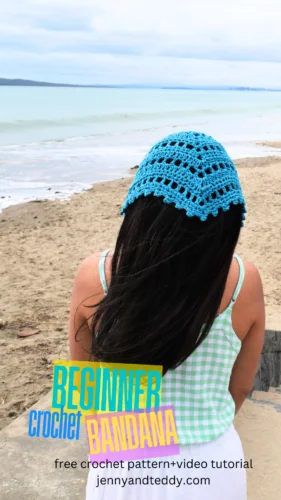
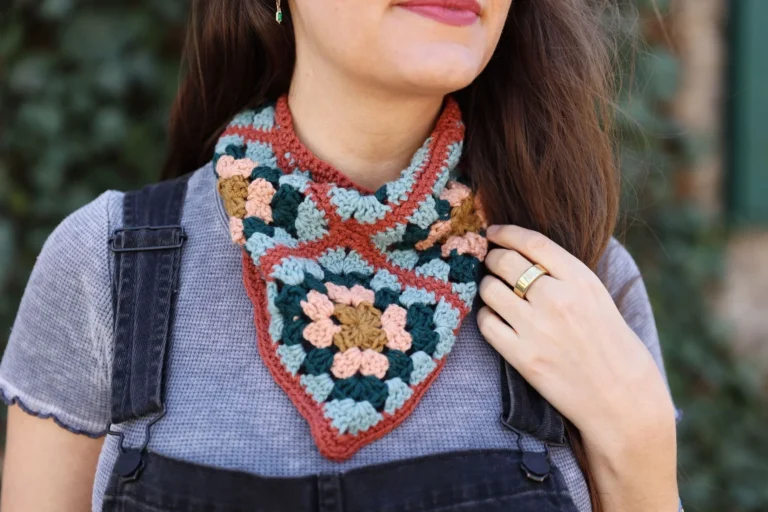
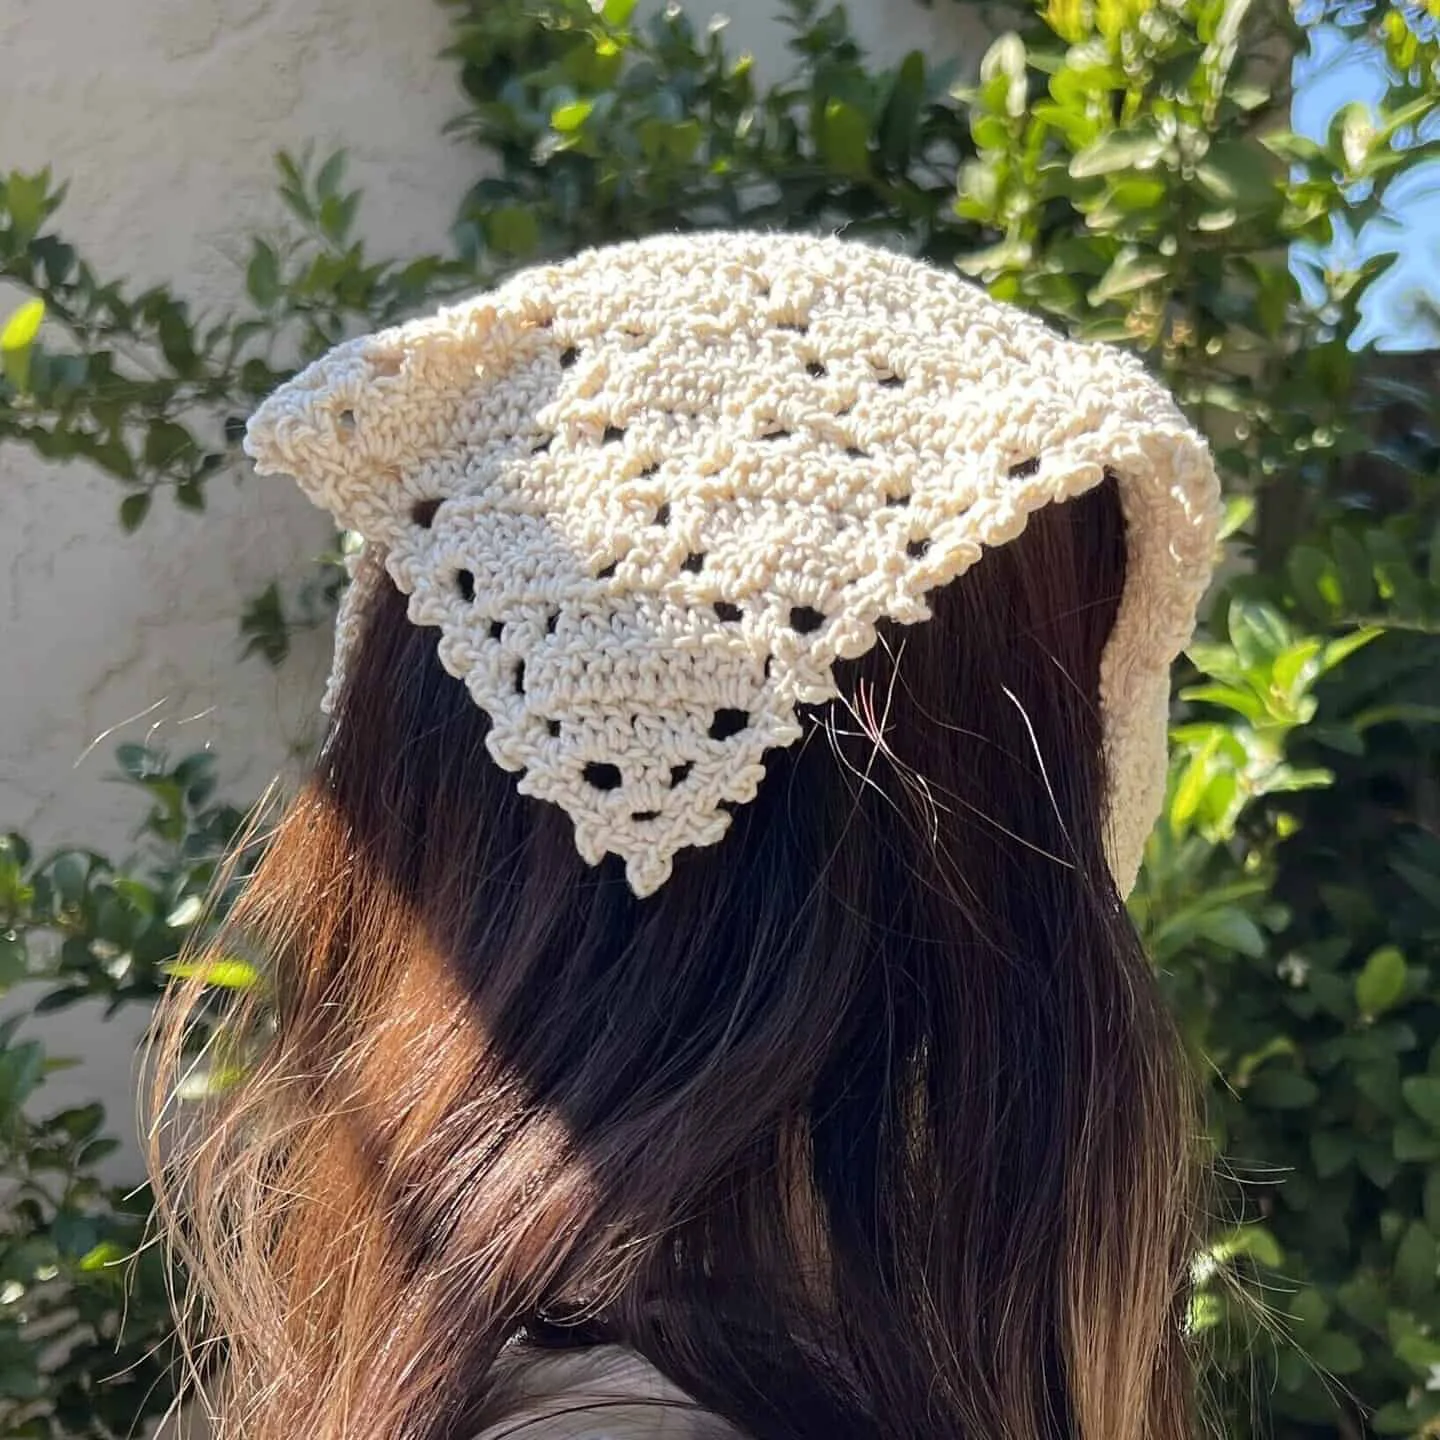
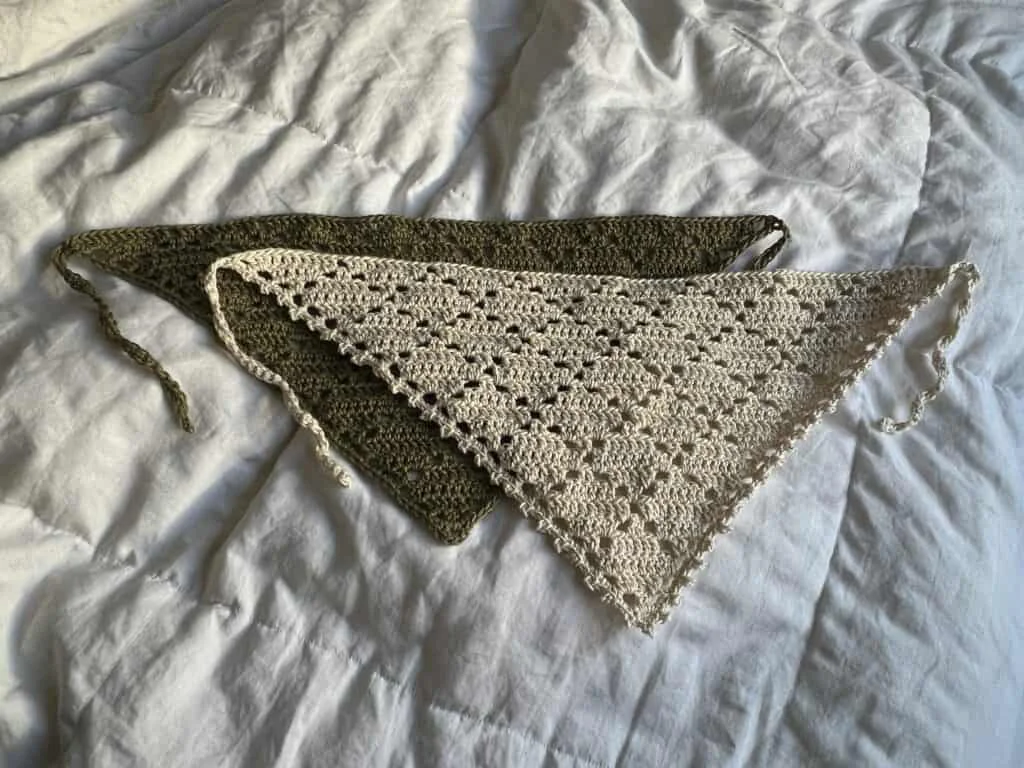
Step up your handmade wardrobe this season with the stunning Diamond Lace Crochet Bandana from Viv Crochets! This intermediate-friendly pattern beautifully balances delicate lace aesthetics with simple, repetitive stitches. The diamond motifs give this bandana a uniquely elegant, eye-catching texture that looks fantastic whether you’re styling it with a casual sundress or a casual autumn sweater.
What makes this pattern truly special is its easily customizable sizing. The instructions are written so you can easily increase the repeats to turn this bandana into a larger headscarf or even a lightweight shawl! You’ll love seeing the diamond grid emerge row by row, and the picot edge adds a perfect, polished finishing touch. Grab your favorite lightweight yarn and a hook, and get ready to create a gorgeous new accessory!









Materials
- 65 grams of medium weight yarn (Lion Brand 24/7 Cotton in “Ecru“)
- 5mm Clover Amour crochet hook
- Scissors
- Yarn needle

Dimensions
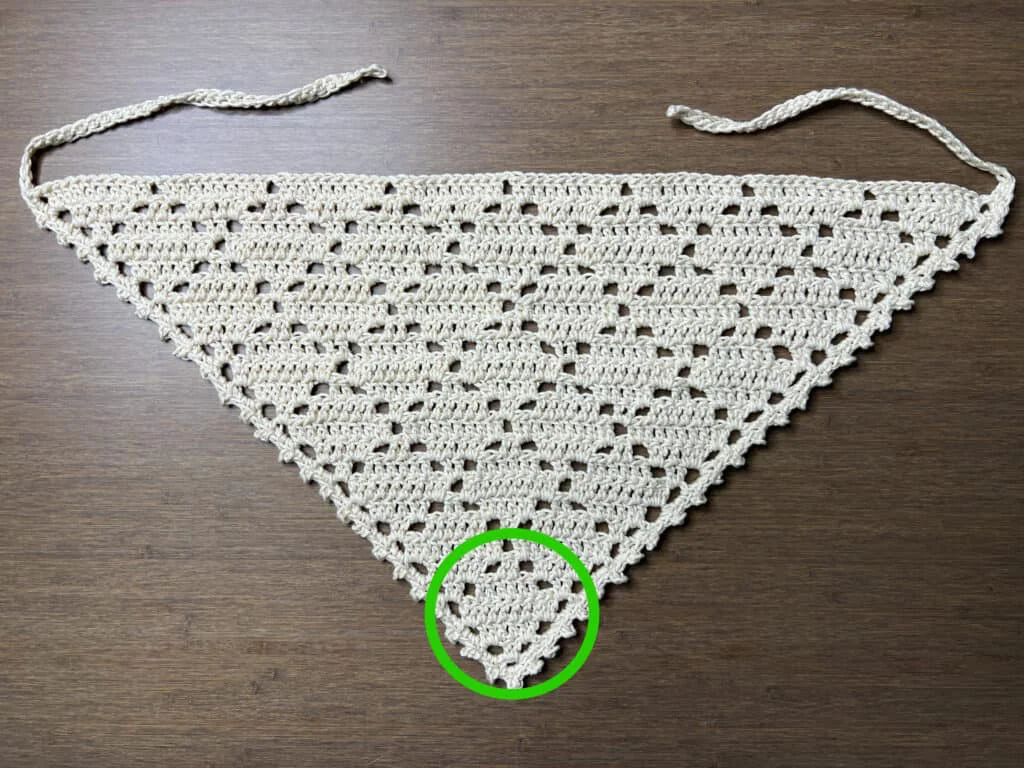
Longest side of triangle: 48 centimeters (18.9 inches)
Shorter sides of triangle: 35 centimeters (13.8 inches)
Strap: 20 centimeters long (7.9 inches)
Notes and Tips
- This pattern is written using US crochet terms
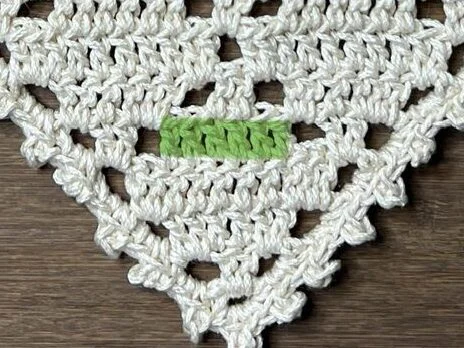
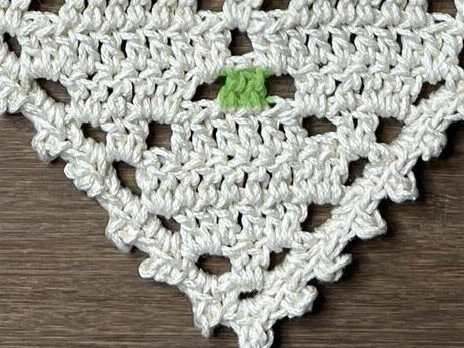
- Each diamond is made up of 5 rows; do not skip stitches unless you are past the third row
Abbreviations
ch = chain
ch-sp = chain-space
dc = double crochet
p = picot
rep = repeat
sk = skip
sc = single crochet
sk = skip
sl st = slip stitch
sp = space
st = stitch
Diamond Lace Crochet Bandana Pattern
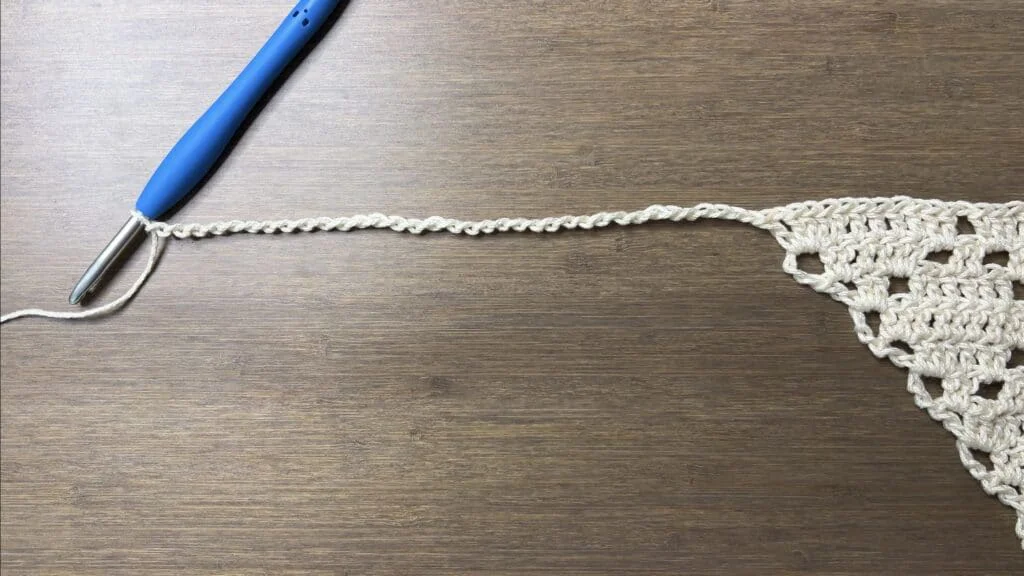
Foundation: Make a slipknot, ch4, sl st to 1st ch [4th from hook] to form a ring
Row 1: ch4, [dc2, ch1, dc] into ring

Row 2: ch4, turn, dc2 in first ch-sp, dc in next 2 st, [dc2, ch1, dc] in last ch-sp
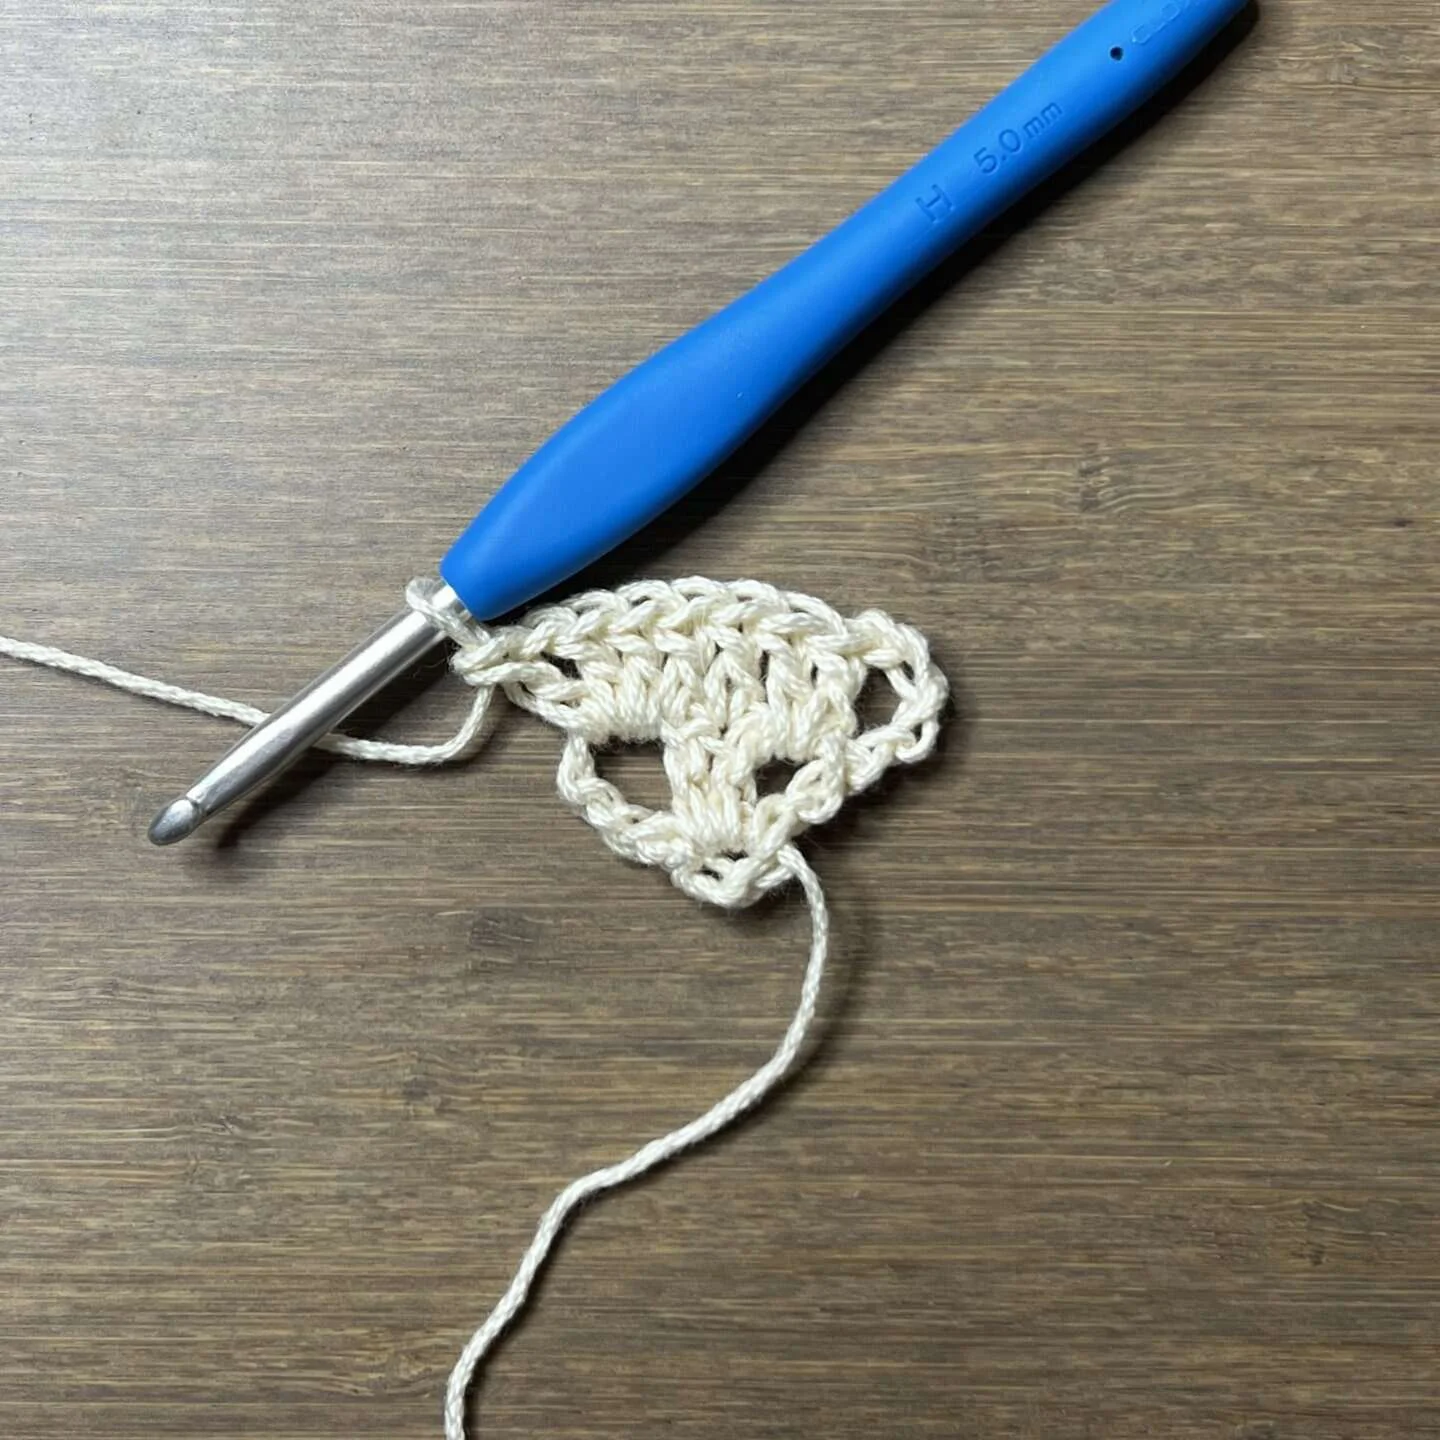
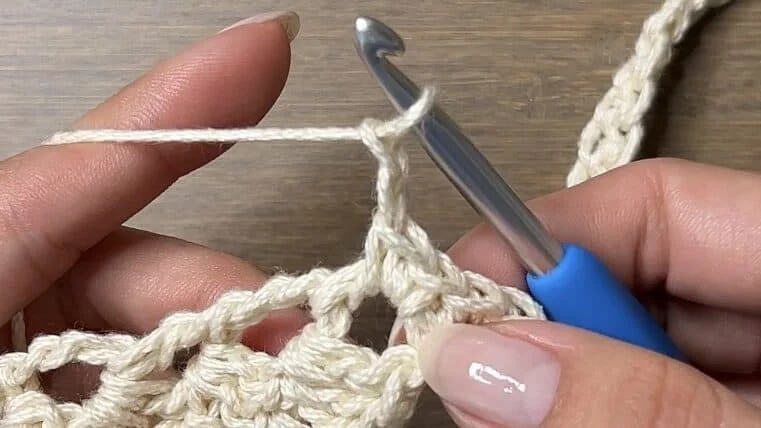
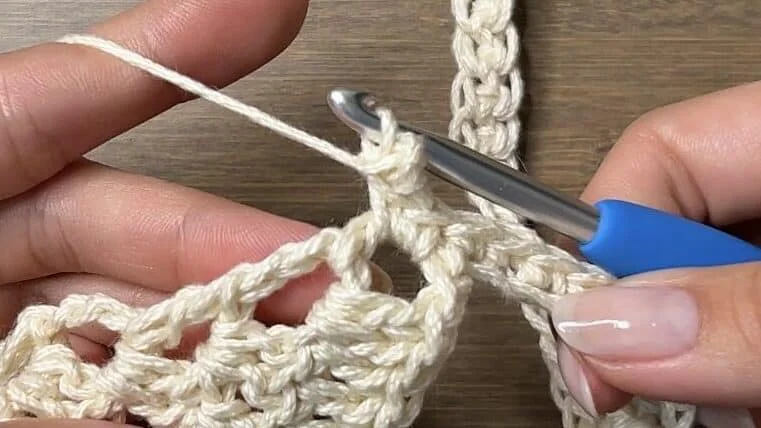
At the end of every row, push your stitches in the last chain space over to the right. This will help give your project a more triangular shape.
Row 3: ch4, turn, dc2 in first ch-sp, dc in next 6 st, [dc2, ch1, dc] in last ch-sp
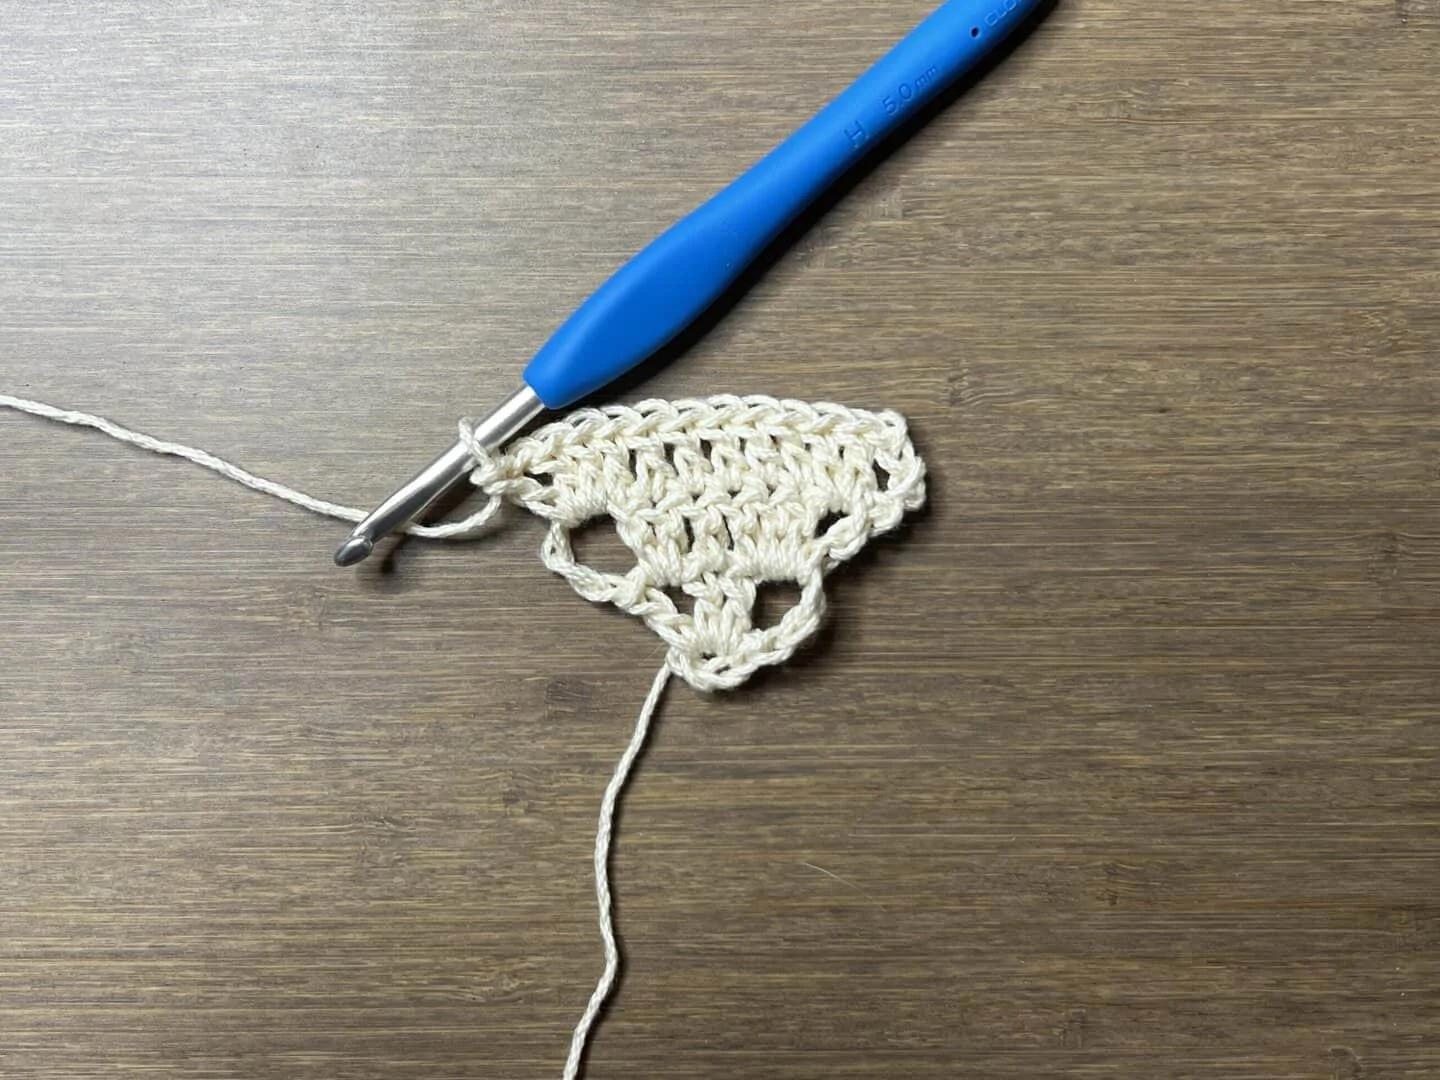
Row 4: ch4, turn, dc2 in first ch-sp, ch1, sk2, dc in next 6 st, ch1, sk2, [dc2, ch1, dc] in last ch-sp
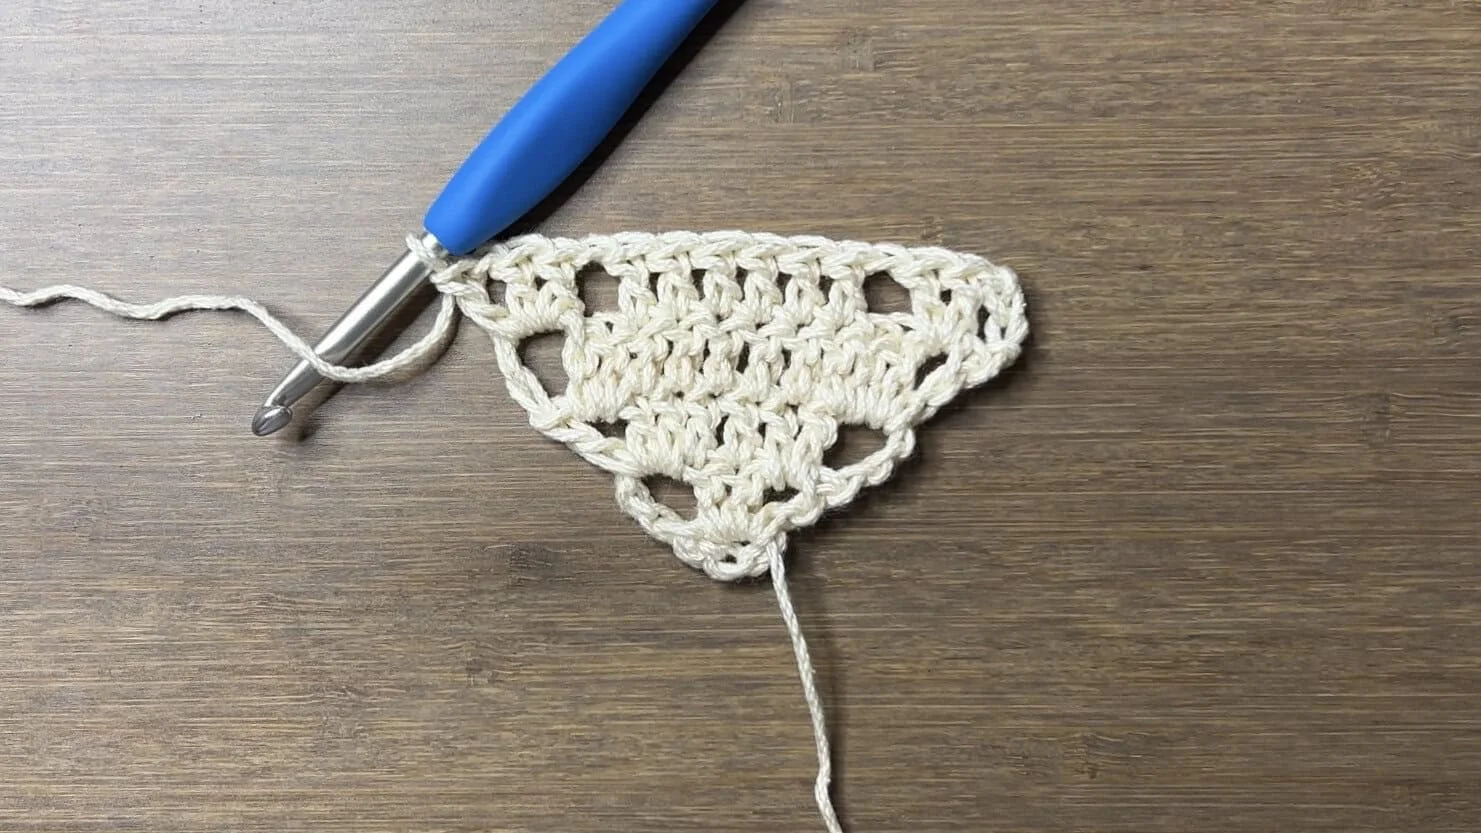
Row 5: ch4, turn, dc2 in first ch-sp, dc in next 2 st, dc2 in next ch-sp, ch1, sk2, dc in next 2 st, ch1, sk2, dc2 in next ch-sp, dc in next 2 st, [dc2, ch1, dc] in last ch-sp
Now, you should see that the diamond at the very bottom is finished!
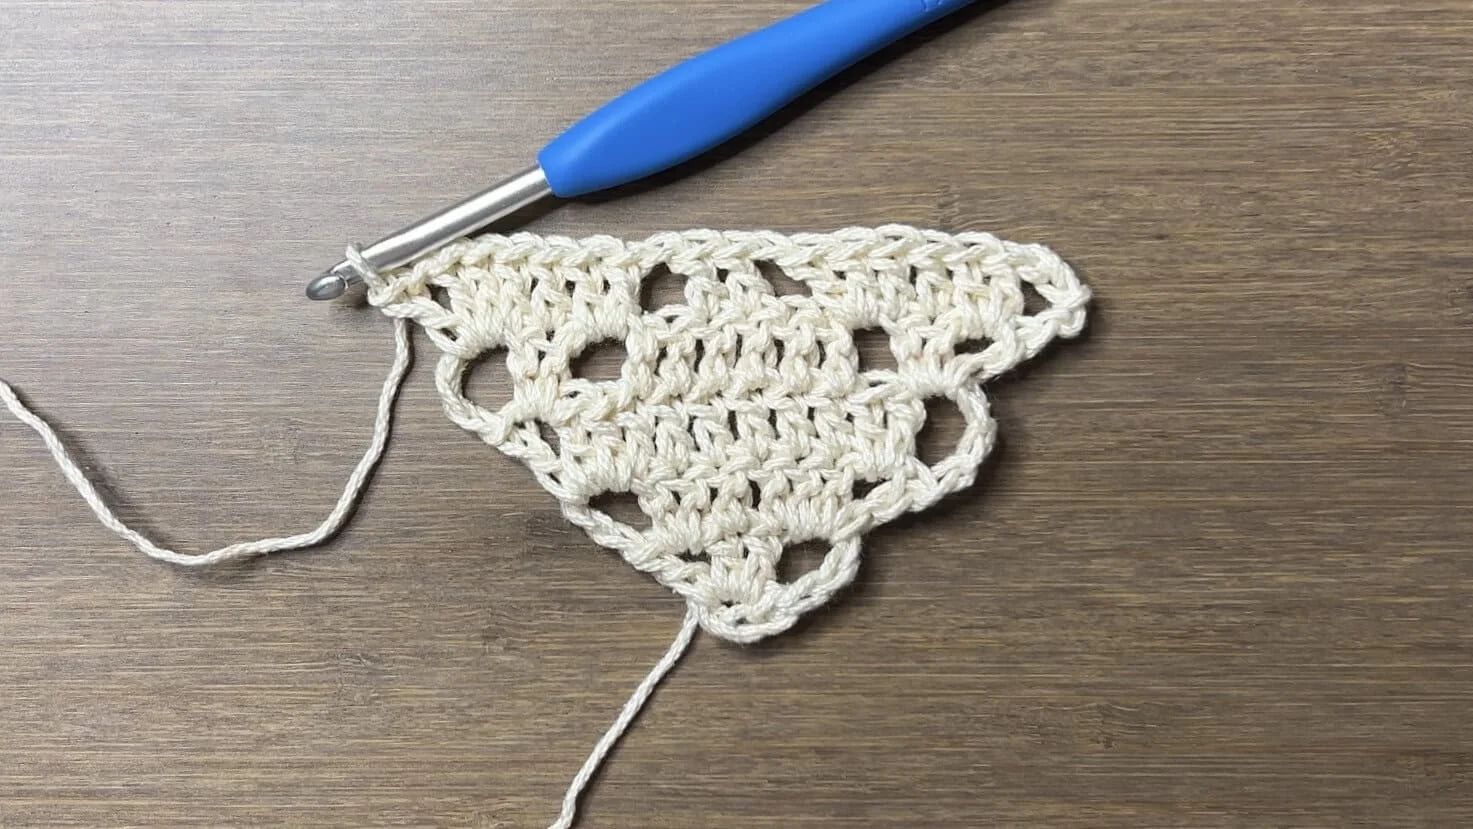
Row 6: ch4, turn, dc2 in first ch-sp, dc in next 6 st, dc2 in next ch-sp, ch1, sk2, dc2 in next ch-sp, dc in next 6 st, [dc2, ch1, dc] in last ch-sp
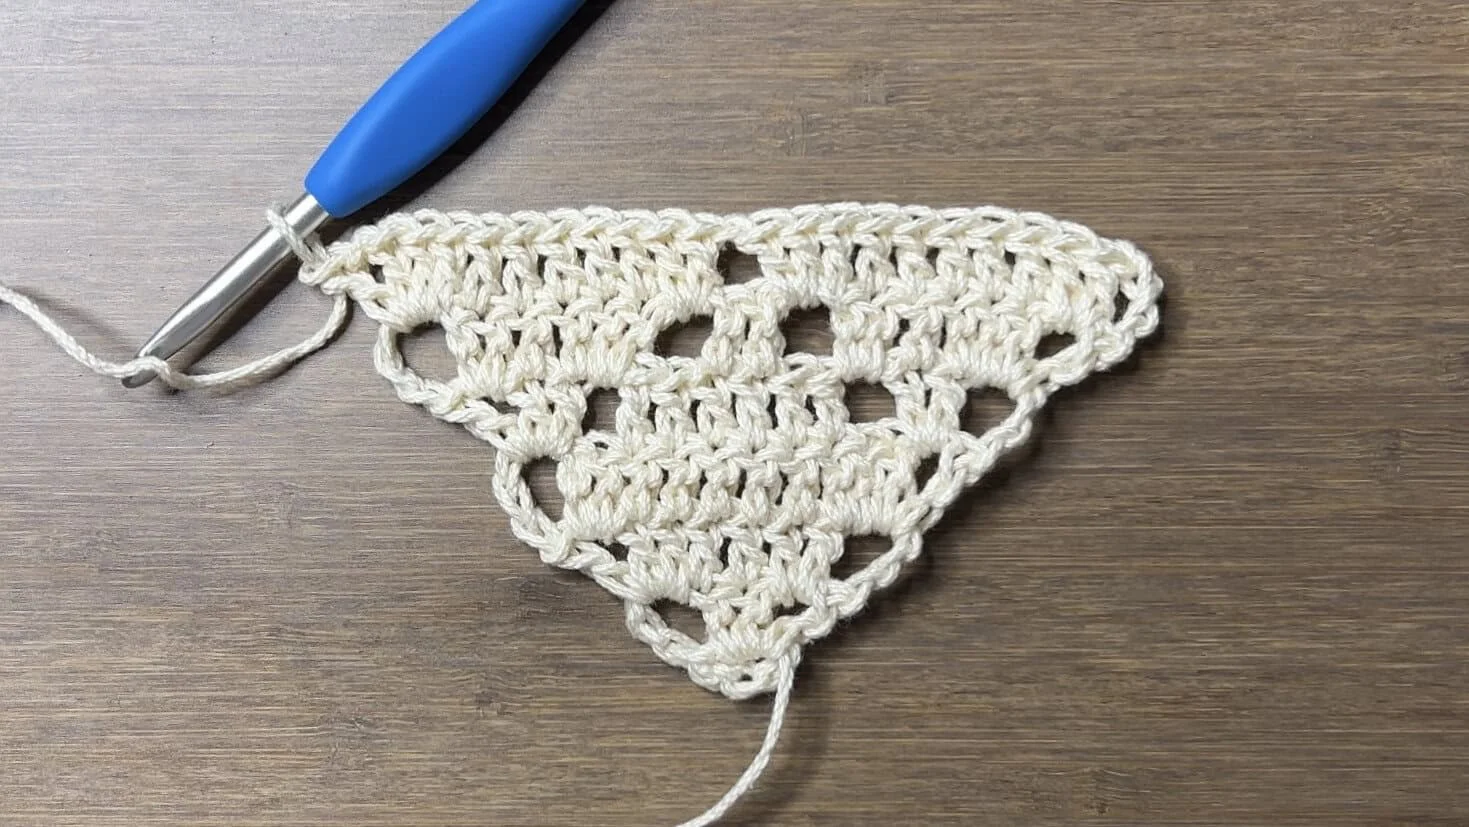
Row 7: ch4, turn, dc2 in first ch-sp, ch1, sk2, dc in next 6 st, ch1, sk2, dc2 in next ch-sp, ch1, sk2, dc in next 6 st, ch1, sk2, [dc2, ch1, dc] in last ch-sp
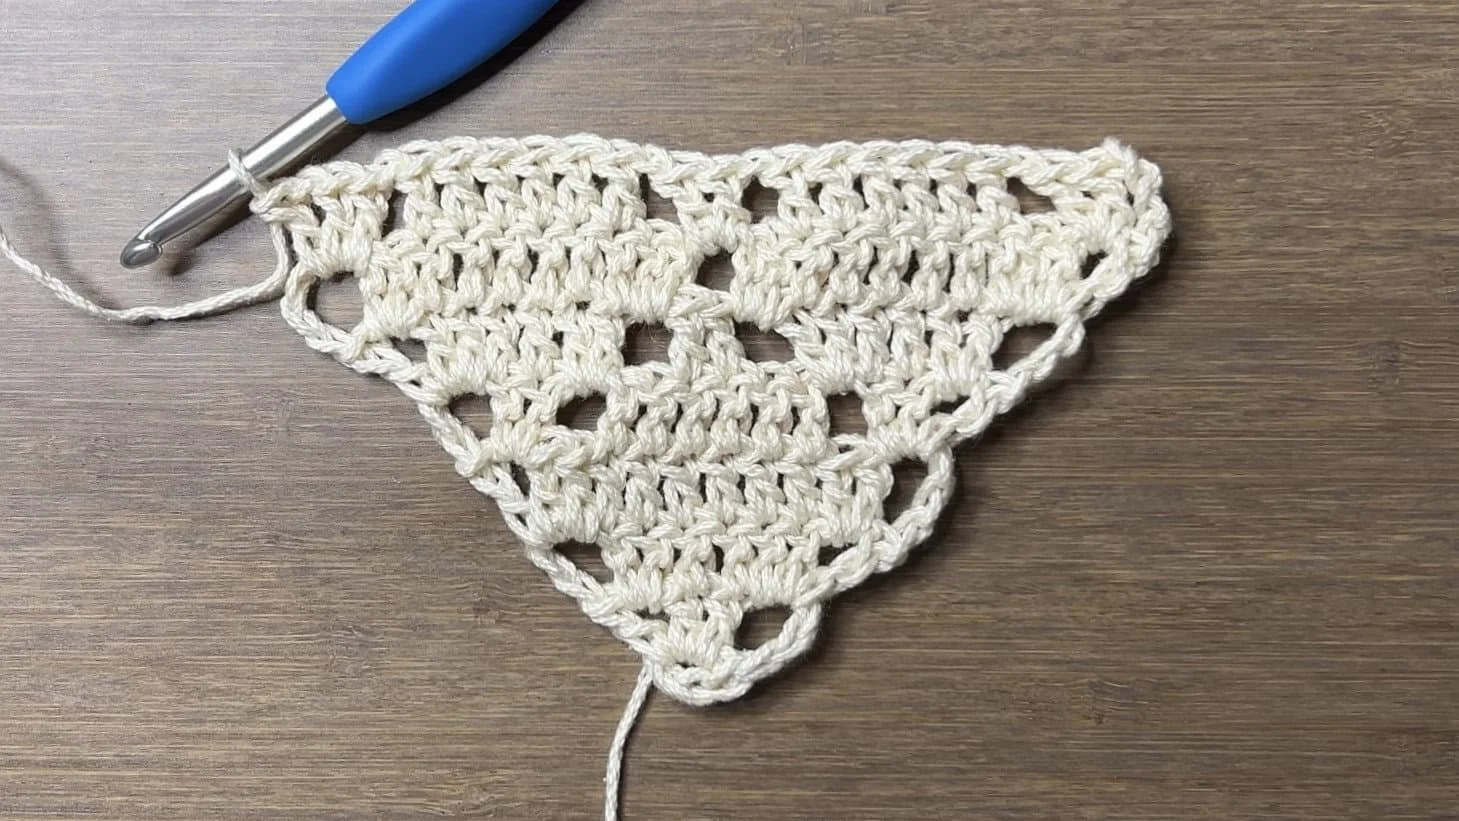
Row 8: ch4, turn, dc2 in first ch-sp, dc in next 2 st, rep[dc2 in next ch-sp, ch1, sk2, dc in next 2 st, ch1, sk2, dc2 in next ch-sp, dc in next 2 st] 2 times, [dc2, ch1, dc] in last ch-sp
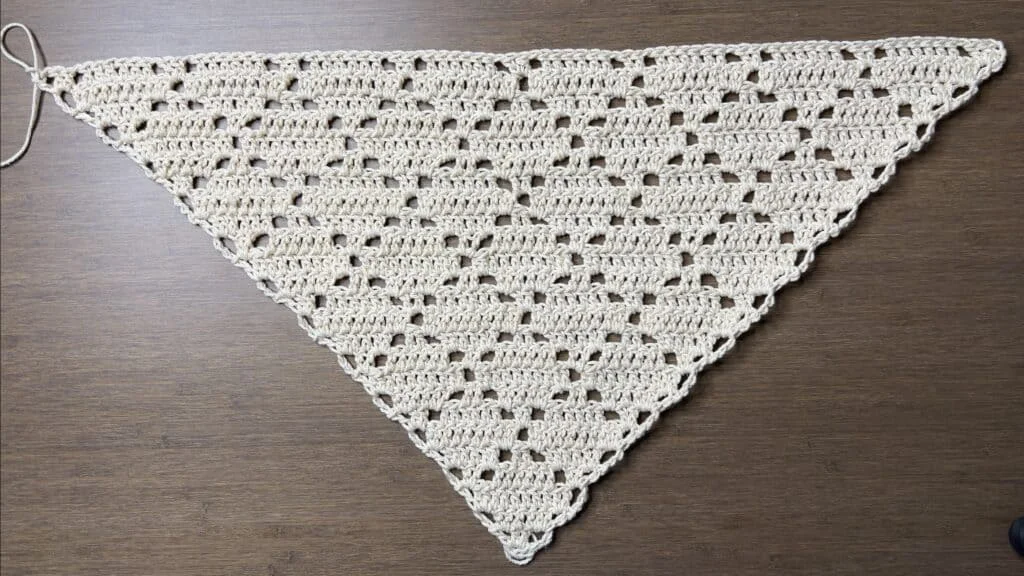
Continue with the pattern until the crochet bandana is the right size for you. You can follow the pixel grid or the notes below to help you continue the pattern. If you’re unsure of anything, please don’t hesitate to leave a comment for me or anyone reading to help you out!
Notes to Continue Increasing Size
Start of every row: ch4, turn, dc2 in first ch-sp
Rows 2-3 of the diamond: don’t skip stitches
Rows 4-5 of the diamond: ch1, sk2 on either side
Row after completing diamond: ch1, sk the 2 st of 5th row
Every chain space other than the first and last: dc2
End of every row: [dc2, ch1, dc] in last ch-sp, push stitches to the right
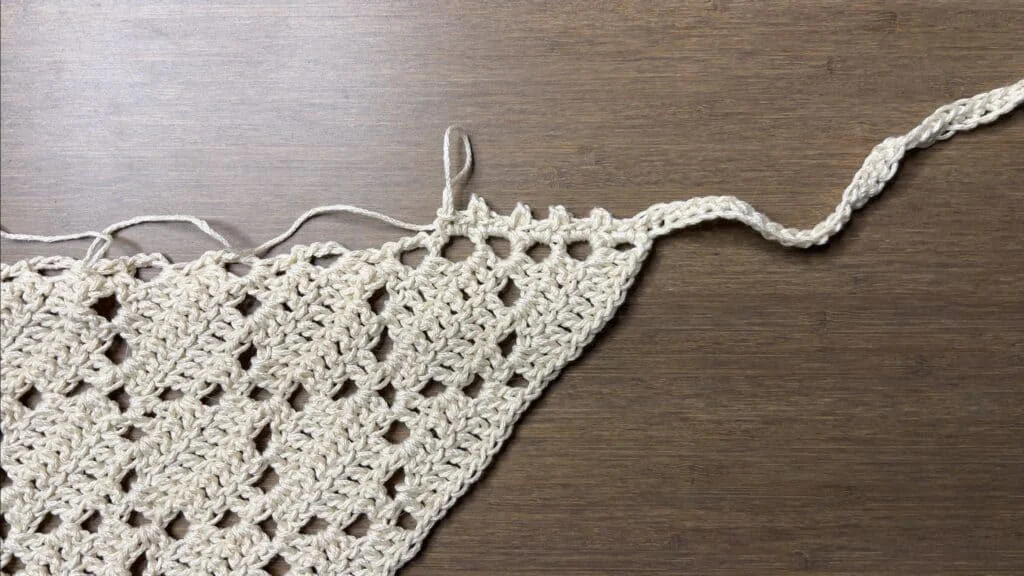
Continue increasing the size of the bandana until you get the size you want. It should wrap over your head from ear to ear and fold in half at the back of your head. I did 24 rows.
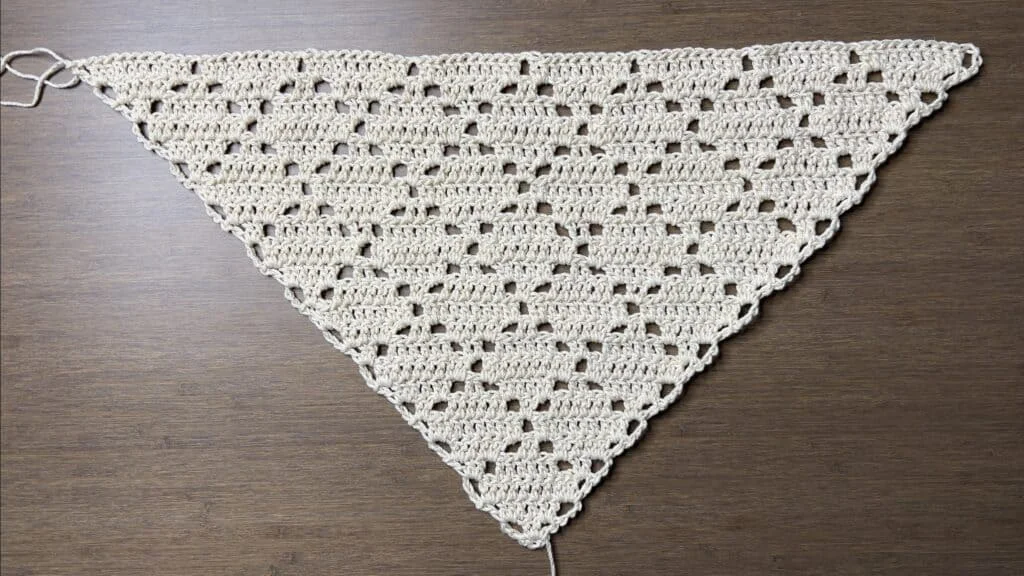
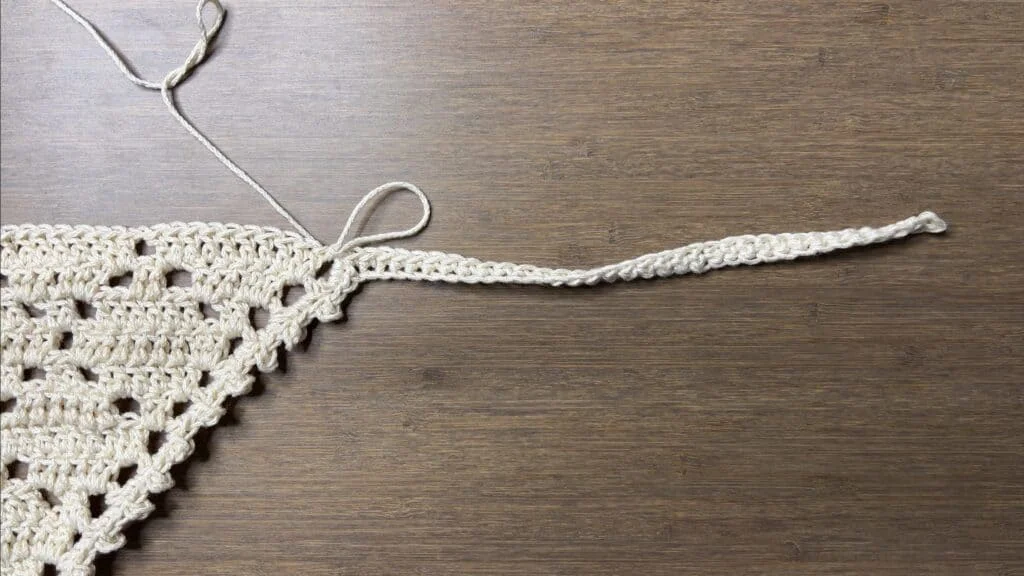
Next, we will crochet one strap, clean up the edges and make our picots, then crochet our other strap. And we won’t have to cut our yarn at all!
First Strap
ch35, sc in 2nd ch from hook and across (34)
Note: Do a shorter chain for a shorter strap or a longer chain for a longer strap.


Straightening Edges and Crochet Picots
Now, we will be working into the spaces along the short sides of the triangle. Each row has a space on either end.
rep[sc2 in next sp, p] until ch4-sp at bottom point, [sc2, p, sc2] in next sp, rep[p, sc2 in next sp] along the side
Note: If you prefer your bandana without picots, you can skip them and just do 2 single crochets per space.
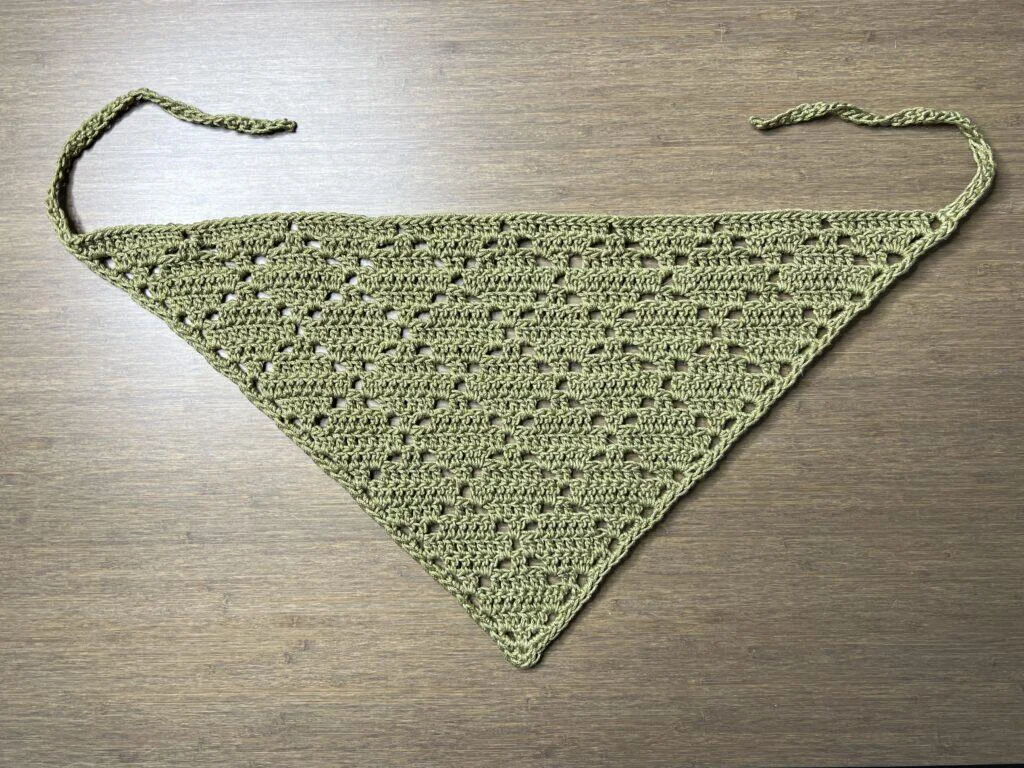
Second Strap
ch35, sc in 2nd ch from hook and across, sl st to sp, fasten off (34)
Note: If you did a different number of chains for the first strap, do that same number of chains for an identical second strap.