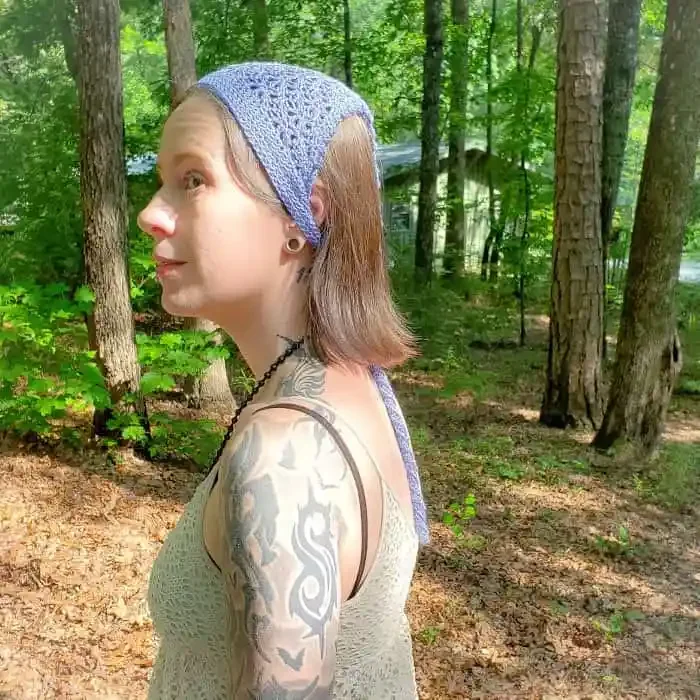
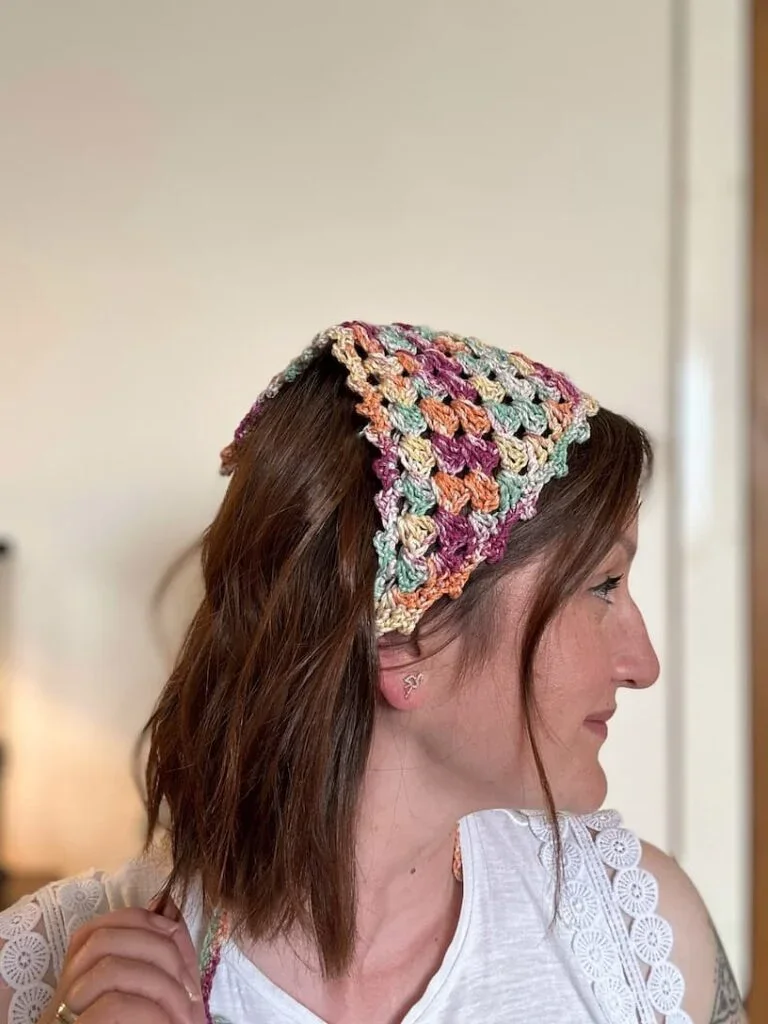
Marching North Granny Crochet Bandana Free Pattern (Updated)
Marching North Granny Crochet Bandana Free Pattern (Updated)
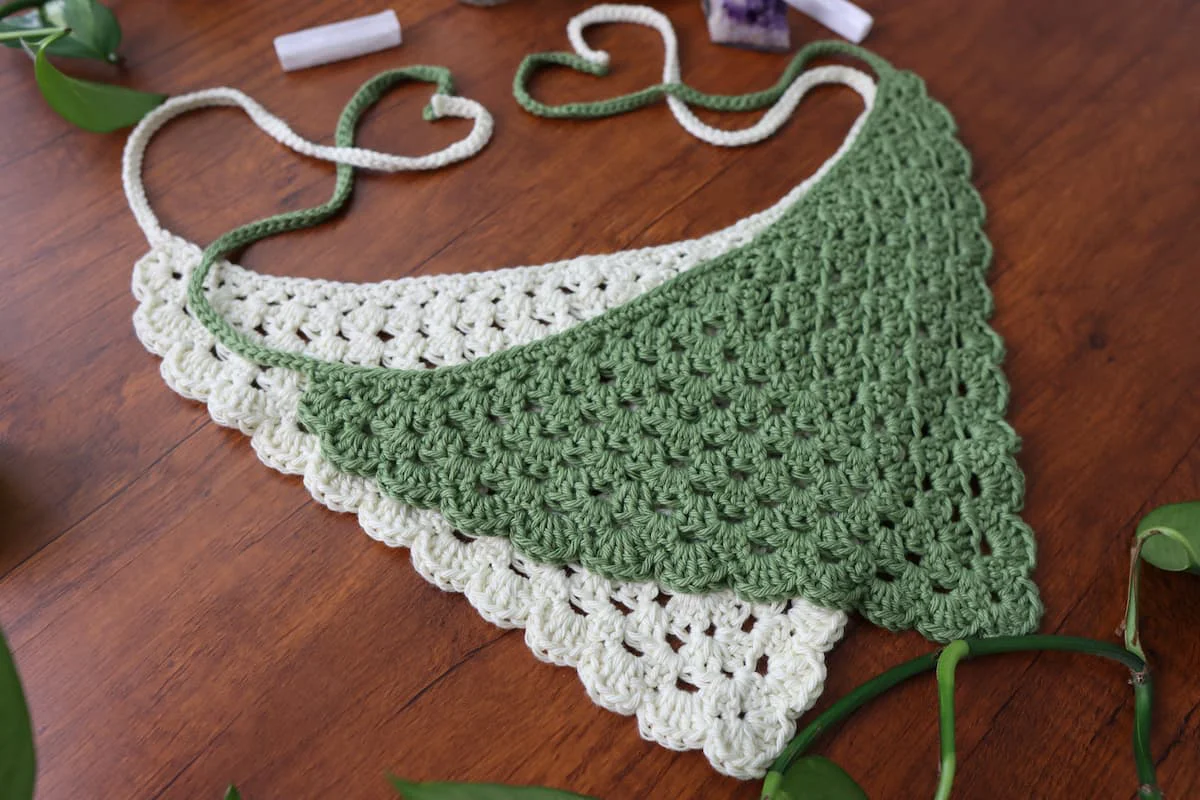
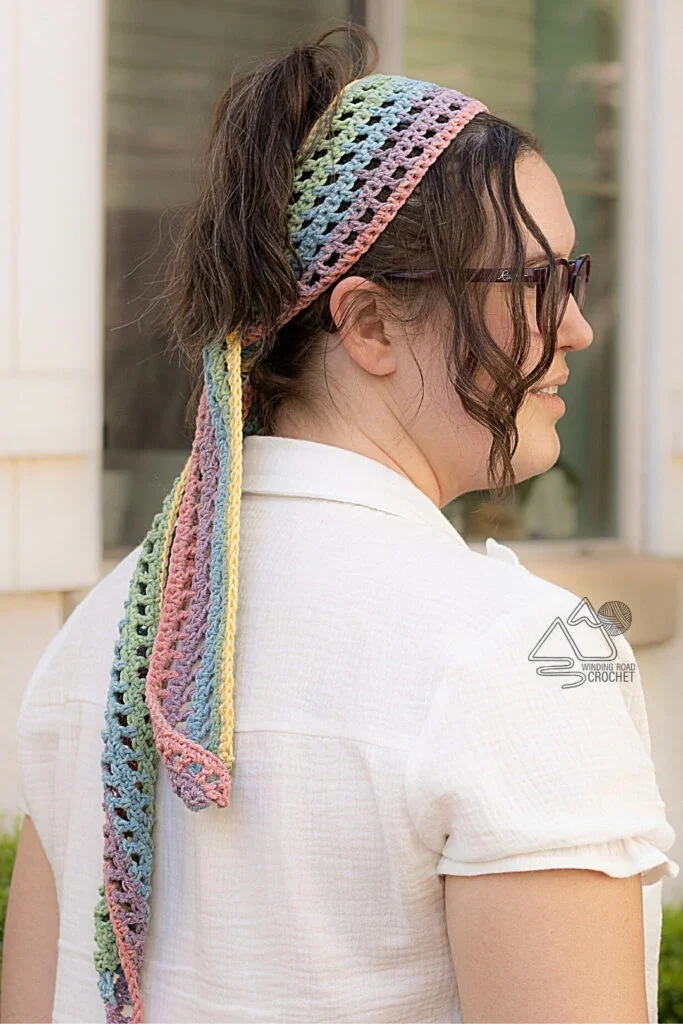
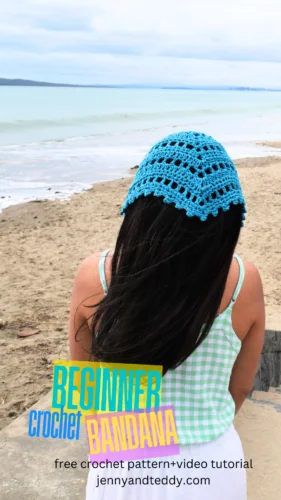
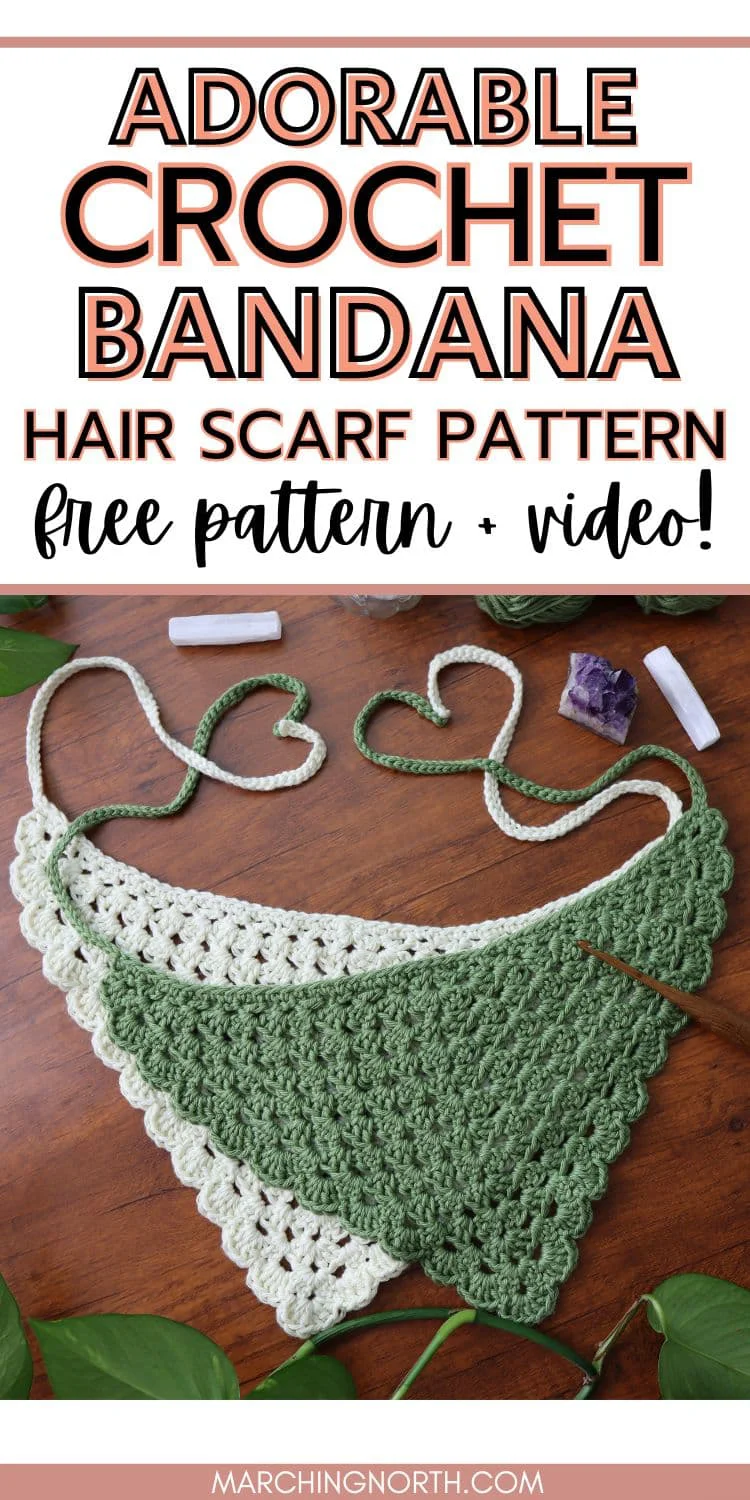
Get ready to add a fantastic, retro-inspired touch to your summer wardrobe! Marching North has updated their incredibly popular Granny Crochet Bandana pattern, and it’s better than ever. If you love the vintage charm of the granny stitch but want something quick and wearable, this bandana is the perfect project. It’s ideal for keeping your hair out of your face on breezy days, styling a cute festival look, or simply throwing on for an effortless, bohemian vibe.
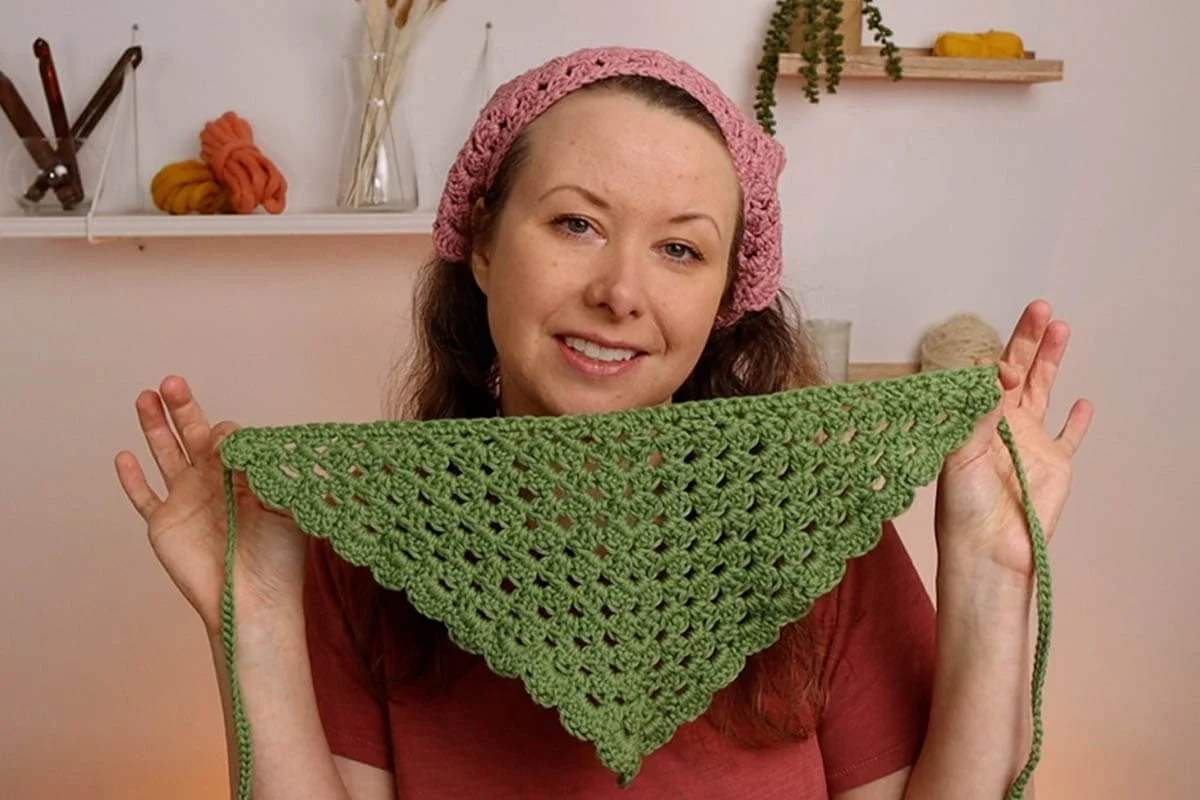
This updated version comes with even clearer instructions and sizing options, making it a breeze for both beginners and seasoned crocheters. Working up quickly in your favorite cotton yarn, the pattern starts at the center and grows outward into a lovely triangle, finishing off with a delicate scalloped edge and secure ties. Let’s dive in and crochet this fun, fast, and stash-busting summer staple!
Materials
- 1 skein of worsted weight cotton yarn (I used “I Love This Yarn” from Hobby Lobby). You should only need one ball of yarn.
- Hook Size: 5 mm (I love my Furls Hook!)
- tapestry needle
- sharp scissors
Finished Size
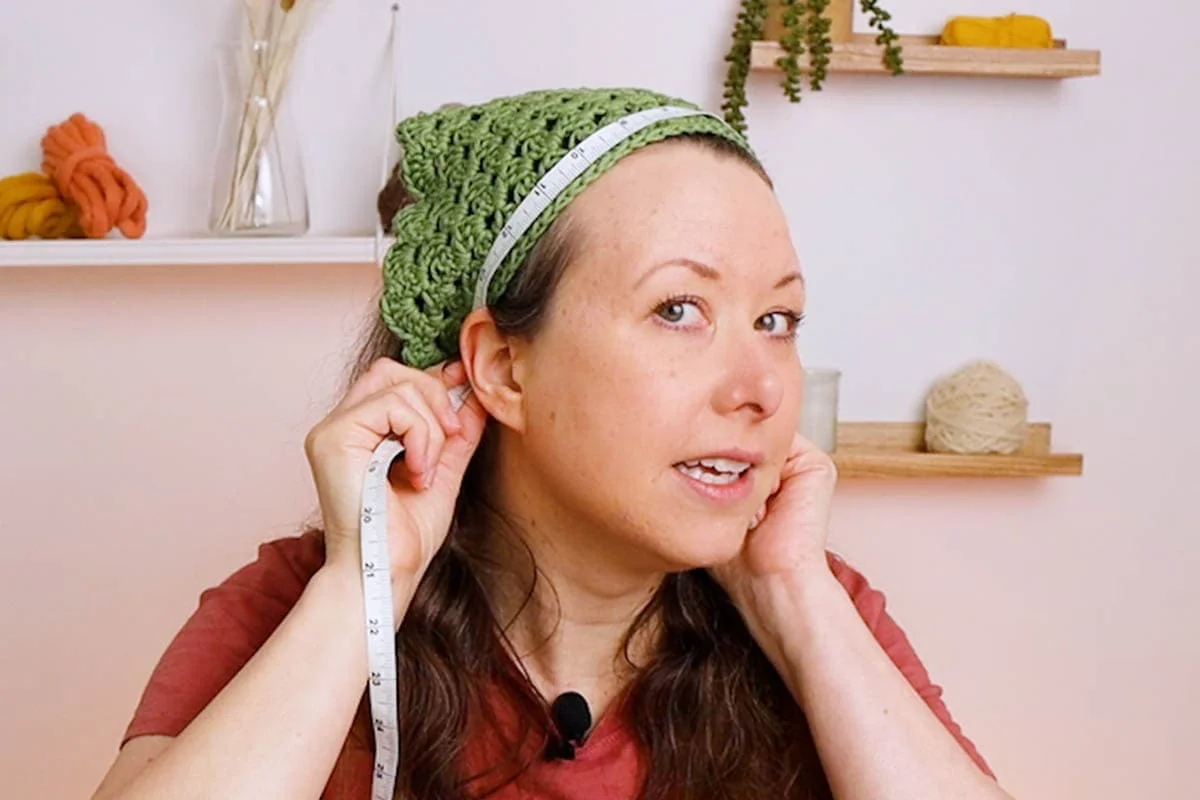
- Approx. 16” across and 8.5” tall
- Straps are approx. 13.5” long
- I didn’t do a gauge swatch for this pattern.
Abbreviations
- Ch – chain stitch
- St – stitch
- Sp – space
- Sl st – slip stitch
- Dc – double crochet
- FO – Finish off: cut the yarn, leaving a tail of 5 or 6 inches. Pull the loop your hook is on until the yarn end comes through and pull gently to tighten.
- Rep – repeat
Special Stitches
Magic Ring or Magic Circle (right handed instructions, for left handed, wrap in the opposite direction):
Pinch yarn tail between the thumb and index finger of your left hand with end of yarn pointing down, then wrap yarn around two fingers, going clockwise.
Wrap all the way around and cross the yarn over on the back of your fingers in an X shape, then hold the end of the working yarn in place with your ring finger.
Insert crochet hook under the loop closest to your fingertips on the back side of your fingers and grab the other yarn loop and pull it through.
Twist the crochet hook toward you and upward. This will twist the loop of yarn onto the hook into a lowercase cursive “e” shape.
Insert the hook under the farthest back loop on the back of your fingers again, and pull the loop through the loop on your hook. That makes your first chain.
You’ll make 2 more chains to complete the chain 3 needed in Row 1.
Notes
Ch 3 counts as a stitch at beginning of each row.
You can add an extra row to make this bandana larger, or make less rows to make it smaller. Pattern as written fits an average sized adult woman’s head.
There are two options for how to start Row 1 below. Only do one of them.
If you opt for the chain 4 option, you’ll have a small hole, but there are holes on the whole bandana so it will blend in just fine.
Video Tutorial
Check out the video tutorial for this crochet bandana pattern, and don’t forget to subscribe!
Bandana Free Crochet Pattern
For Row 1: Only do one of these options!
Row 1 – Magic Ring Option
Make a magic ring, ch 3 (counts as first st), (2 dc, ch 1, 3 dc) in ring. Pull short end of yarn to tighten. Turn.
Row 1 – Ch 4 Option
Attach yarn to hook with a slip knot, ch 4 (counts as starting ring + first st), (2 dc, ch 1, 3 dc) in first ch. Turn.
Row 2
Ch 3, dc into same st, (3 dc, ch 1, 3 dc) in corner sp, 2 dc in top of ch-3, turn.
Row 3
Ch 3, dc into same st, 3 dc in next sp, (3 dc, ch 1, 3 dc) in corner sp, 3 dc in next sp, 2 dc in top of ch-3, turn.
Row 4 – 12
Ch 3, dc into same st, 3 dc in each sp along first side, (3 dc, ch 1, 3 dc) in corner sp, 3 dc in each sp along second side, 2 dc in top of ch-3, turn.
Leave yarn attached for next part.
Scalloped Edge
Ch 1, sk first dc, sl st into next dc, 3 dc in first sp, sl st into center dc of 3 dc cluster, *make 5 dc in next sp, sl st in center dc of next cluster; rep from * to corner, work 7 dc in corner sp, sl st to center dc of next cluster, rep from * to last space, make 3 dc in last space, sl st in last st (this is the st before the ch-3).
Leave yarn attached for next part.
Ties
First Tie
Ch 61.
Sk first ch, sl st into 2nd ch from hook and each remaining ch, sl st into same st that strap started on.
Front Edge
Sc 46 times along front edge of bandana. (Last sc will be in last st before scallops begin.)
Second Tie
Ch 61.
Sk first ch, sl st into 2nd ch from hook and each remaining ch, sl st into same st that strap started on.
FO.