Best Easy Selina Veronique Crochet Cottagecore Inspired Bandana Free Crochet Pattern
Are you looking for the absolute best free pattern for a selina veronique crochet cottagecore inspired bandana? You are in exactly the right place! We have discovered this top-rated, incredibly easy crochet design that is guaranteed to be a huge hit. Whether you want to make a quick handmade gift or create a beautiful keepsake, this project is fun, straightforward, and looks absolutely stunning when finished. Grab your softest yarn and let’s get started on your new favorite project!
Selina Veronique Crochet Cottagecore Inspired Bandana Pattern
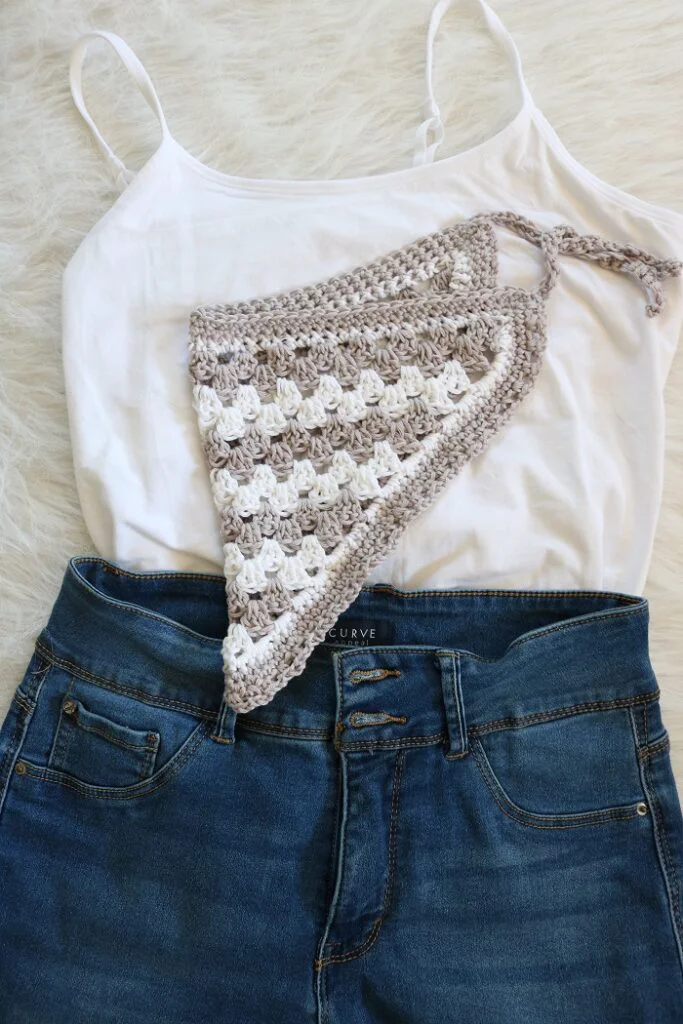
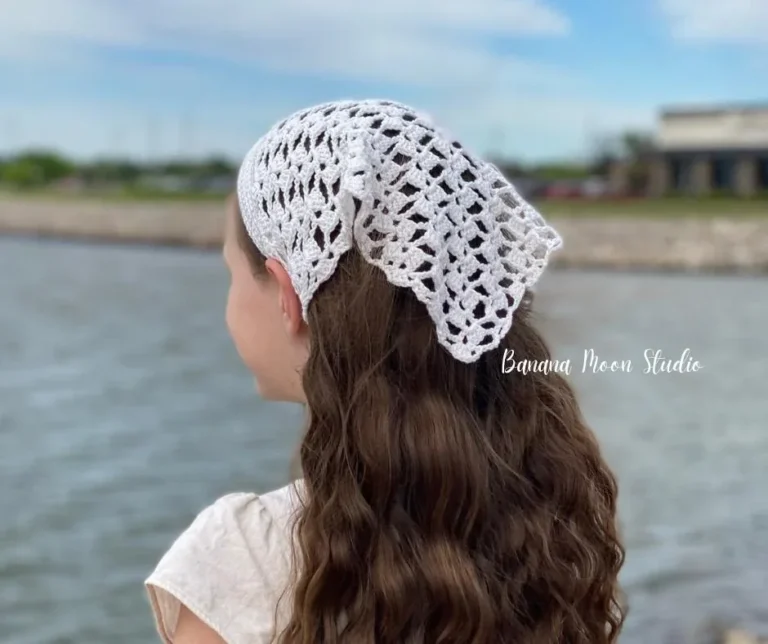
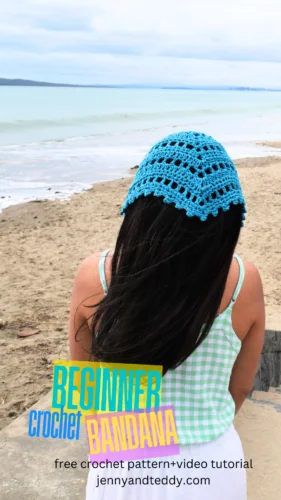
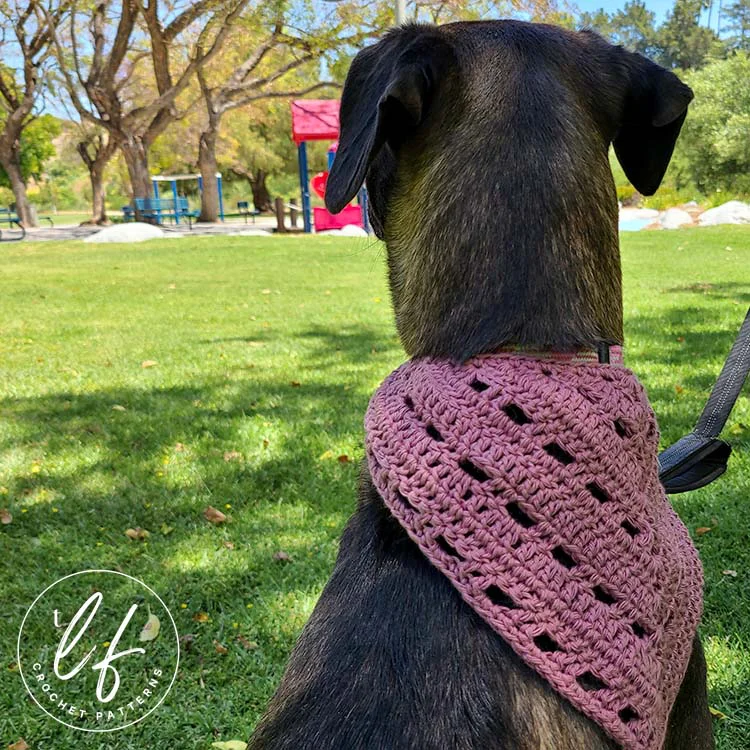
Step into a whimsical world with this beautiful Crochet Cottagecore Inspired Bandana from Selina Veronique! With its delicate, lacy texture and charming romantic aesthetic, this kerchief is perfect for embracing the cottagecore vibe all year round. Whether you’re tending to a garden, going for a nature walk, or just want to add a touch of vintage sweetness to your everyday outfit, this bandana is the ideal accessory.
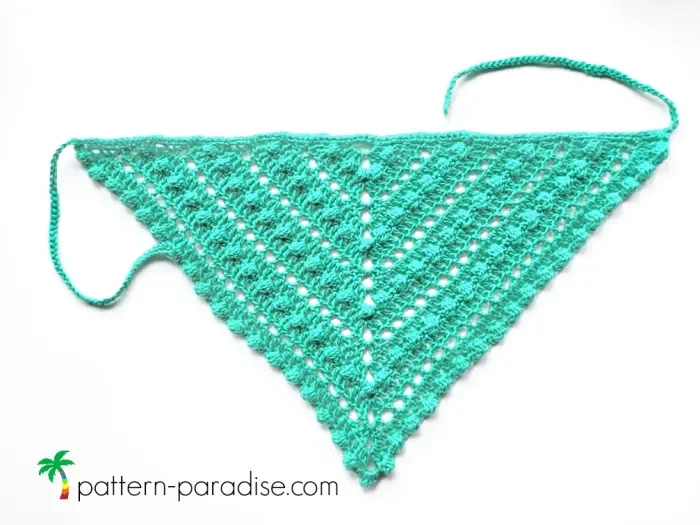
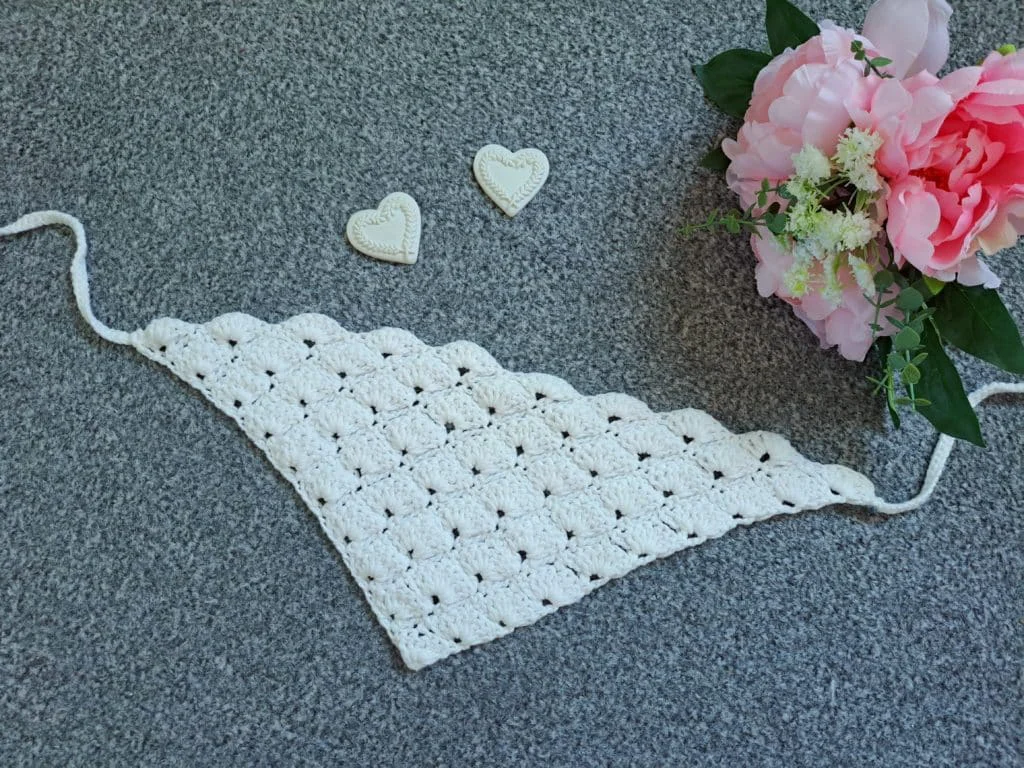
This pattern features a lovely shell stitch motif that creates an open, elegant fabric, giving the bandana a light and airy feel. Designed to be beginner-friendly, it’s worked up quickly using basic stitches and includes simple instructions for the built-in ties, so there’s minimal finishing required. It looks absolutely stunning in soft, natural tones or pastel cotton yarns. Grab your crochet hook, steep a cup of tea, and let’s craft a beautiful cottagecore accessory!


Gauge
4”x4” (10×10 cm)= 7 rows
Size of finished bandana: 7” (18 cm) high x 17” (43 cm)
Notes
I will be using US terms (British terms in brackets)
You will need
1 skein of Lion Brand’s Feels Like Butta yarn in shade White (you will be using approximately 80 yards of the skein)
4 mm crochet hook
Pair of scissors
Tapestry needle
Abbreviations
Ch: chain
St: Stitch
Sl st: slip stitch
Sk: Skip
SC: Single Crochet (UK Double Crochet)
DC: Double crochet (UK Treble Crochet)
EOR: End of row
Begin pattern here
To start, make a slip knot. Ch 4, sl st through 1st stitch to form a ring.
Complete rows as follows:
1: Ch 3 (=DC), 6 DC into center of ring (=7 DC and 1st shell stitch).
2: Now ch 4, turn your work, SC into 1st st to form a ring; ch 3, SC into 4th stitch of shell stitch from previous row, ch 3, SC into last st (which is also the ch 3 from previous row), ch 4 and SC once again in the same stitch to form a ring.

3: Ch 3 (counts as DC), turn your work, place 6 DC into center of chain 4 ring (=7 DC and shell stitch); sk ch 3 from previous row and SC into center SC from previous row. Sk ch 3 from previous row, and go directly into center of ch 4 ring with 7 DC (=shell stitch).
4: Now ch 4, turn your work, SC into first st to form a ring; Ch 3, SC into 4th st of shell stitch from previous row, ch 3, SC into SC from previous row (skipping 3 stitches from previous row). Now ch 4 and SC into same stitch to form a ring, ch 3 and SC into 4th stitch of the shell from previous row, ch 3 and SC into last stitch (which is also the beginning ch 3 from previous row); ch 4, SC into this same last stitch to form a ring.

Carry on your rows as follows
5: Ch 3 (=DC), turn your work, place 6 DC into the center of the ch 4 ring from previous row (=7 DC). Sk ch 3 from previous row and SC into center SC from previous row; sk ch 3 from previous row once more and go directly into next ch 4 ring and place 7 DC into this ring (=shell stitch). Now sk ch 3 from previous row and SC into center SC from previous row. Sk ch 3 and place 7 DC into the last ch 4 ring center (=shell stitch).

6: Now ch 4, turn your work, SC into first st to form a ring; ch 3, SC into 4th stitch of shell stitch from previous row, ch 3, SC into SC from previous row (skipping 3 stitches from previous row). Ch 4, SC into same stitch to form a ring, ch 3 and SC into 4th stitch of the shell from previous row, ch 3 and SC into SC from previous row (skipping 3 stitches from previous row). Now ch 4 and SC into same stitch to form a ring, ch 3, SC into 4th st of shell stitch from previous row (skipping 3 st from previous row), ch 3 and SC into last stitch of shell stitch from previous row (which is also the first ch 3 from previous row). Ch 4 and SC into same stitch to form a ring.
Now:
7: Ch 3 (=DC), turn your work, place 6 DC into ring (=7 DC and shell stitch). [Sk ch 3 from previous row and SC into center SC from previous row; sk ch 3 from previous row once more and go directly into next ch 4 ring and place 7 DC into this ring (=shell stitch)] twice. Sk ch 3 from previous row and SC into center SC from previous row. Sk ch 3 and place 7 DC into the last ch 4 ring center (=shell stitch).
8-19: Repeat rows 6 and 7 (alternating them), making sure you add your shells as your bandana grows wider by following this simple pattern explained above.
Do not fasten off.
Create ties on each side of the bandana
Once you have finished your last row, do not fasten off yarn.